Highlights of the trip:
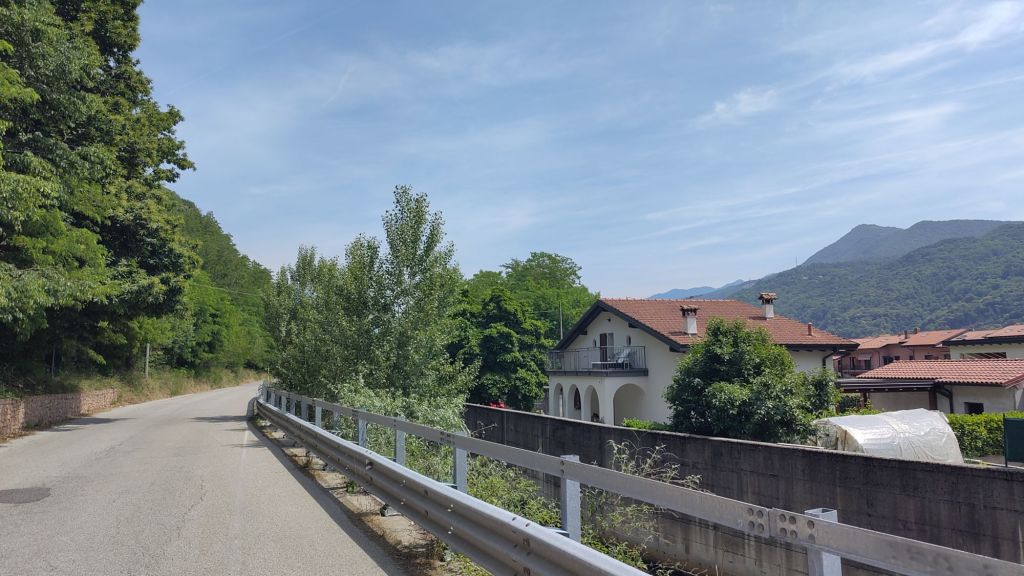
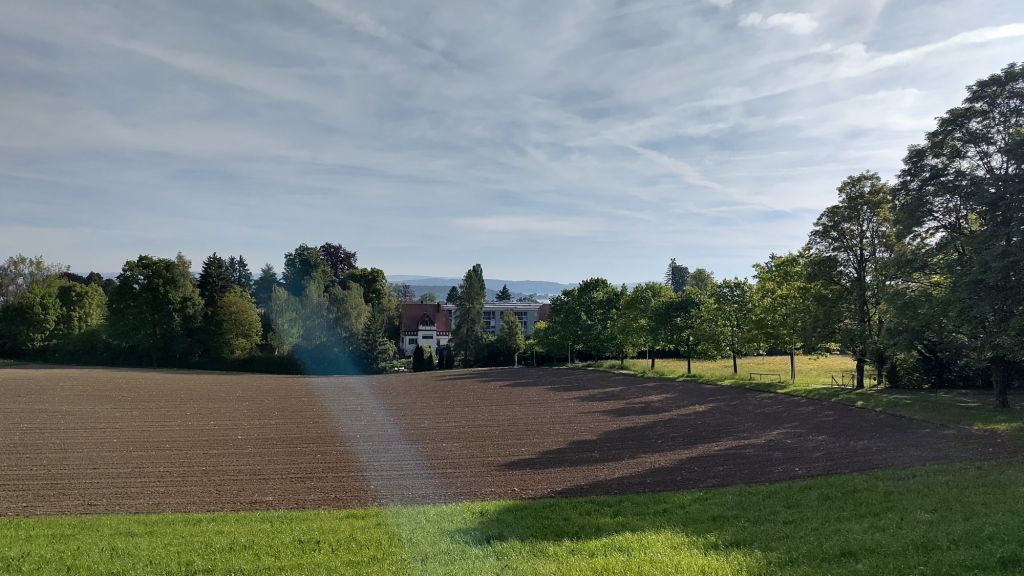
- Happy to have made it up the first big hill, along a good train-level grade in the shade
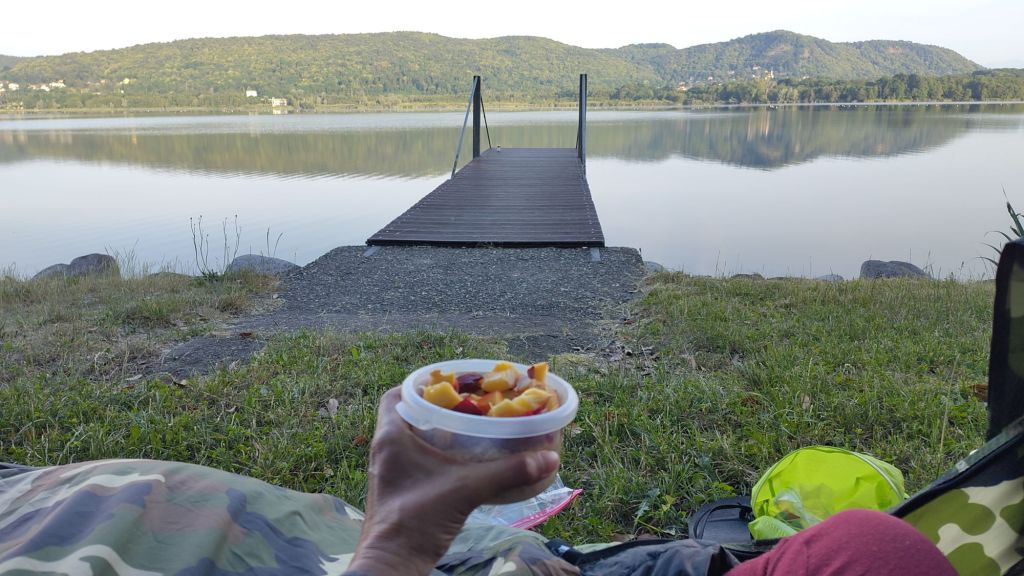
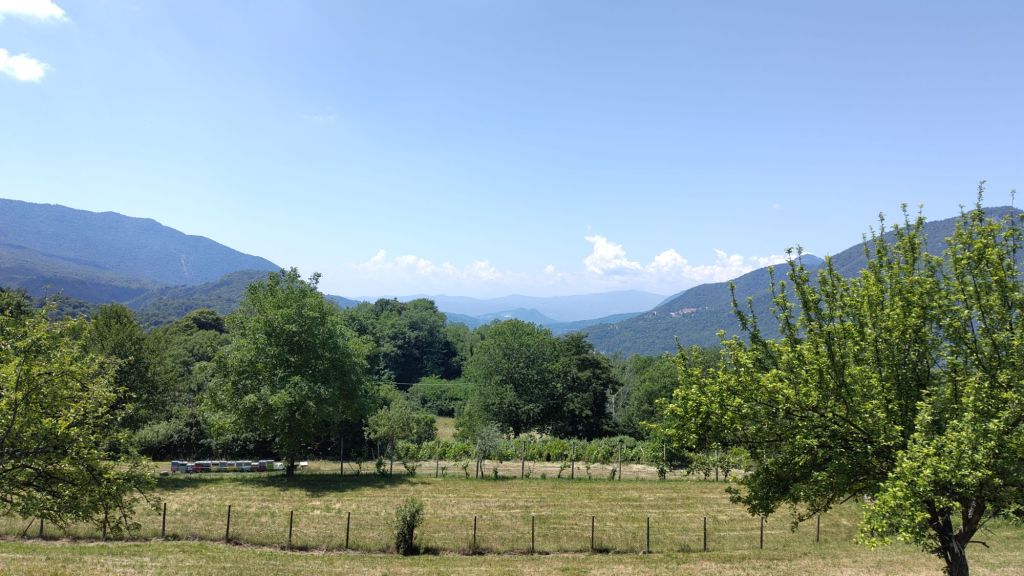
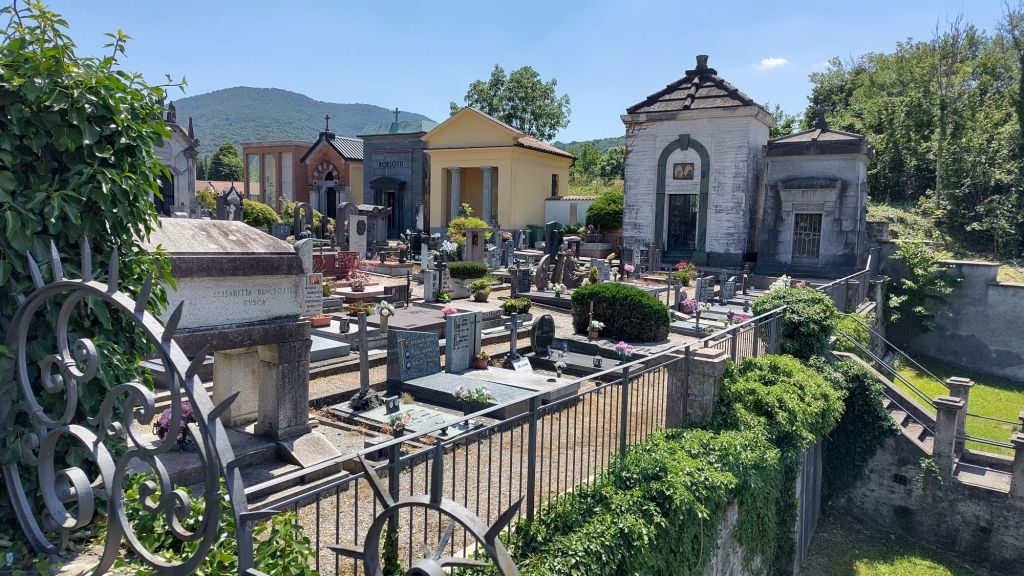
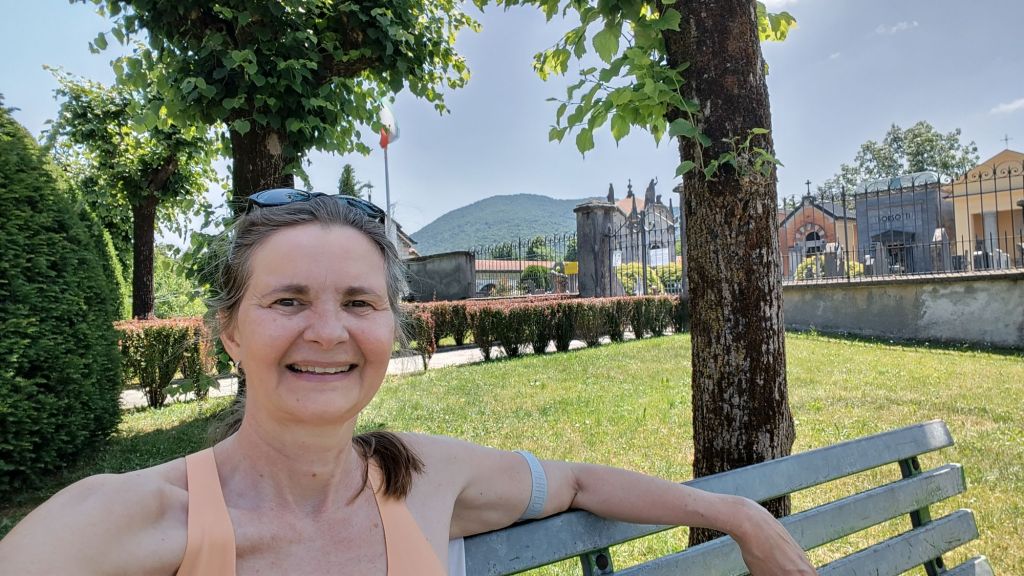
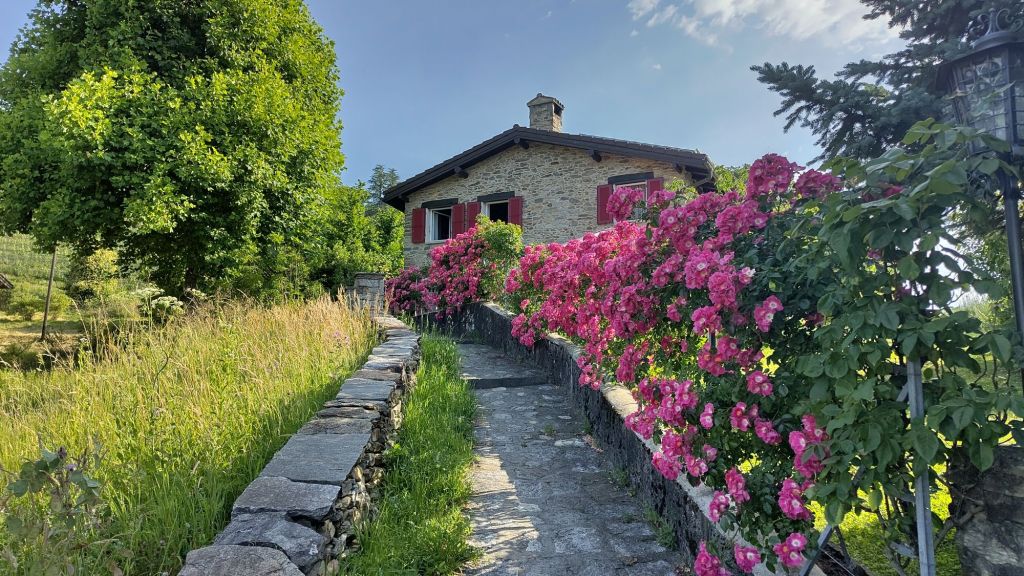
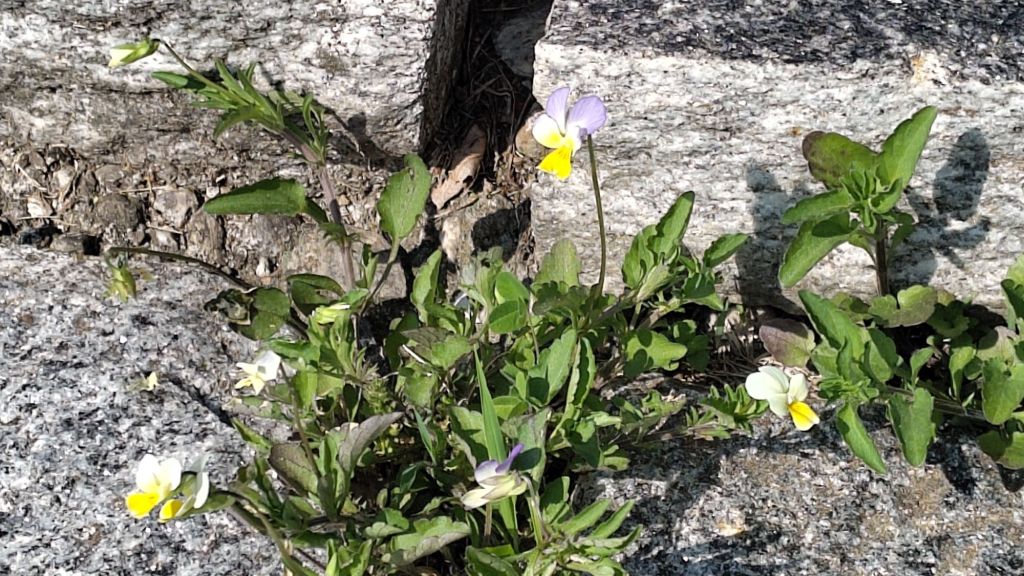
- Lunch at the cemetery overlooking the valley
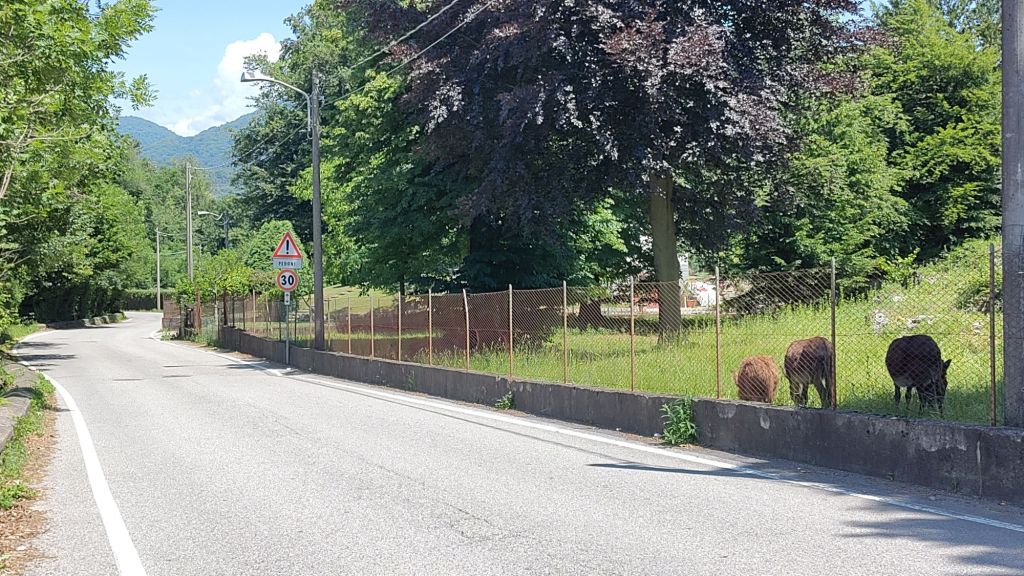
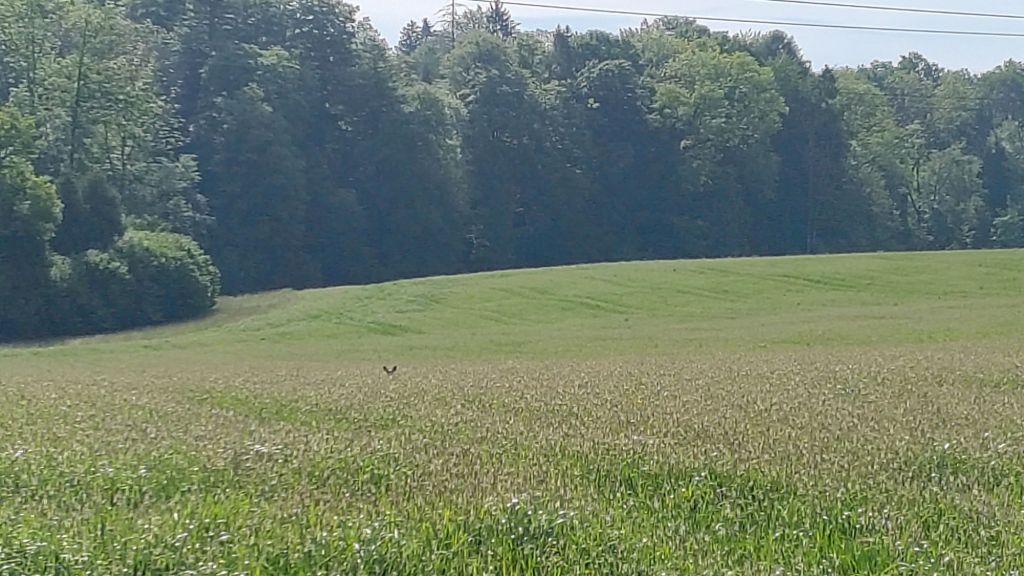
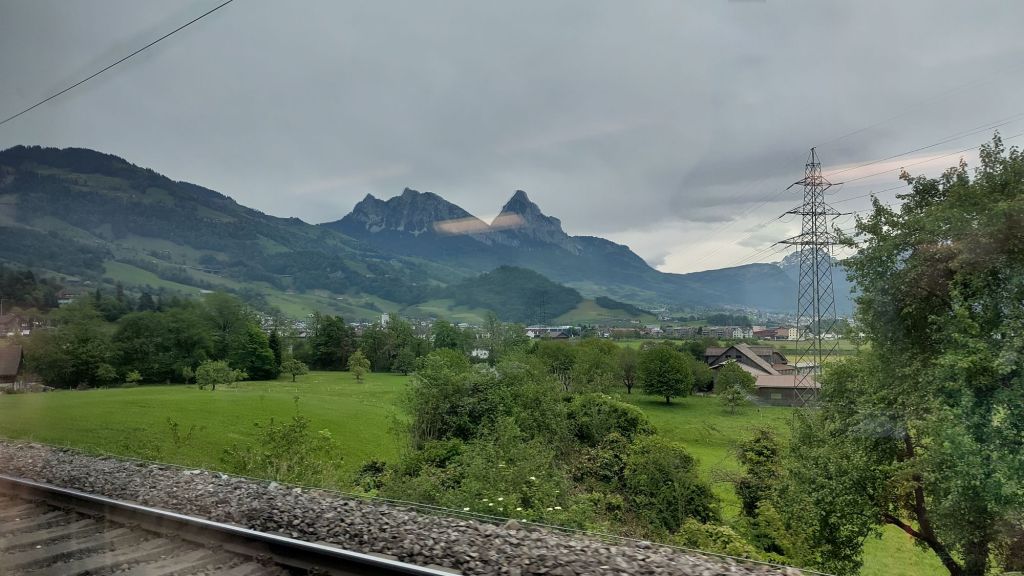
- Seeing a deer cross the road in the provincial park
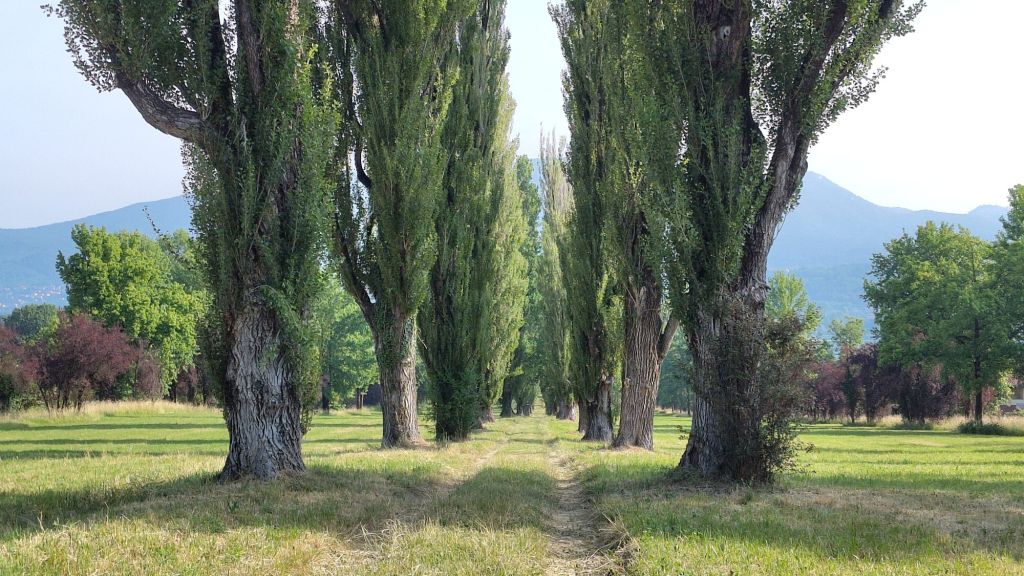
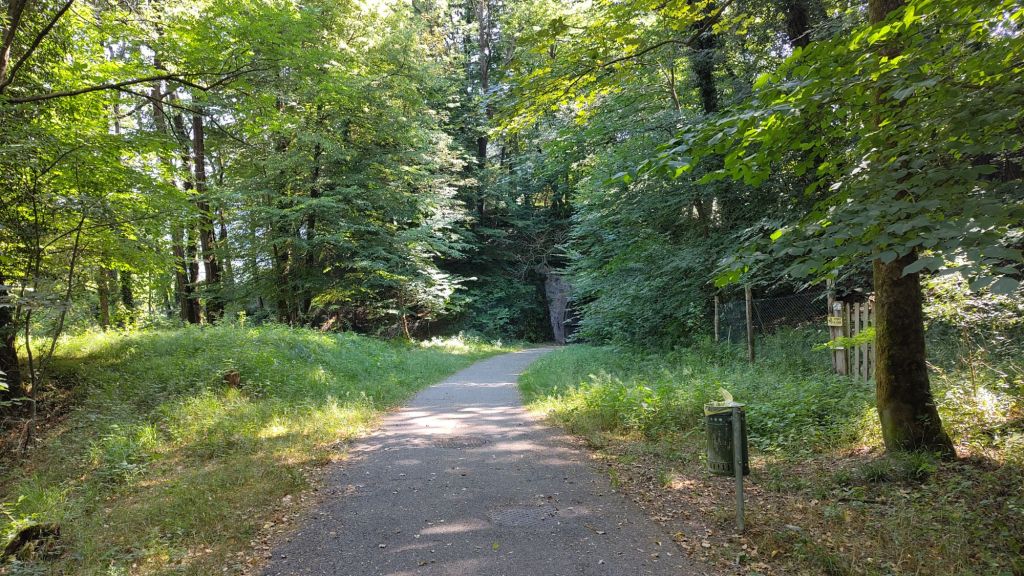
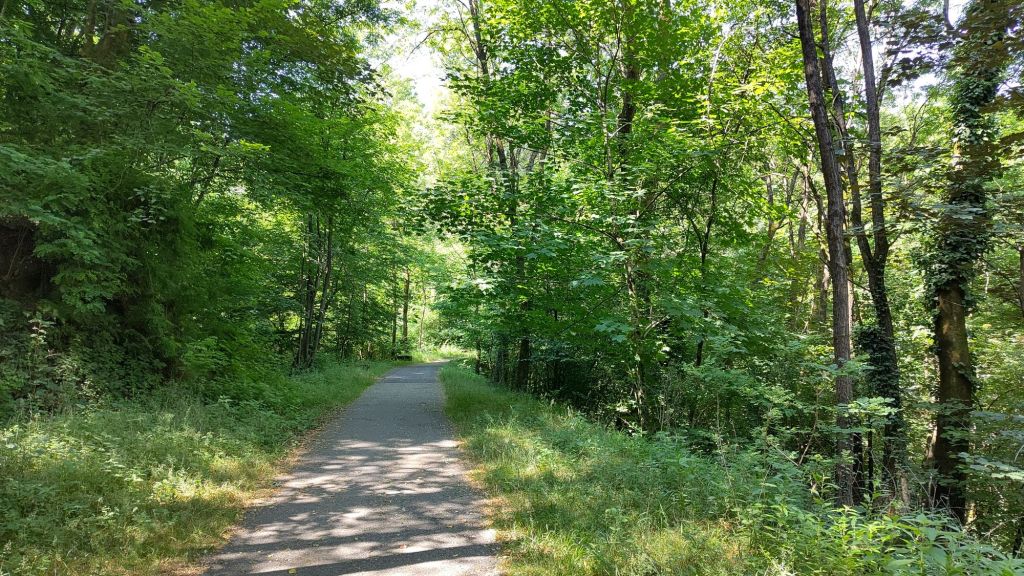
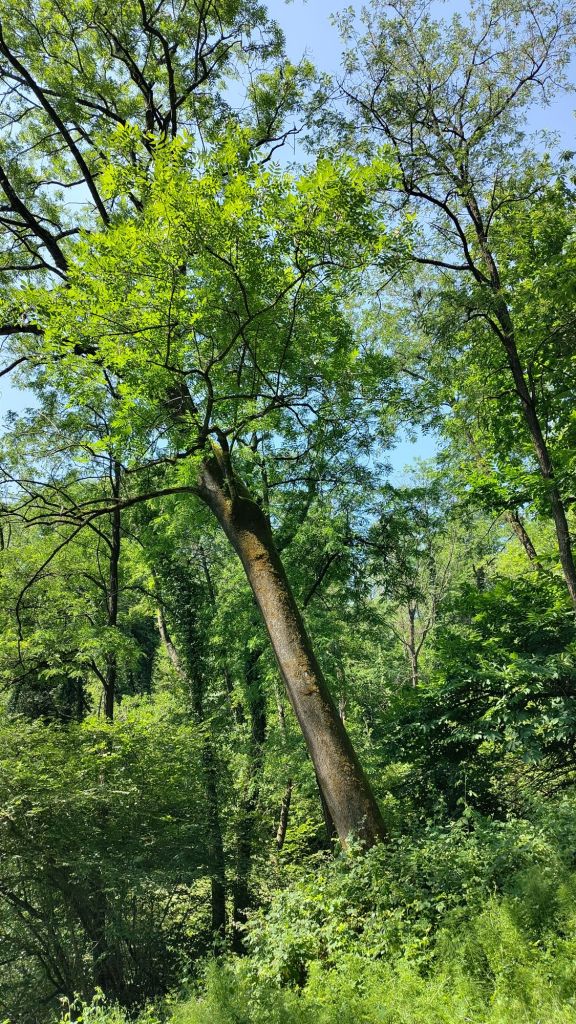
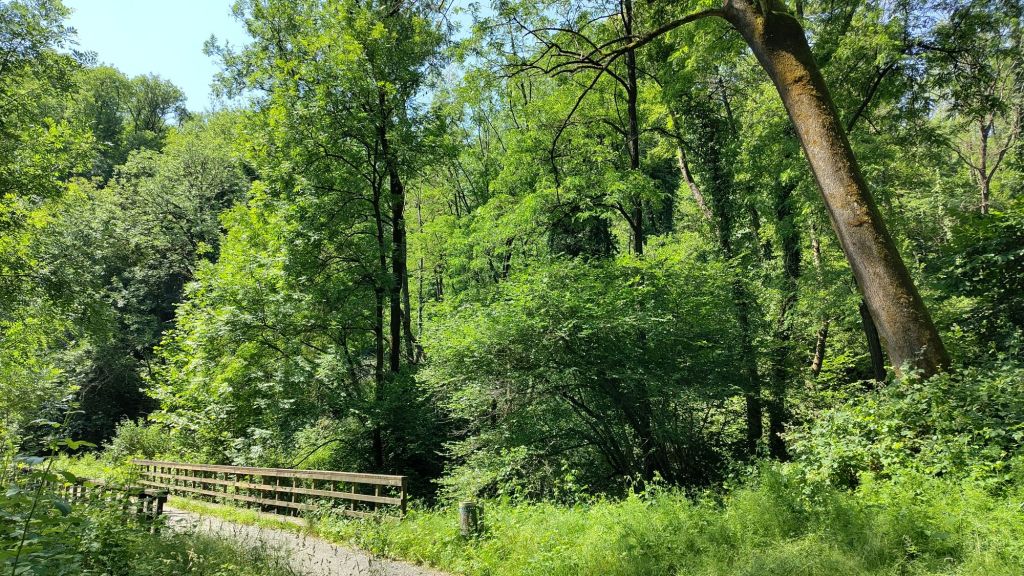
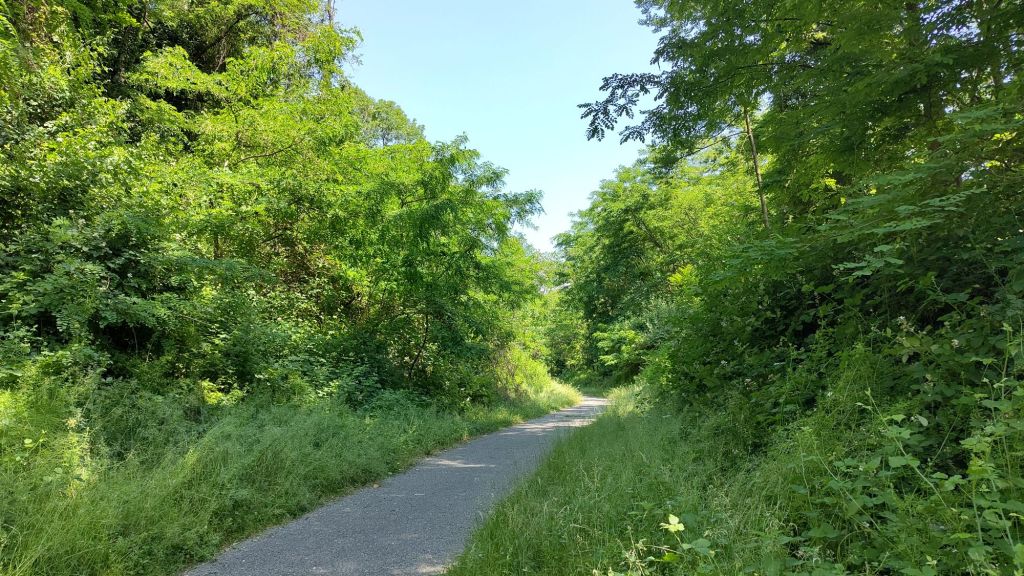
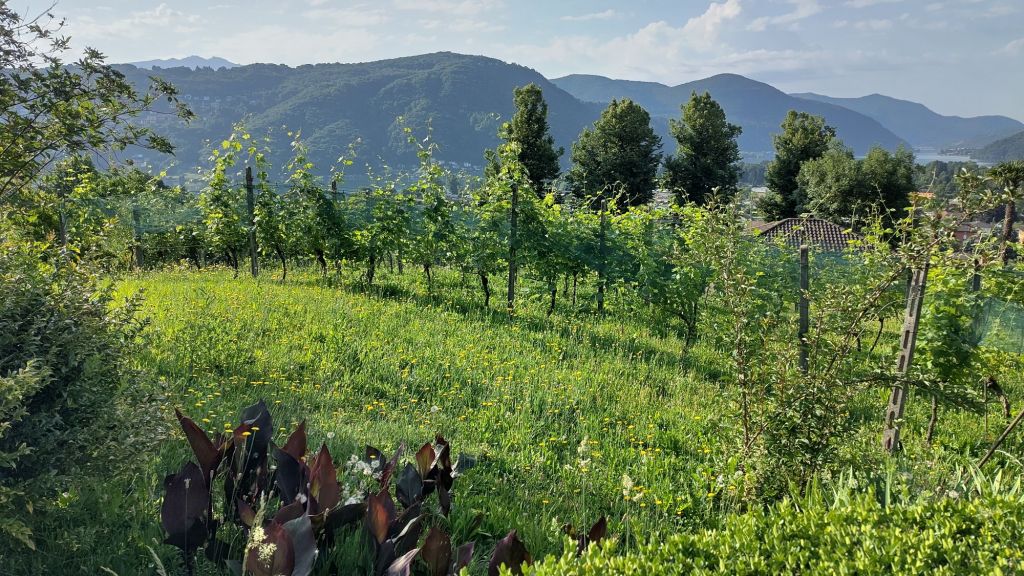
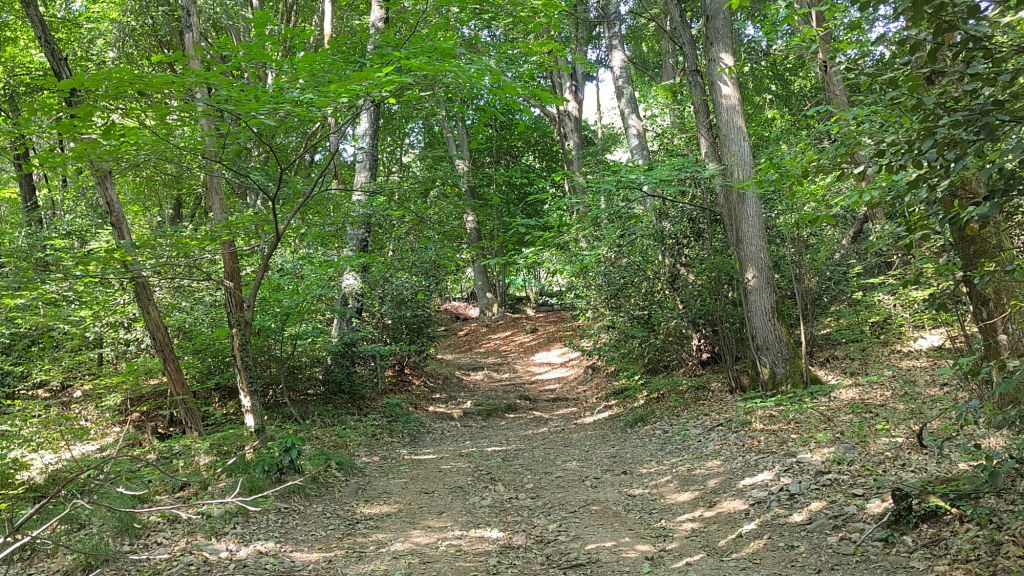
- Long cool rides in the shady forest
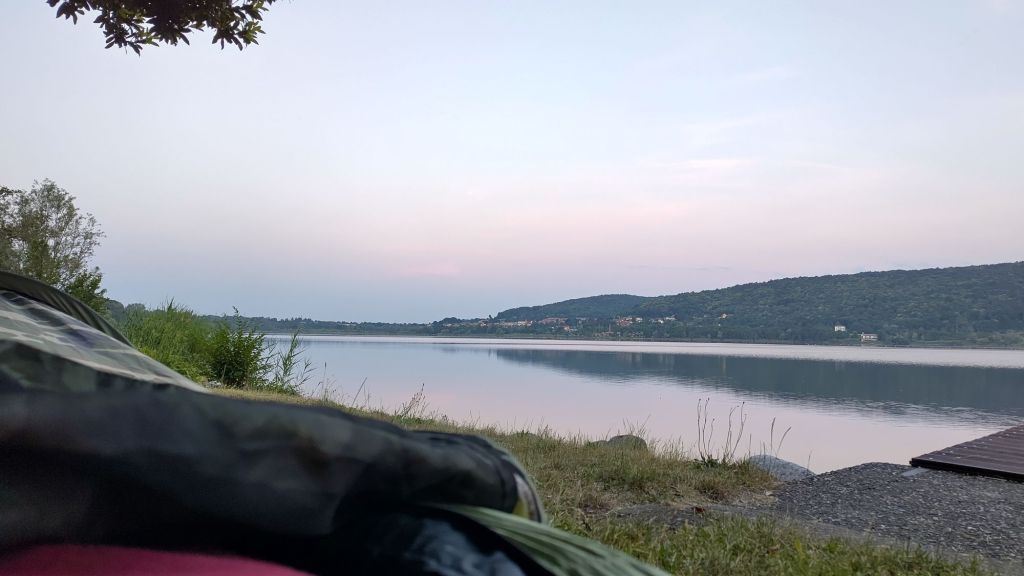
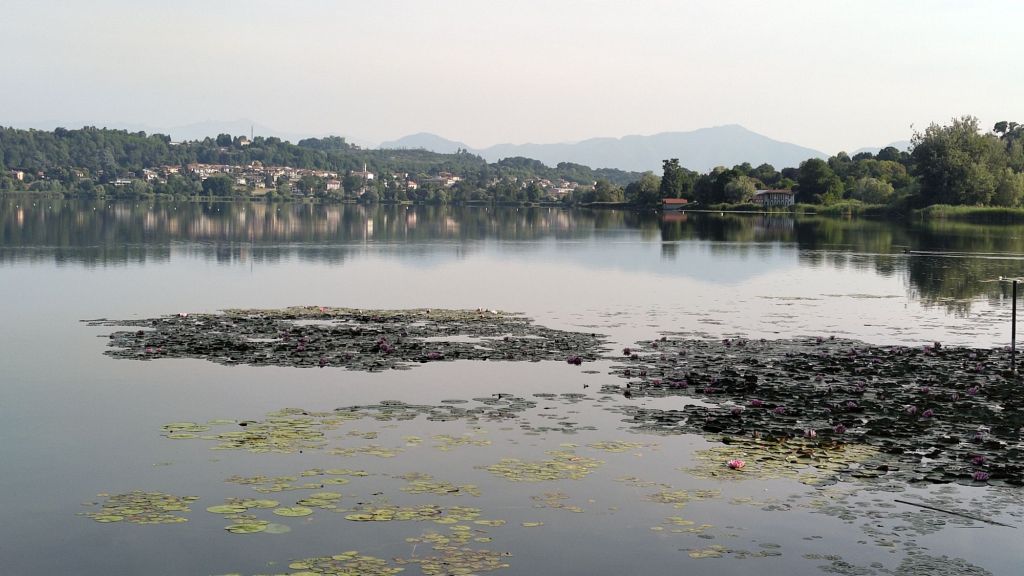
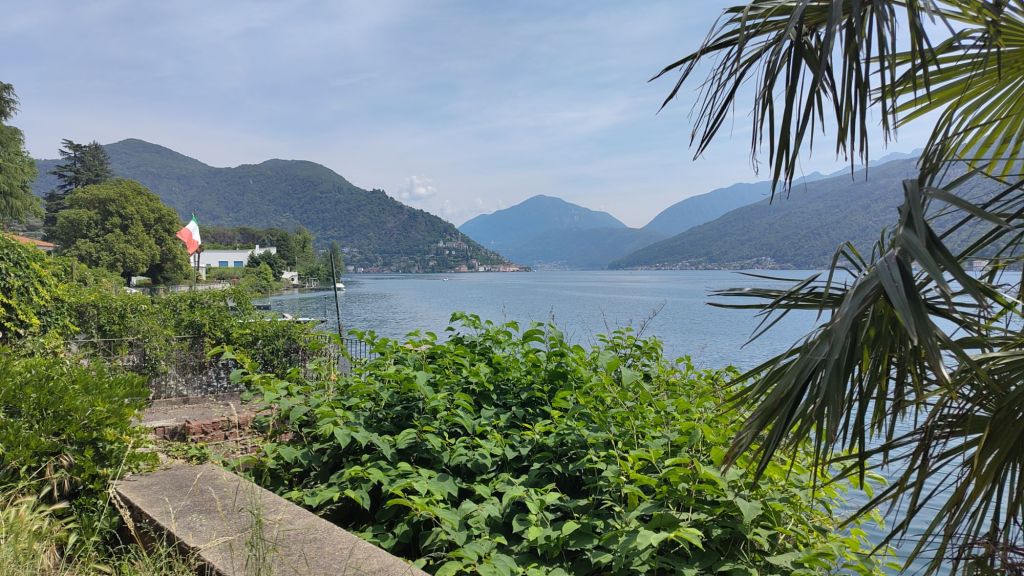
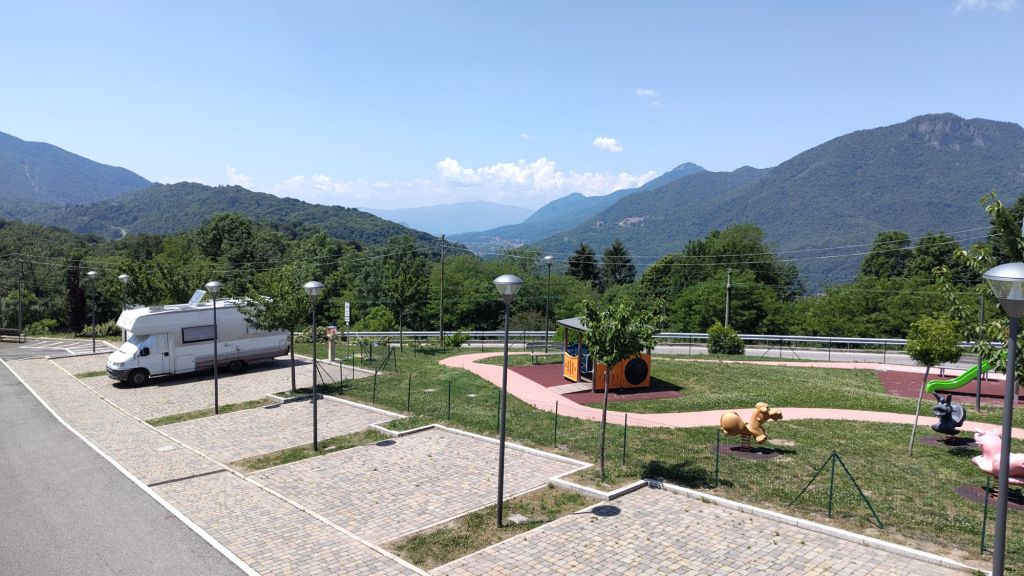
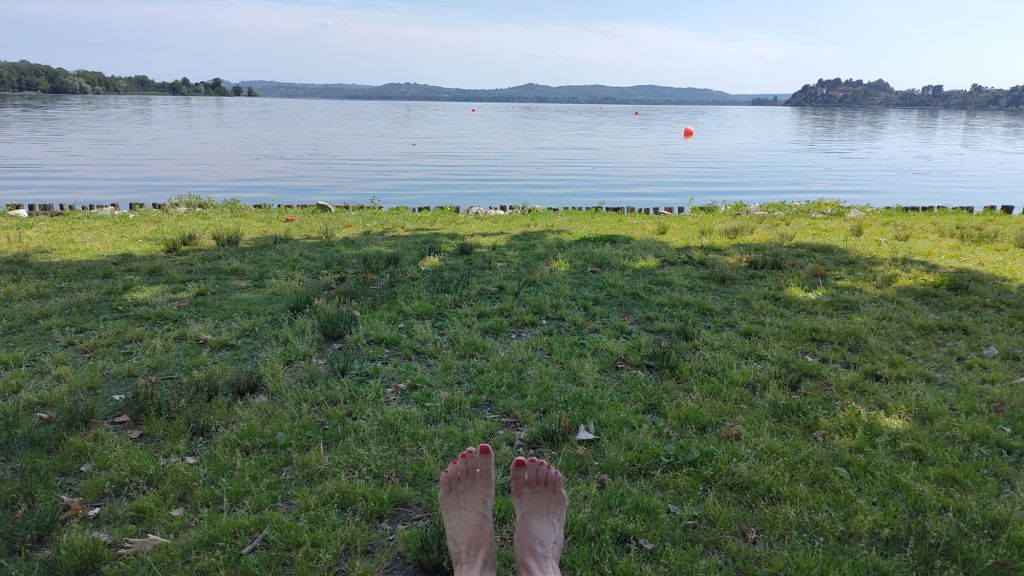
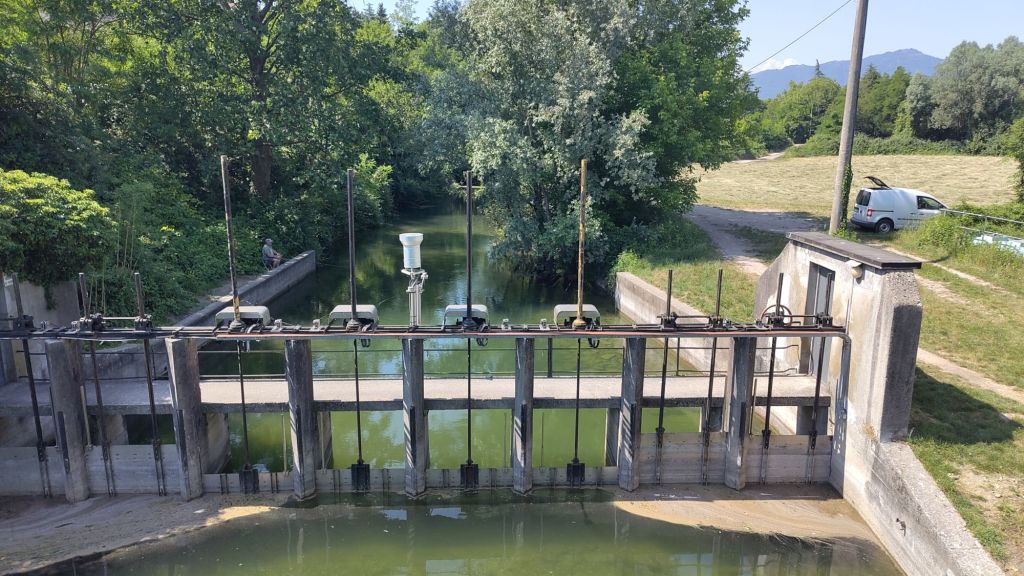
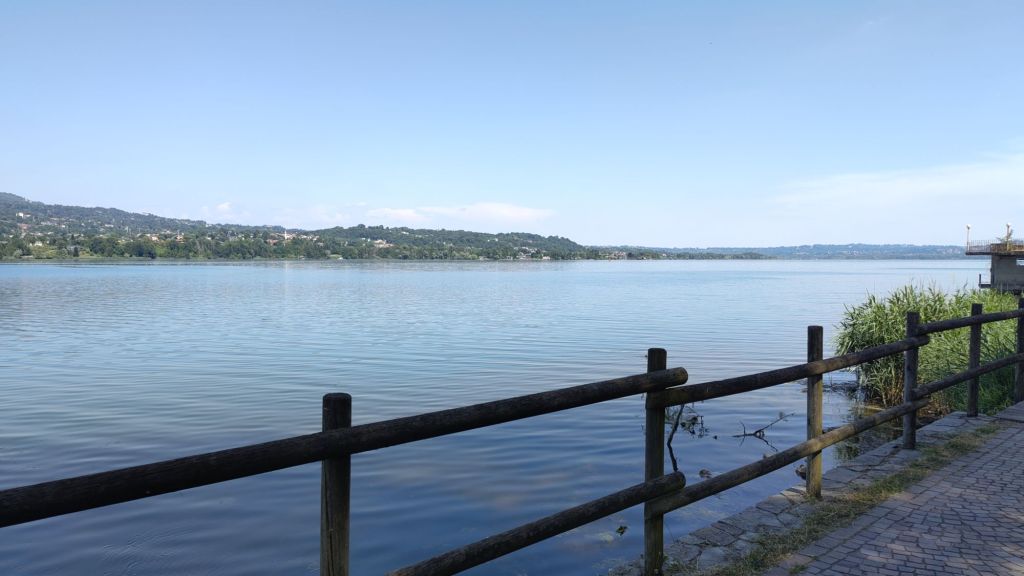
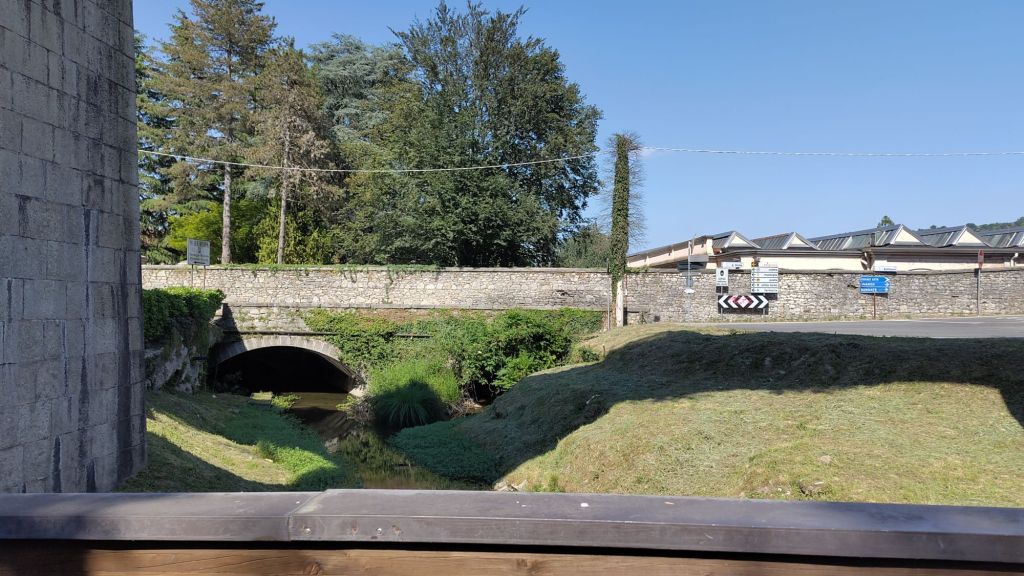
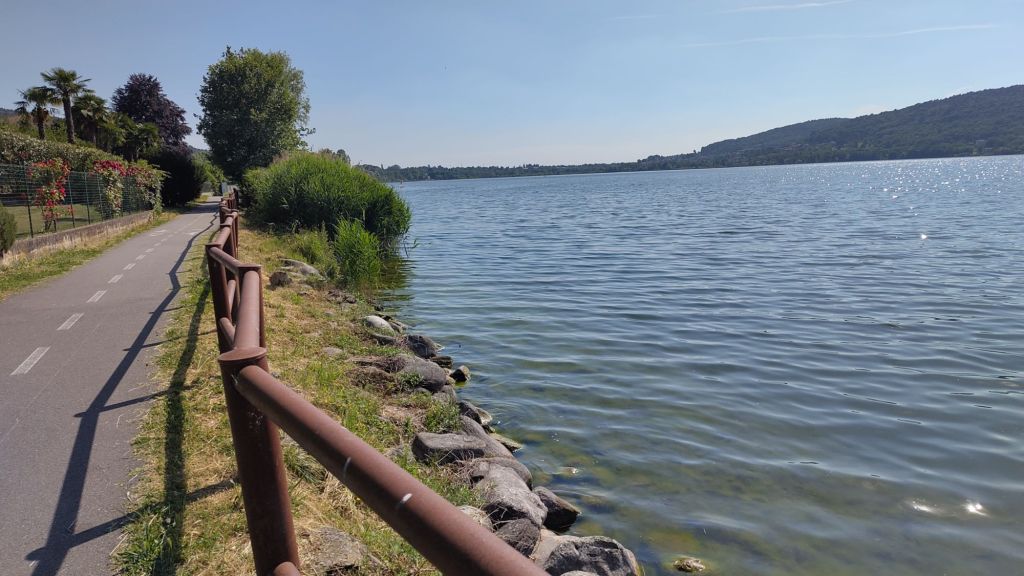
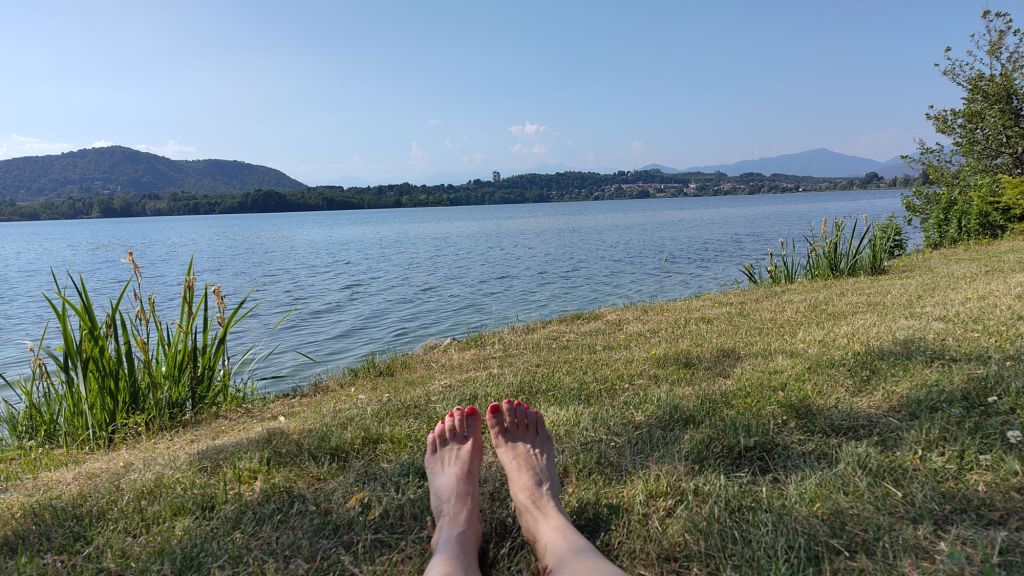
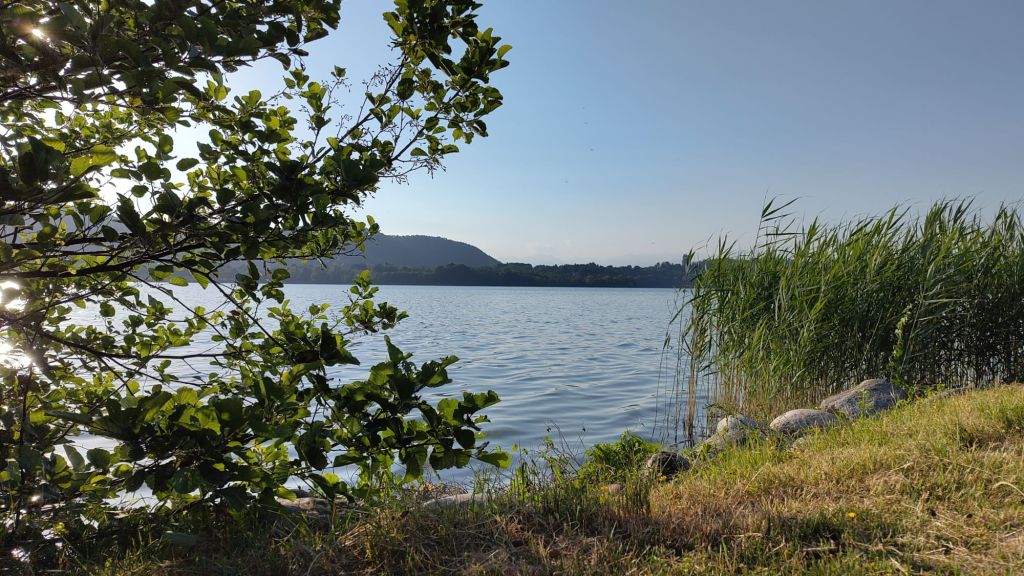
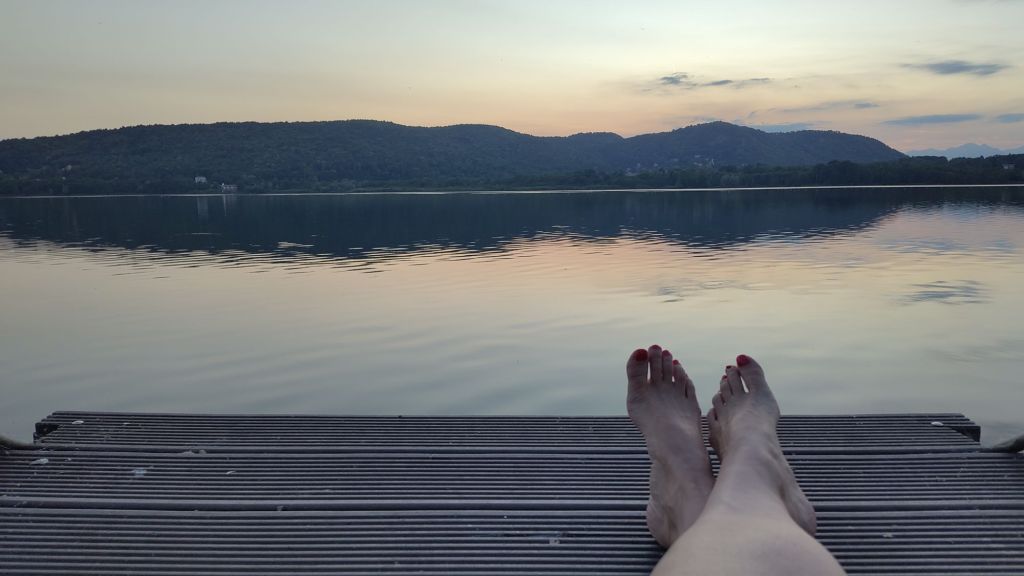
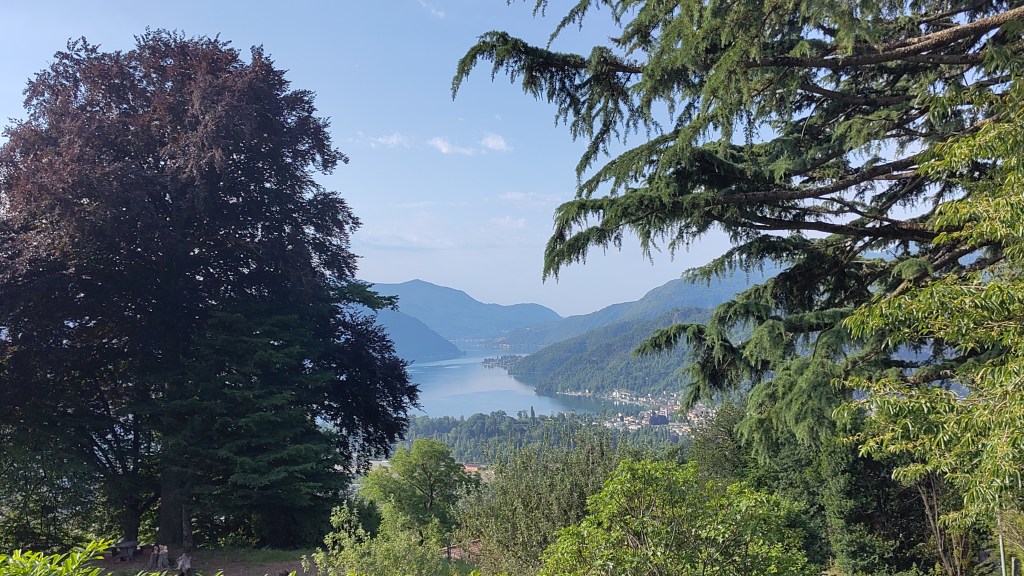
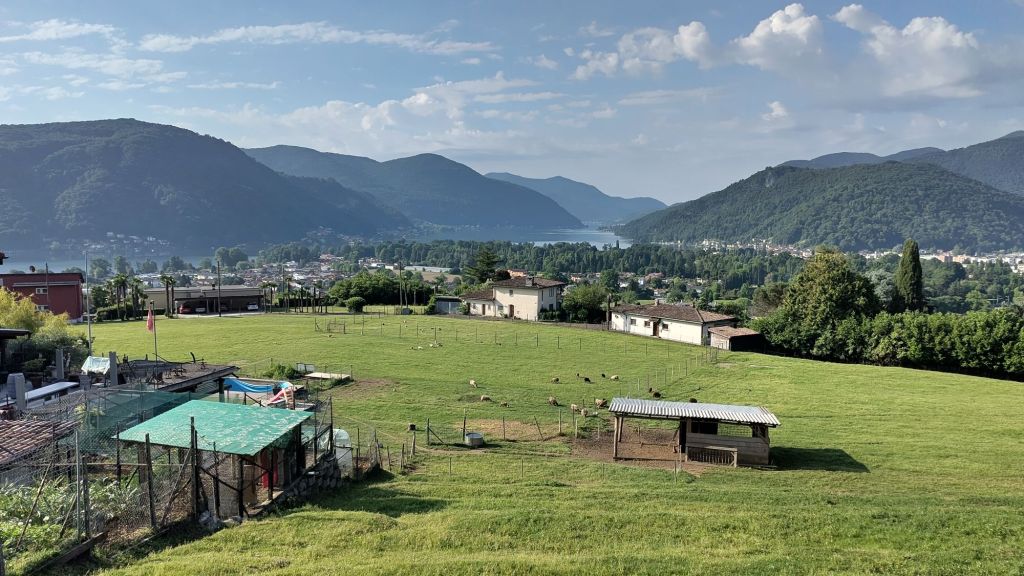
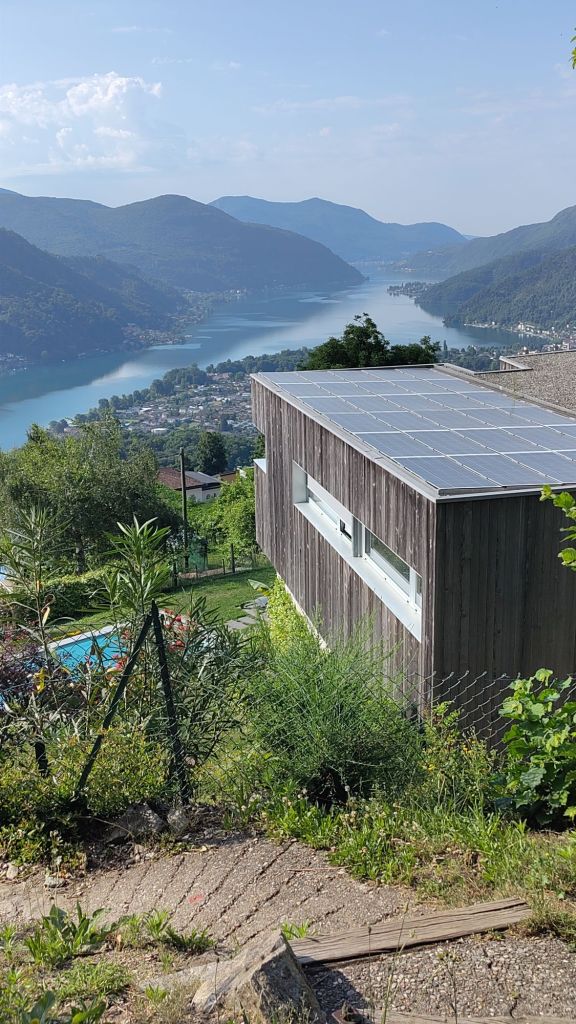
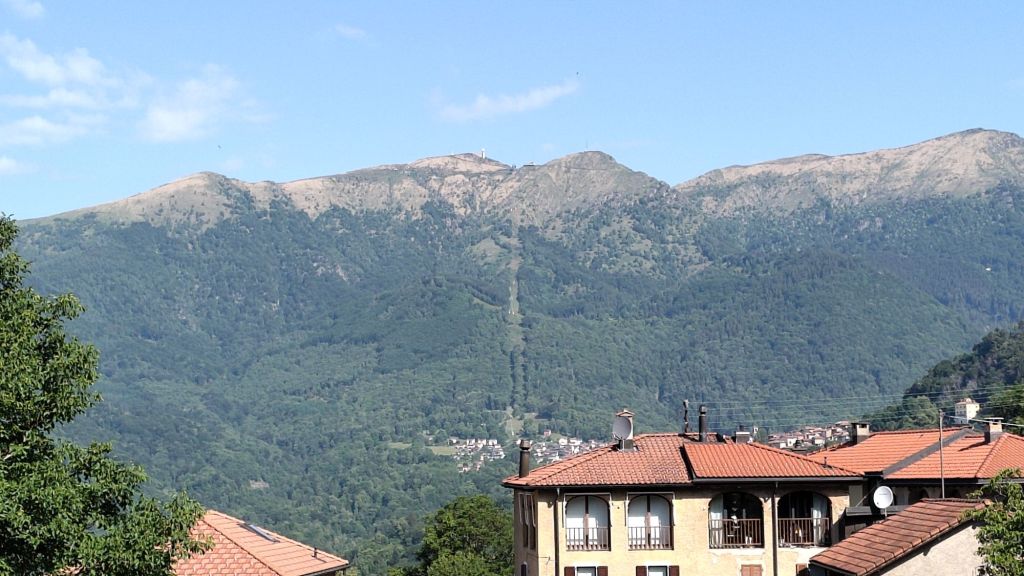
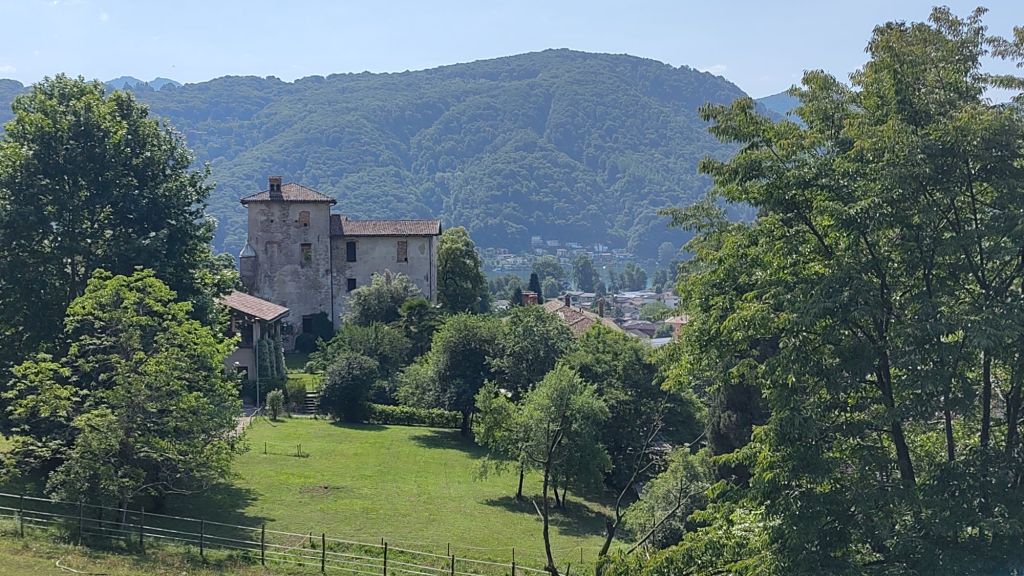
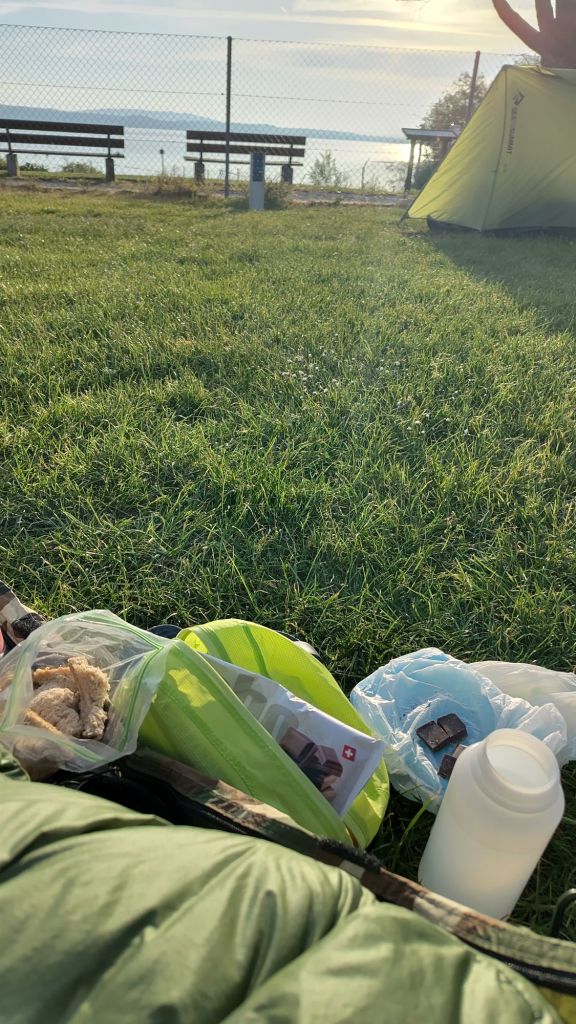
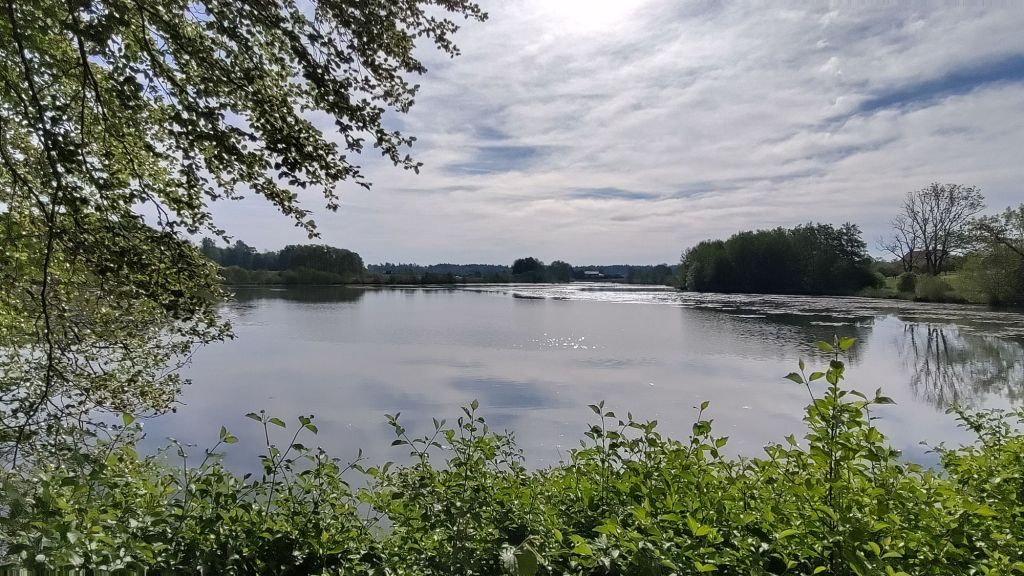
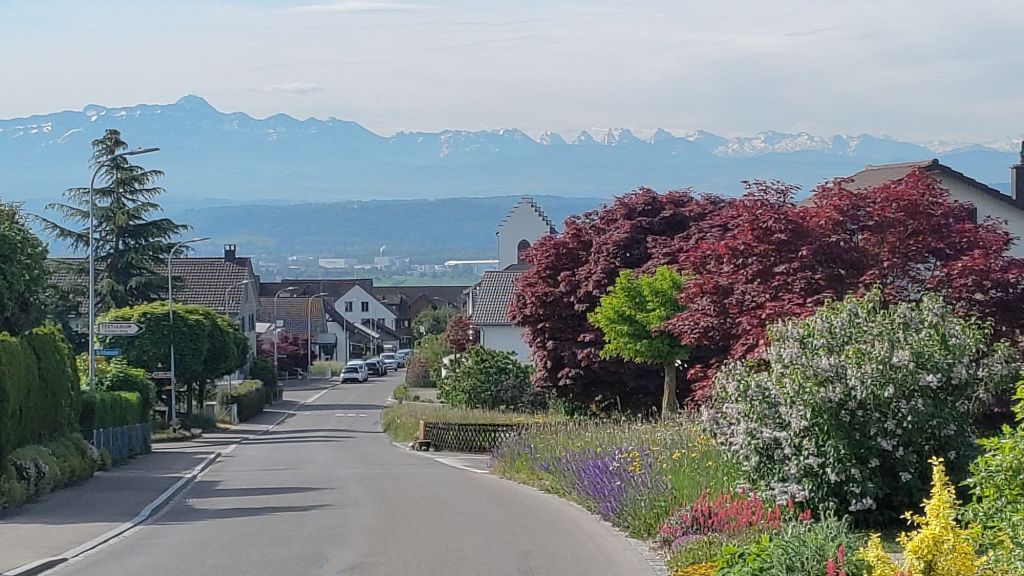
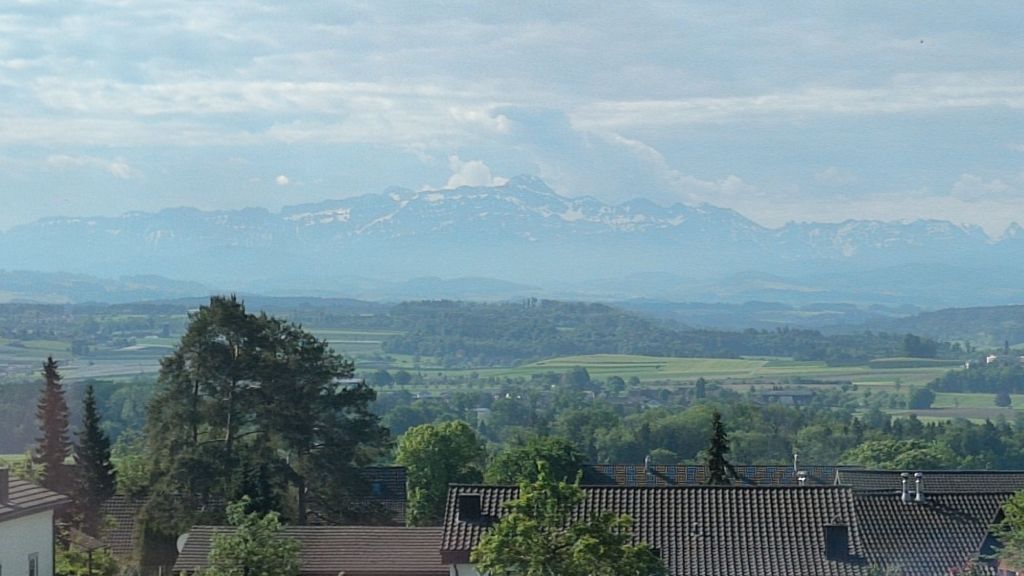
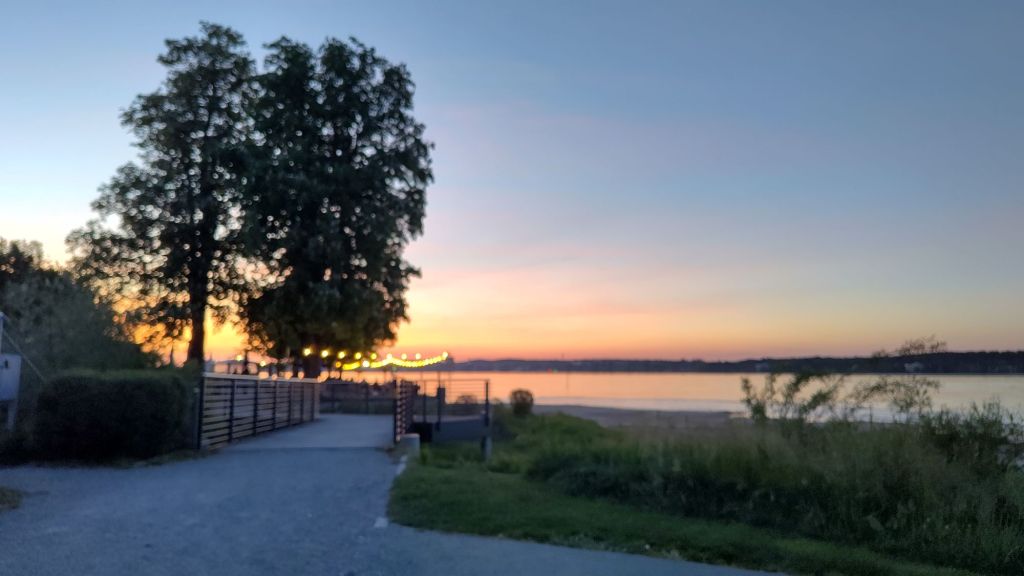
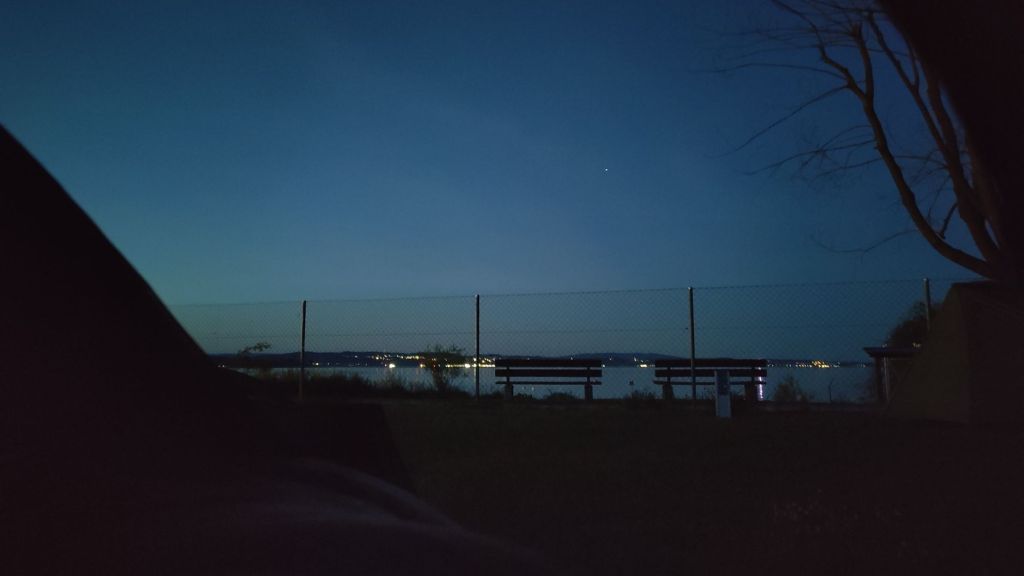
- Arriving at the Lago di Varese
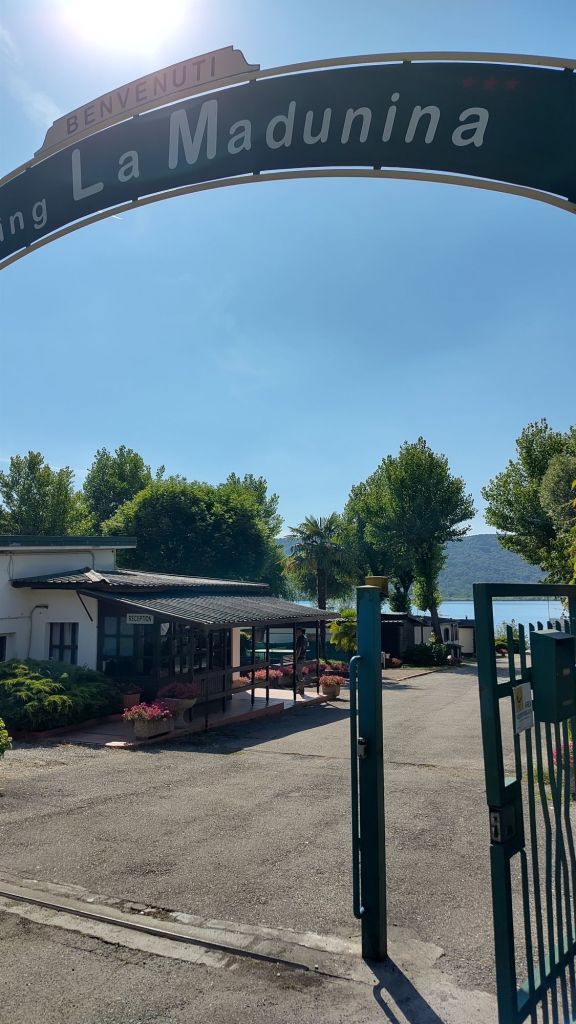
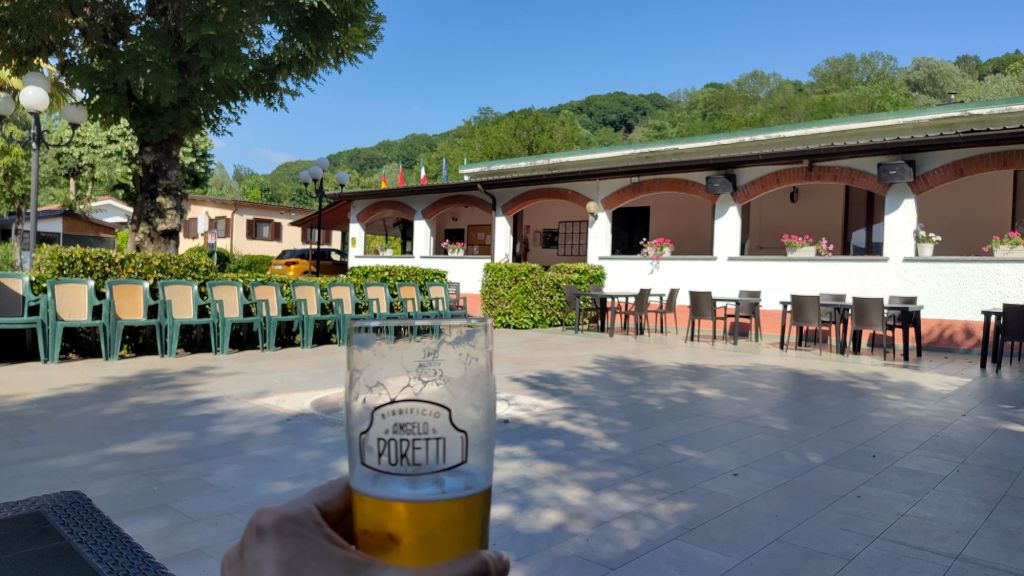
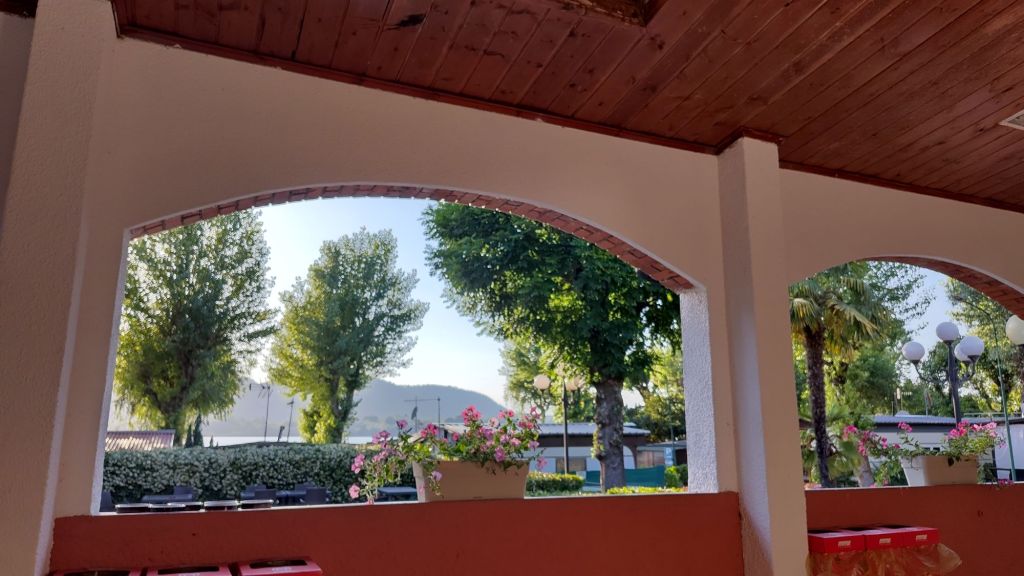
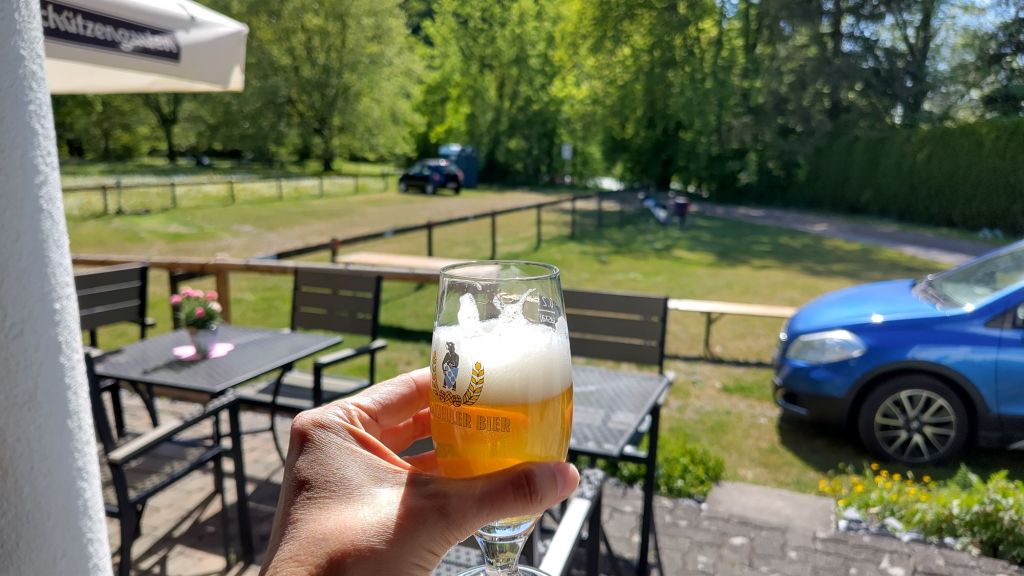
- A cold beer upon arrival at the campsite
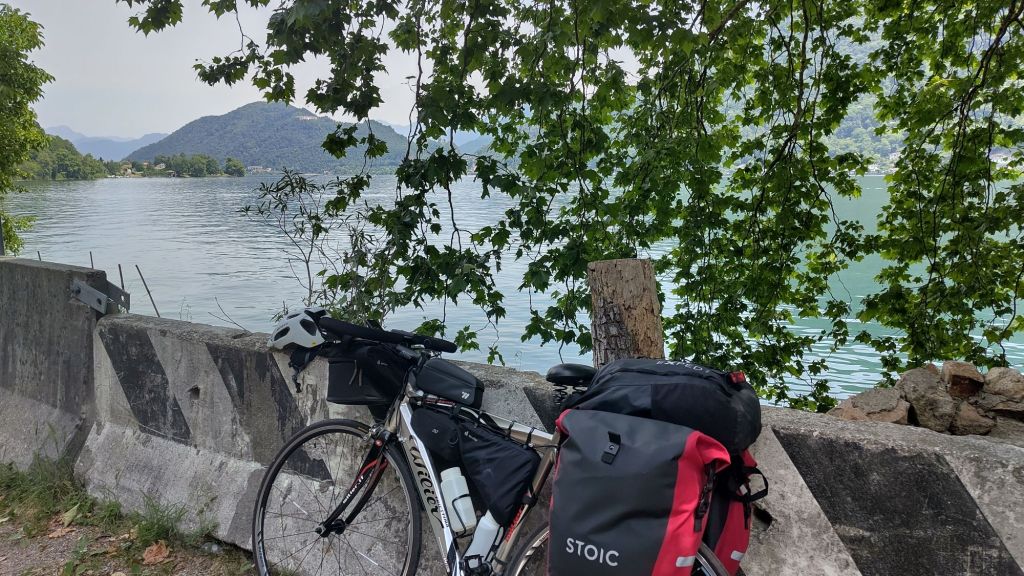
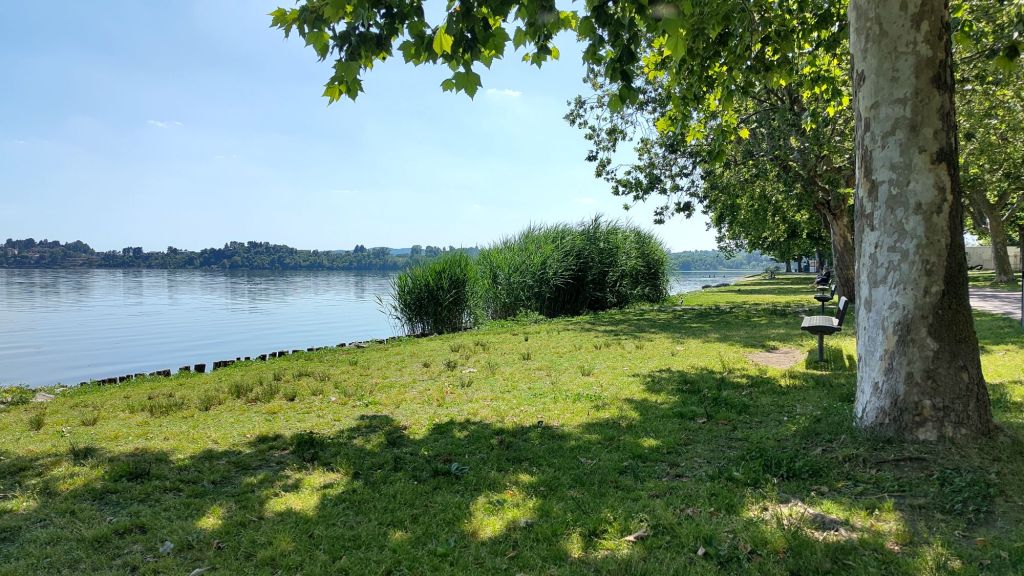
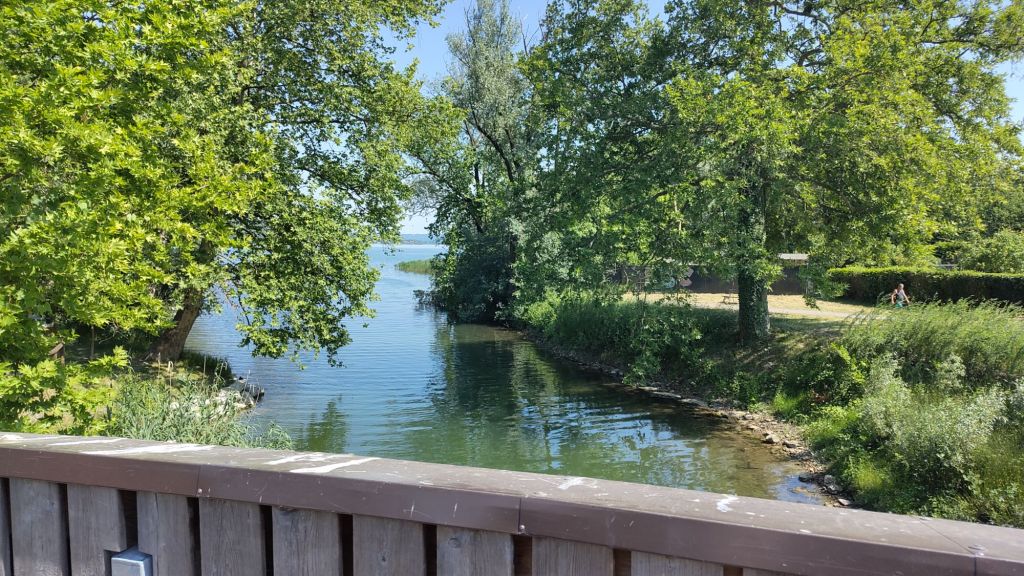
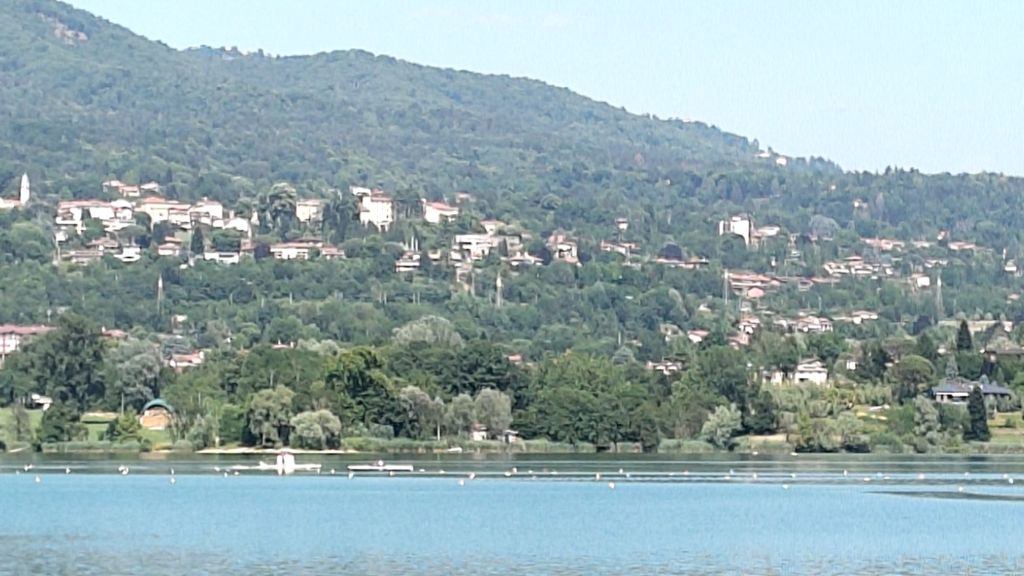
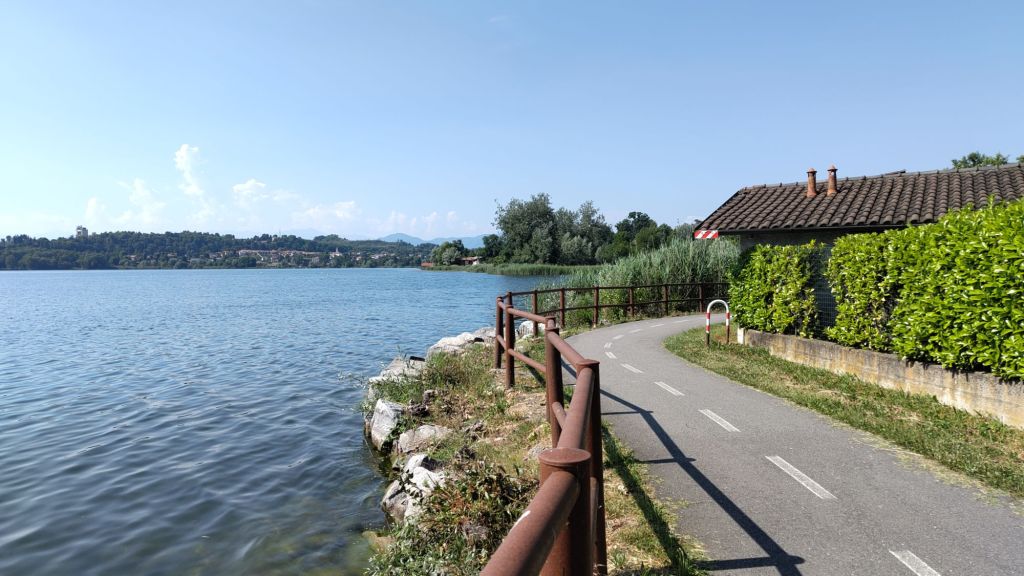
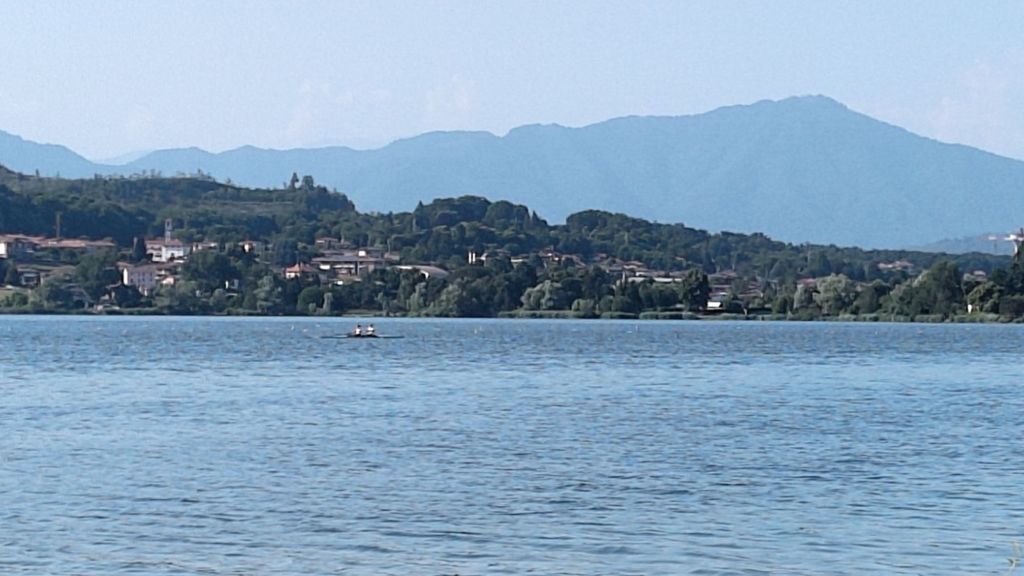
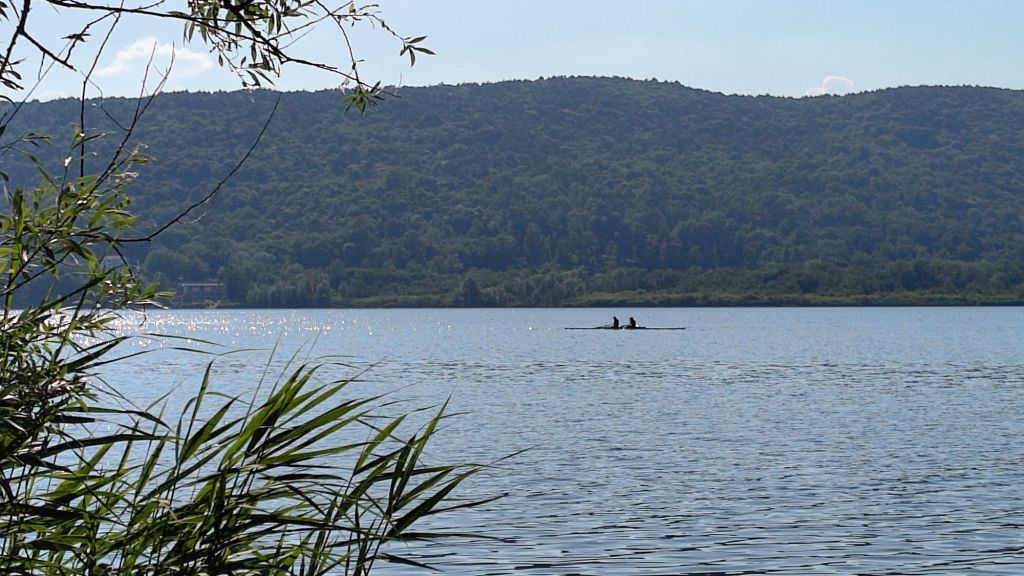
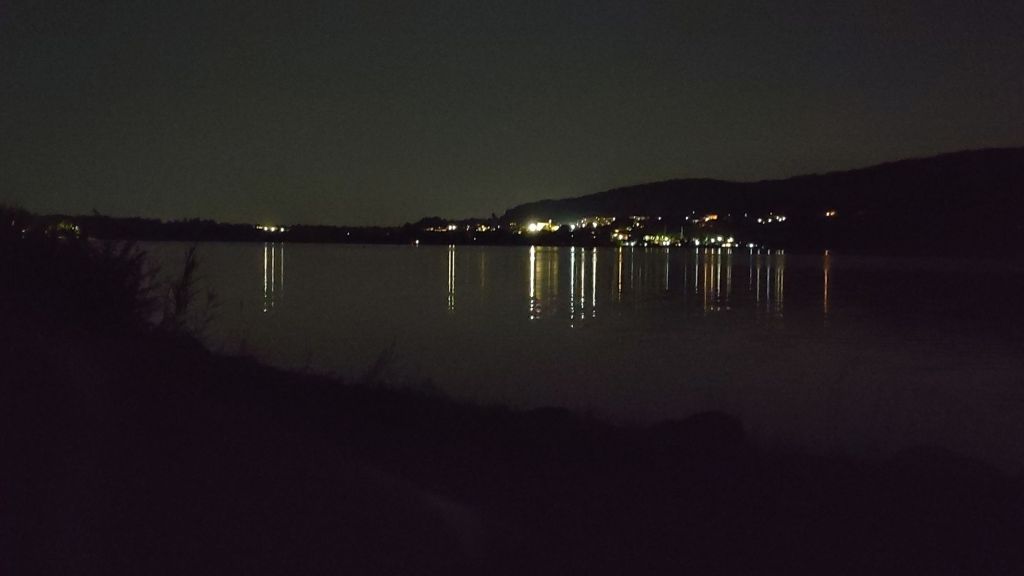
- Recovering at the Lago Comabbio (Unfortunately no swimming due to the algae)
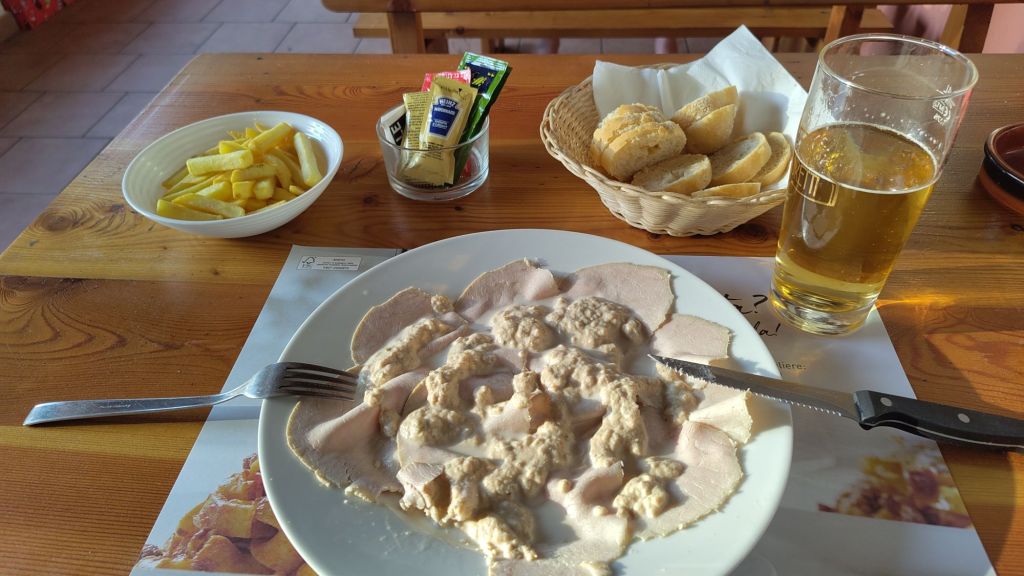
- Shower and dinner at the campsite
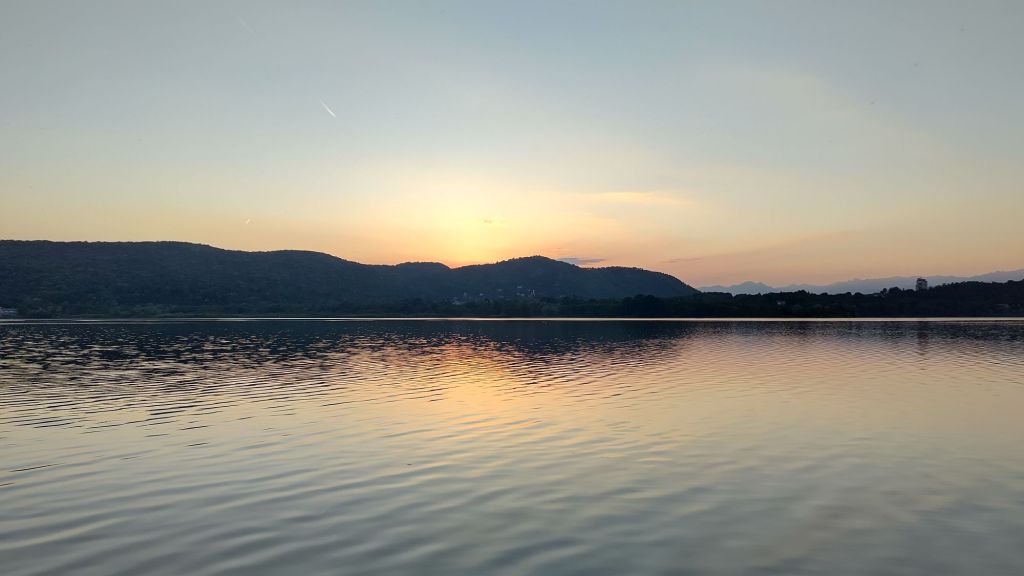
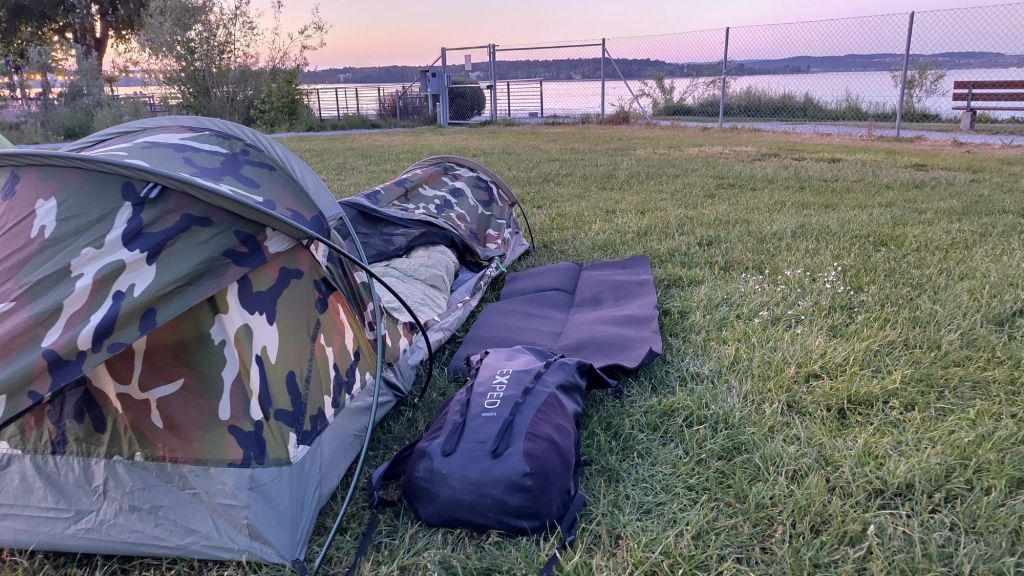
- Waking up beside the lake
- Happy to have made it up the second big hill (from hell, steep and scary)
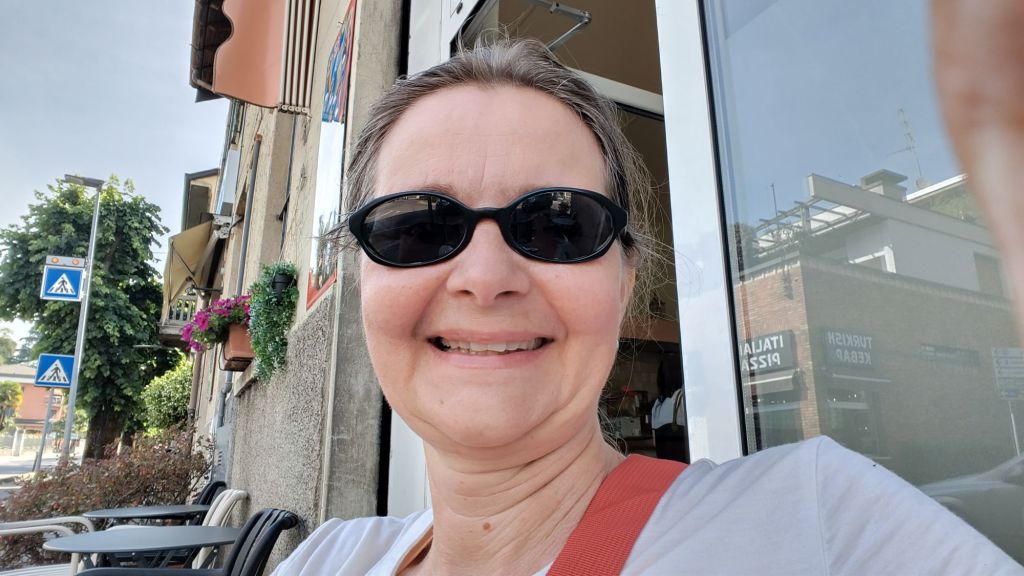
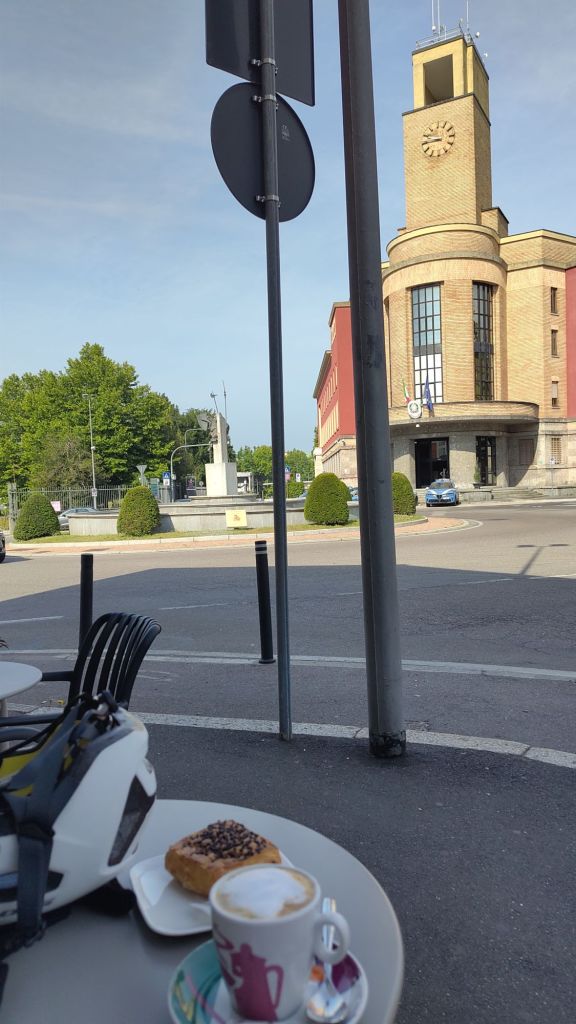
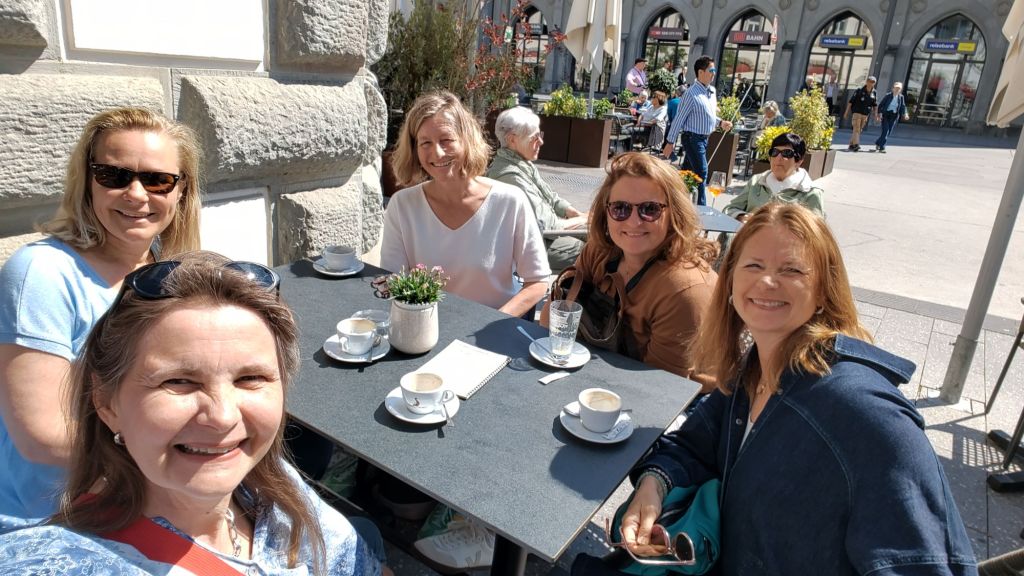
- Delicious cappuccino and croissant from a nice woman who offered me the use of the bathroom “because I was a cyclist”
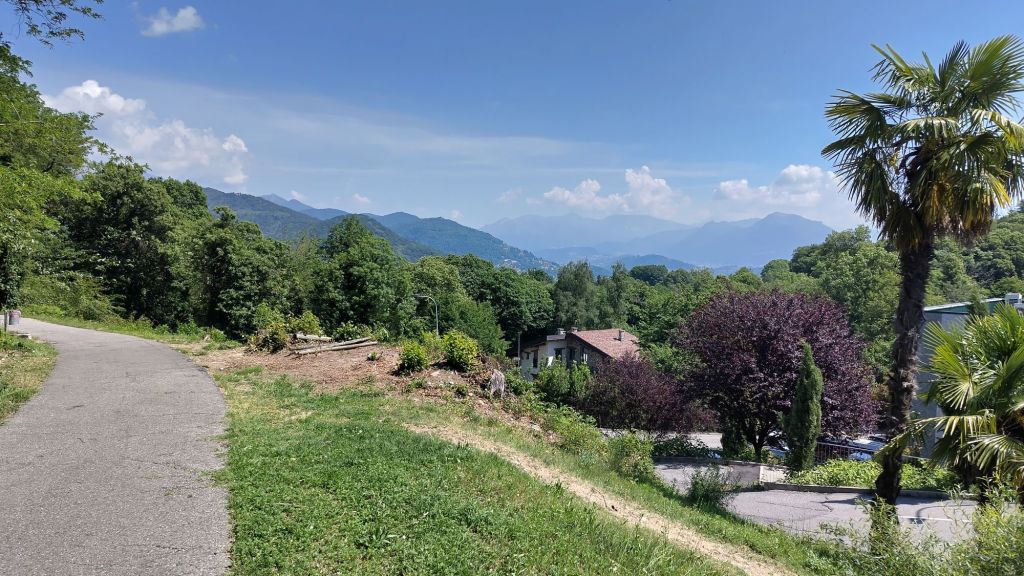
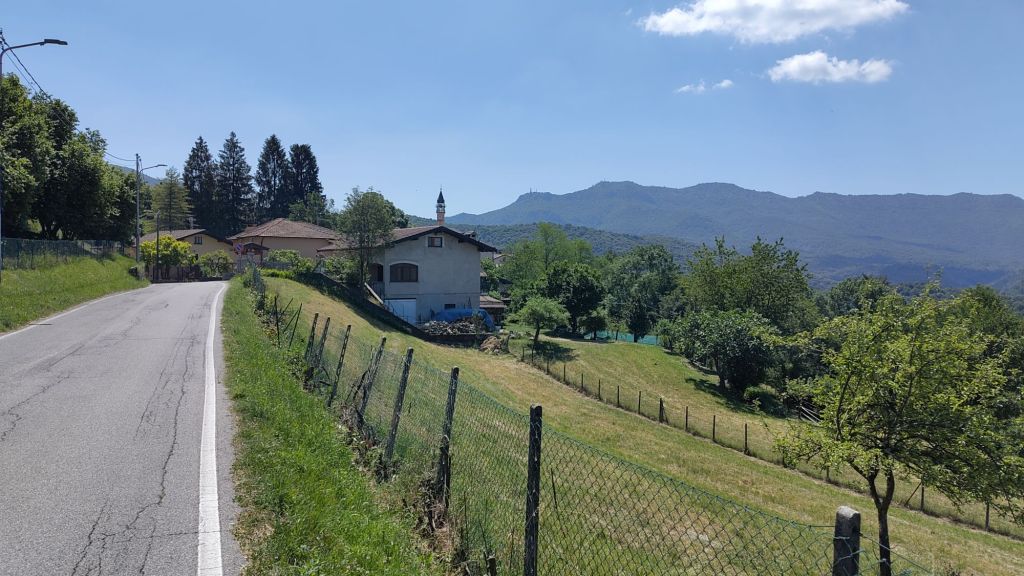
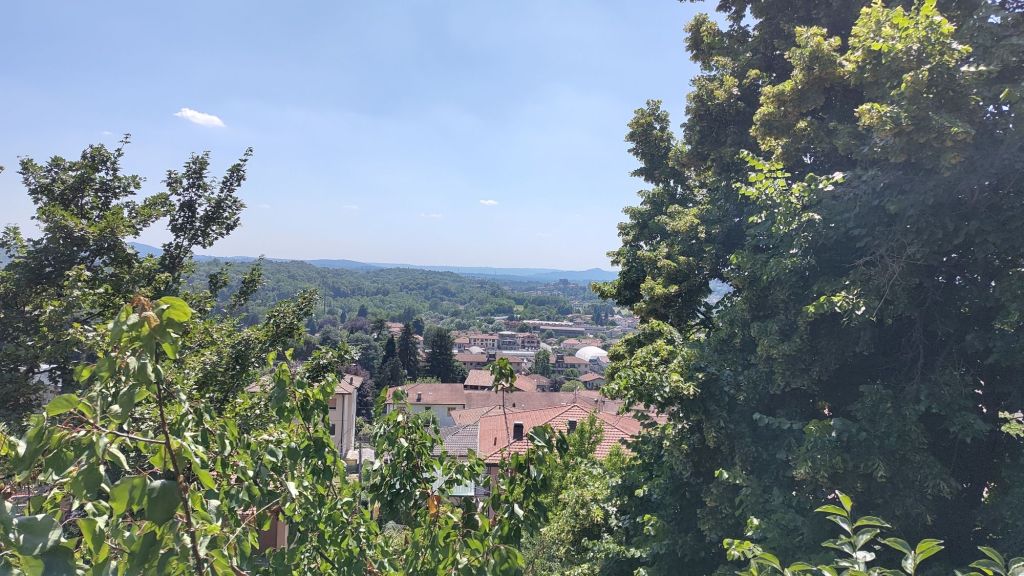
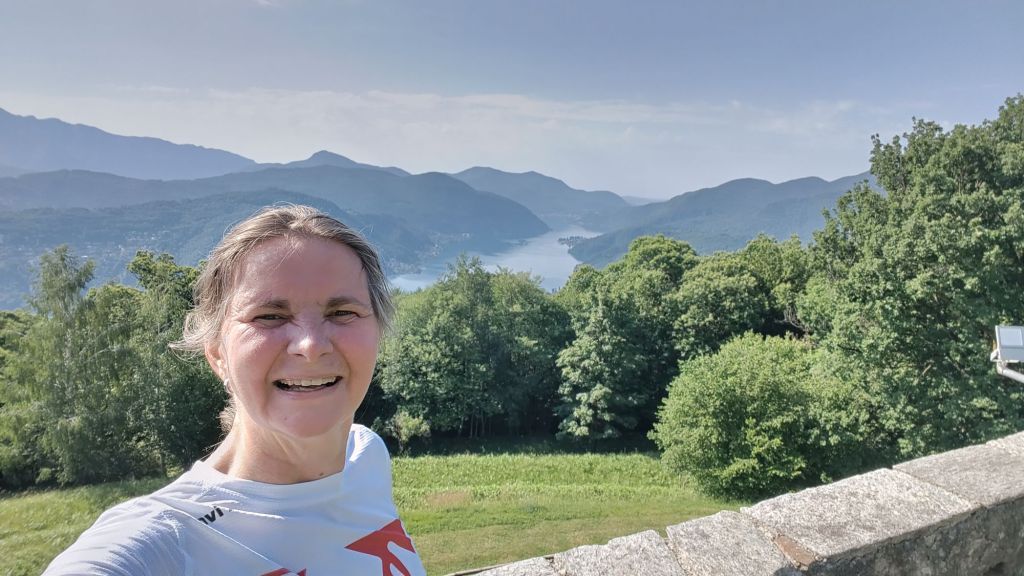
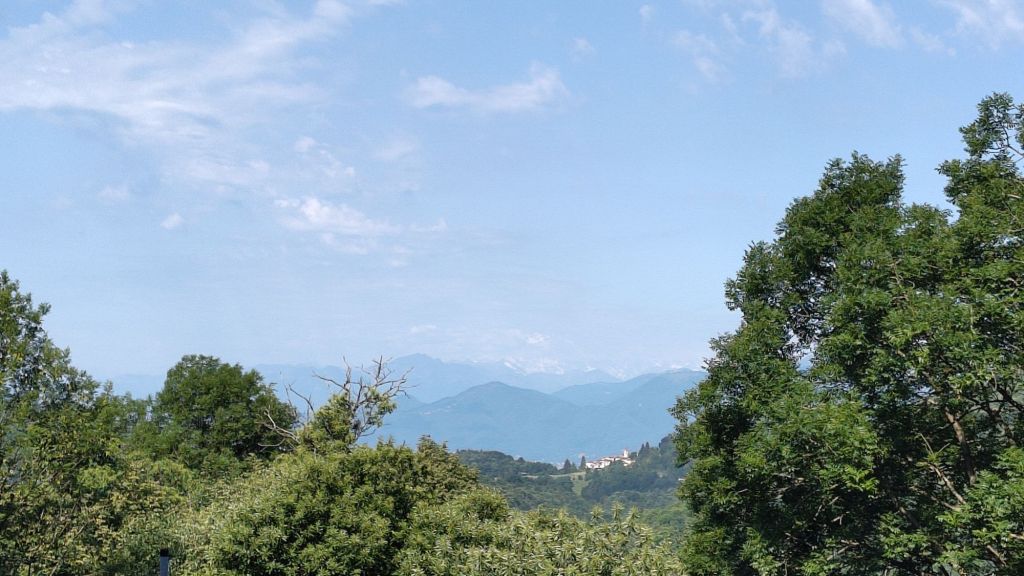
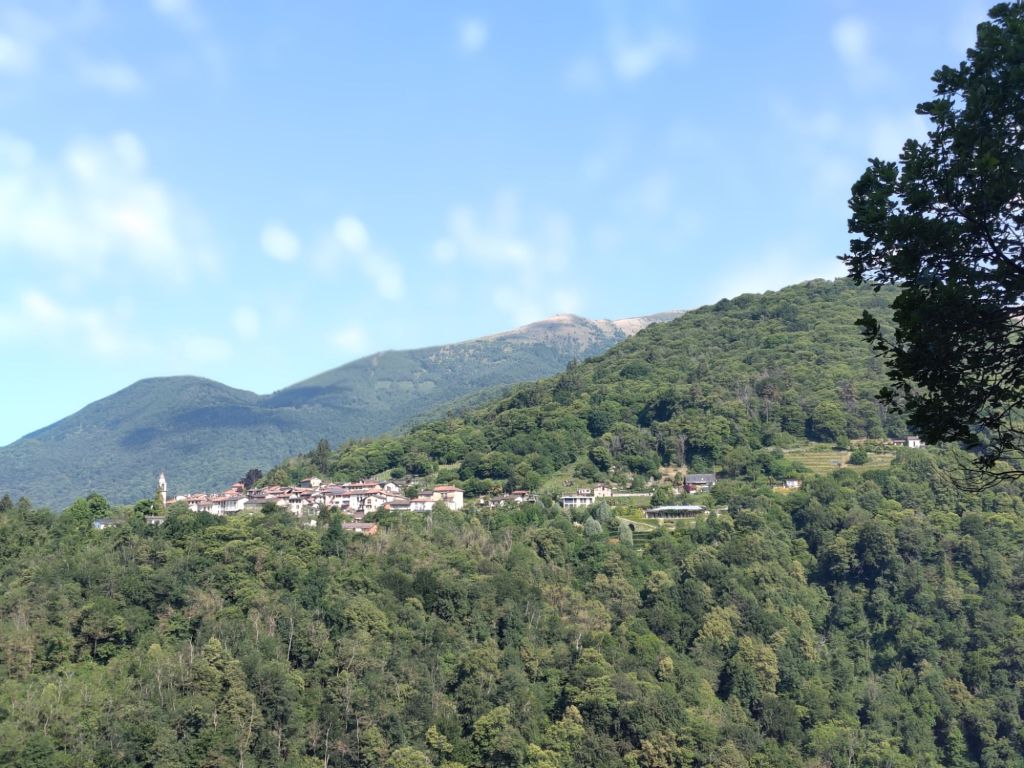
- The views on the way down
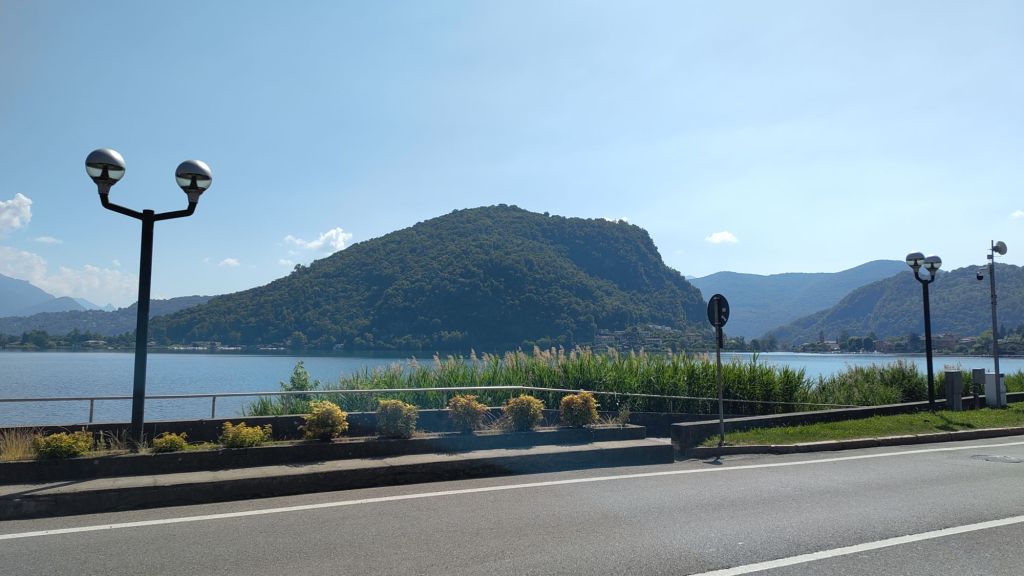
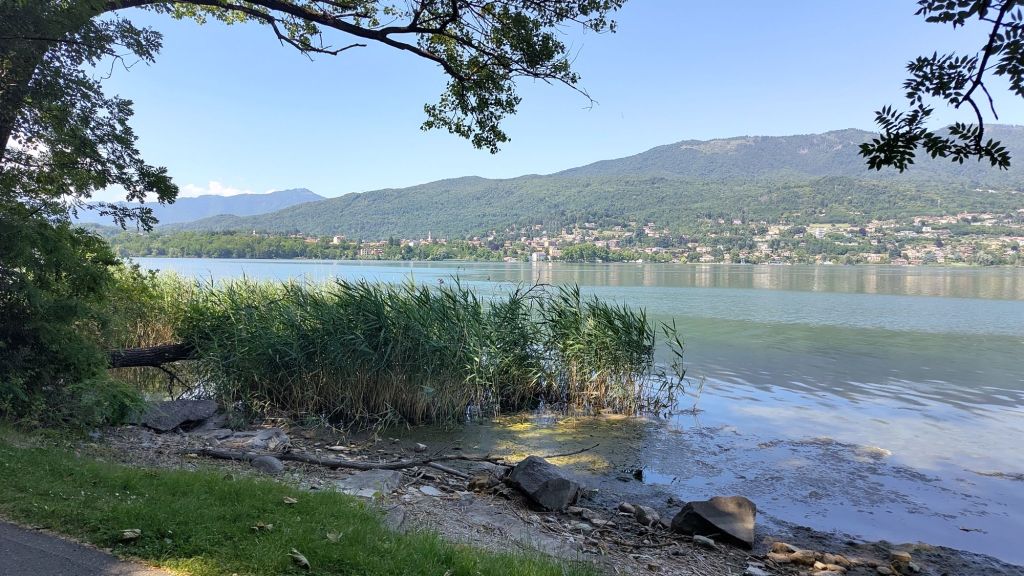
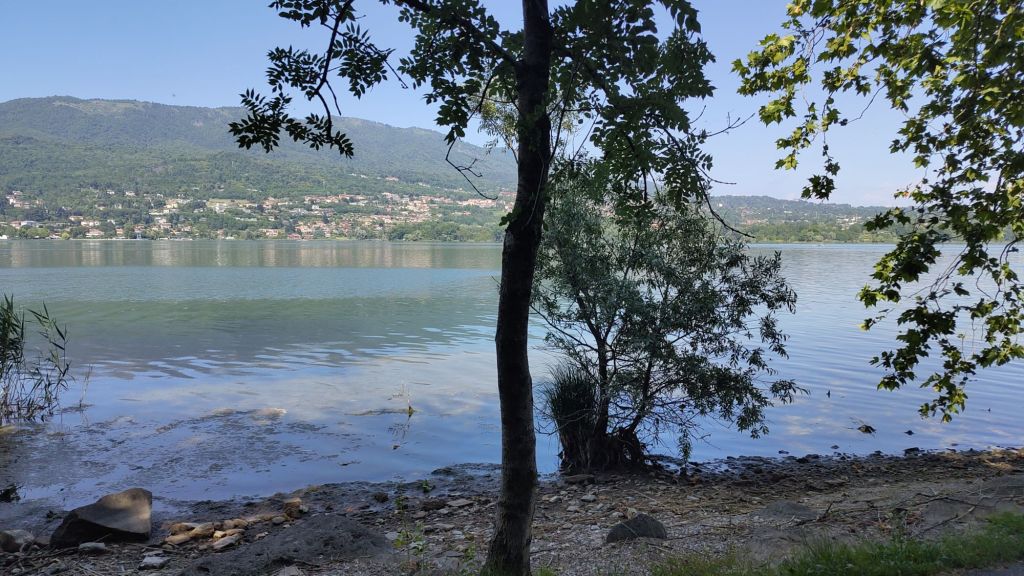
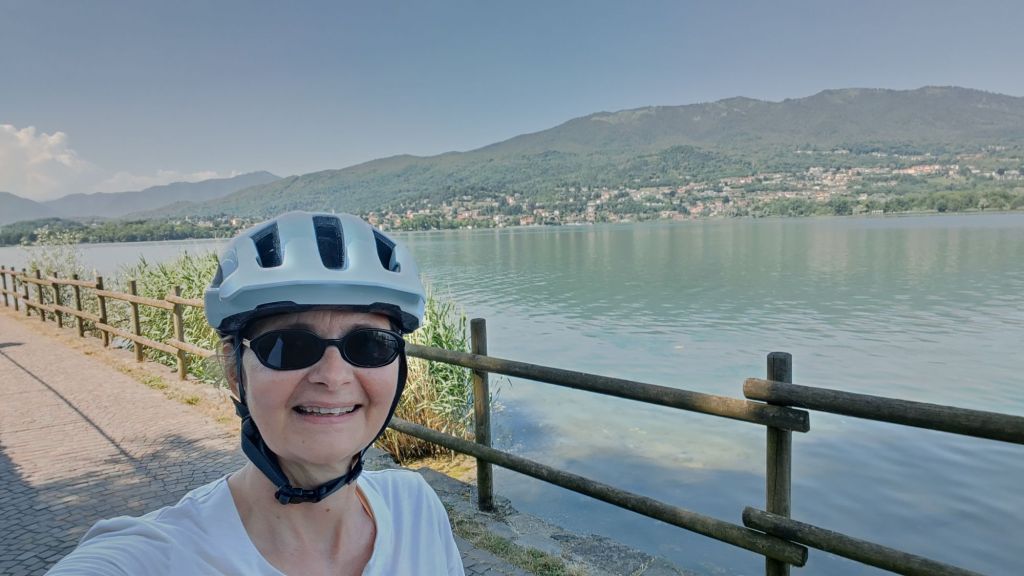
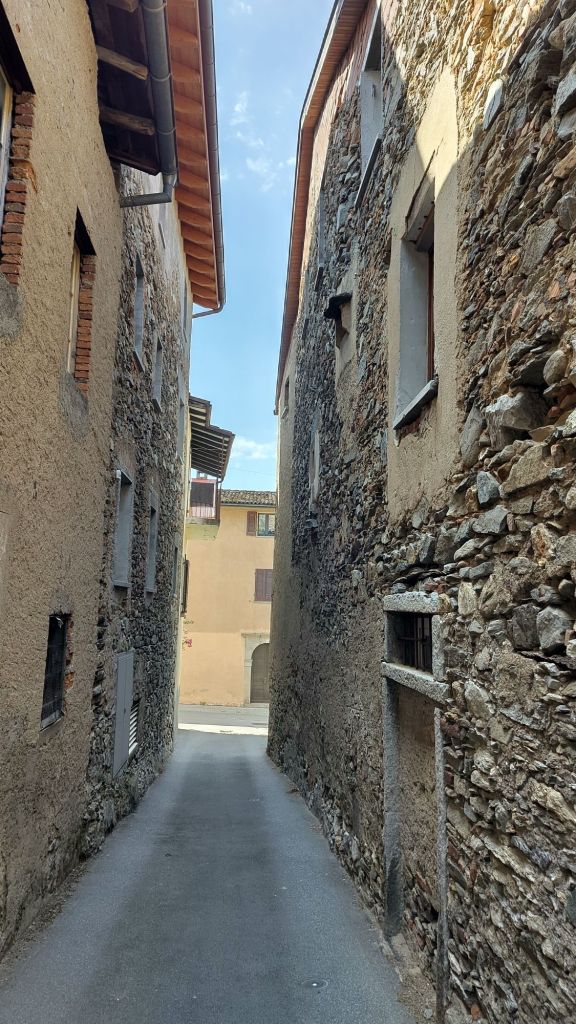
- Riding along the lake of Lugano
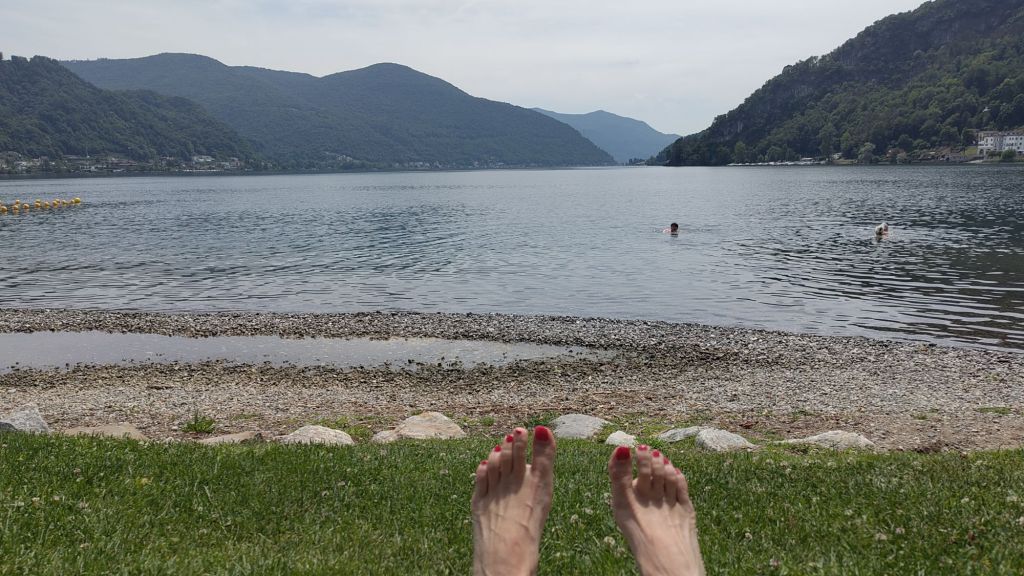
- Jumping in the lake at the end of the trip
What went well?
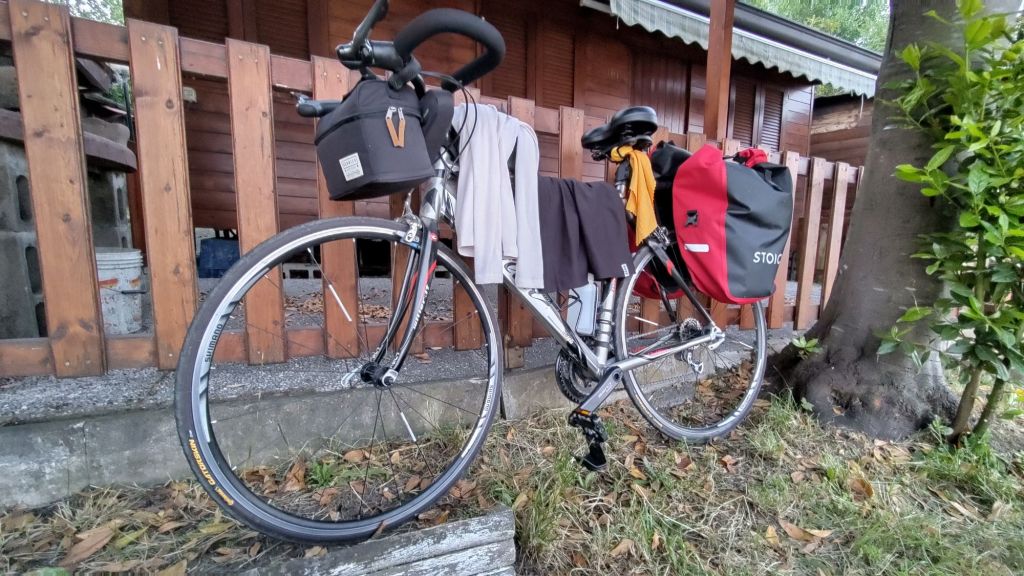
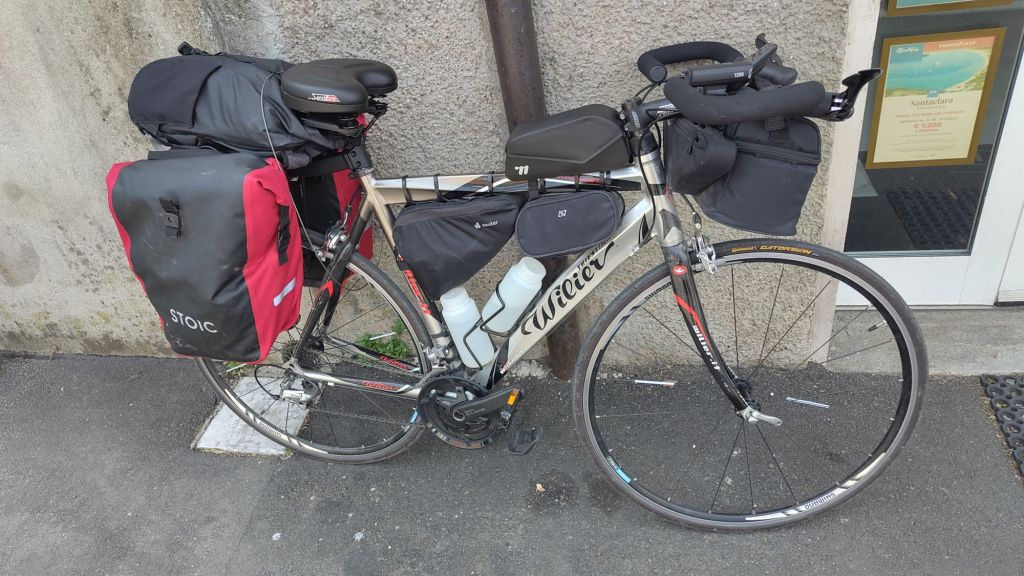
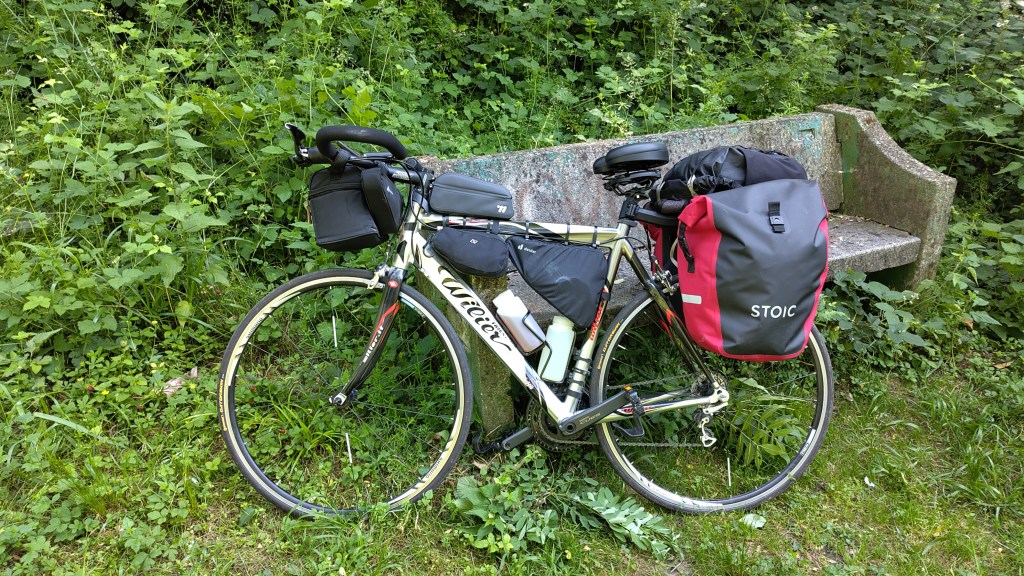
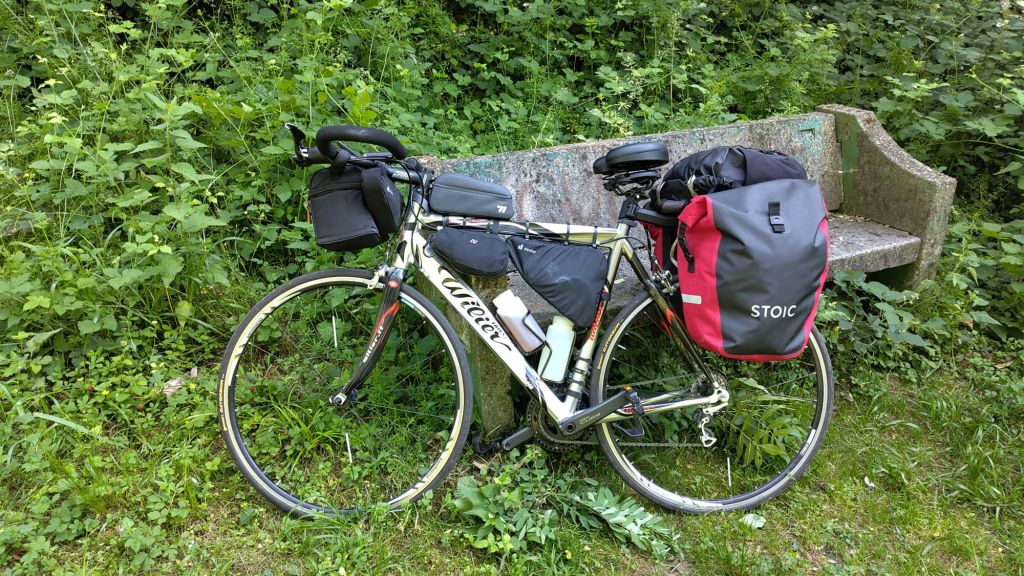
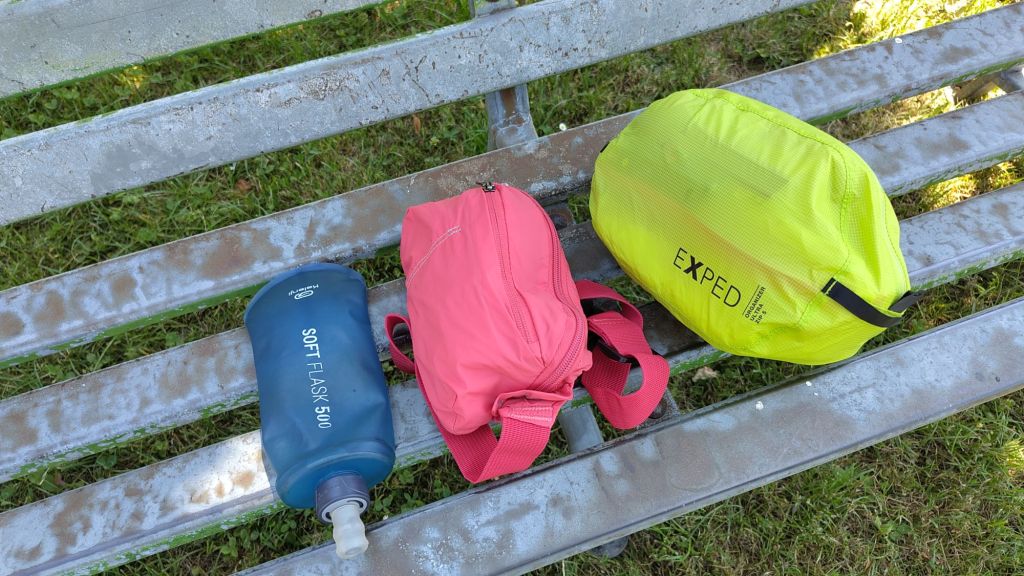
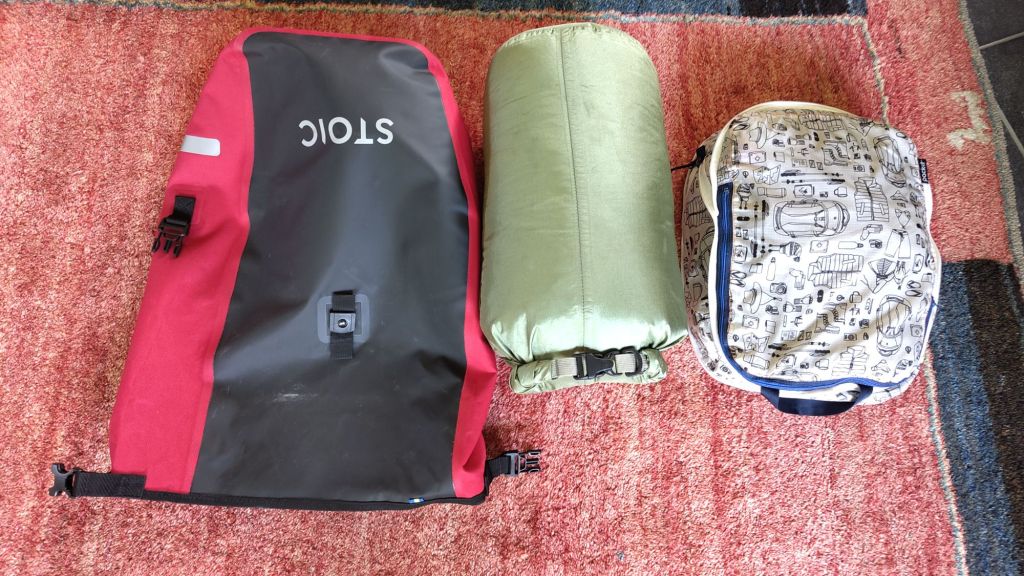
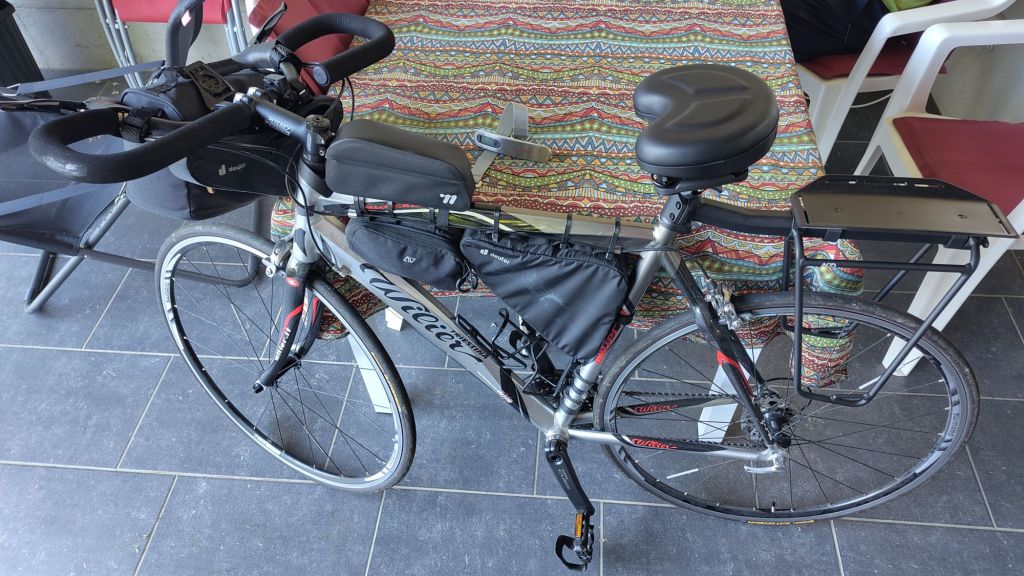
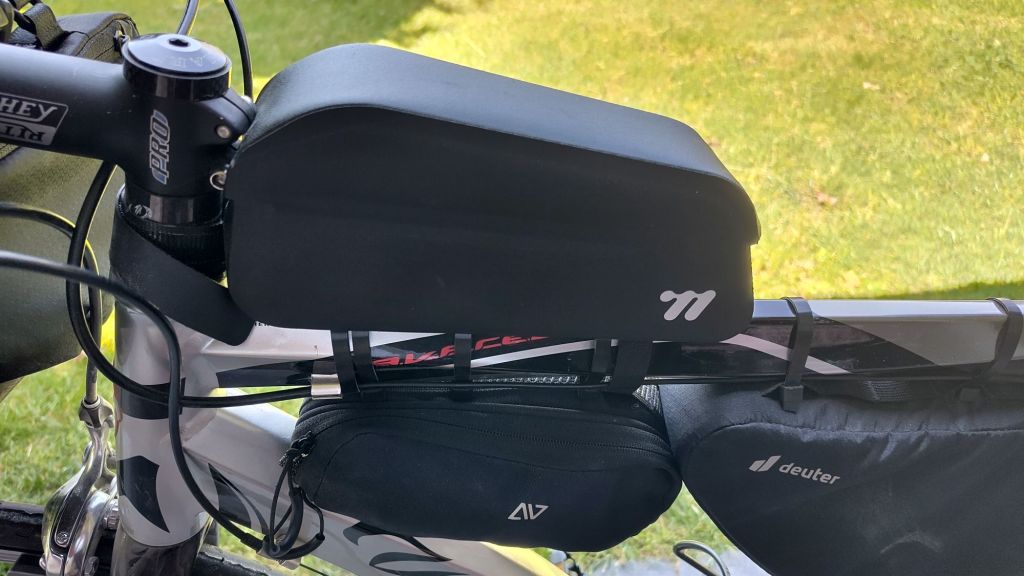
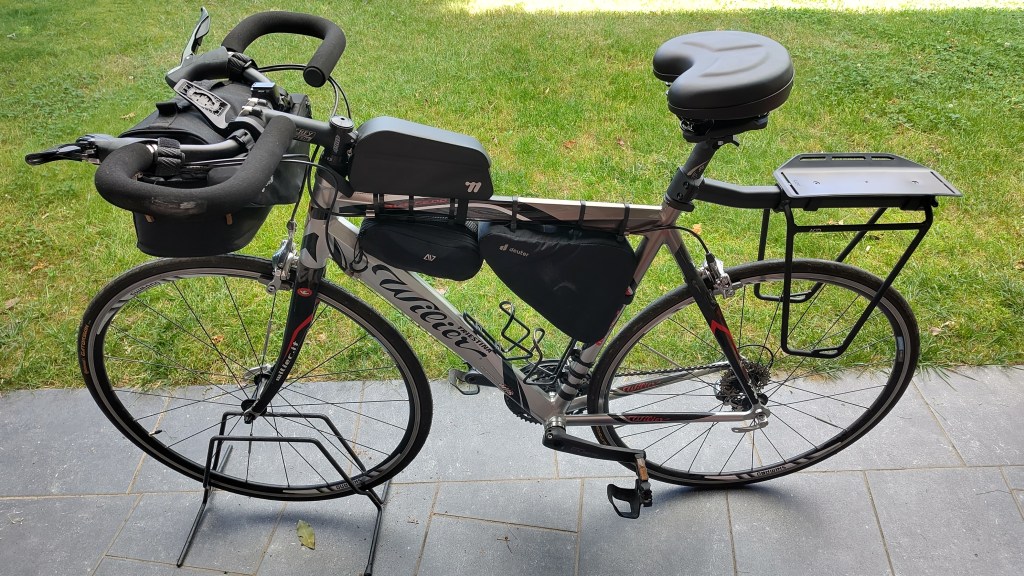
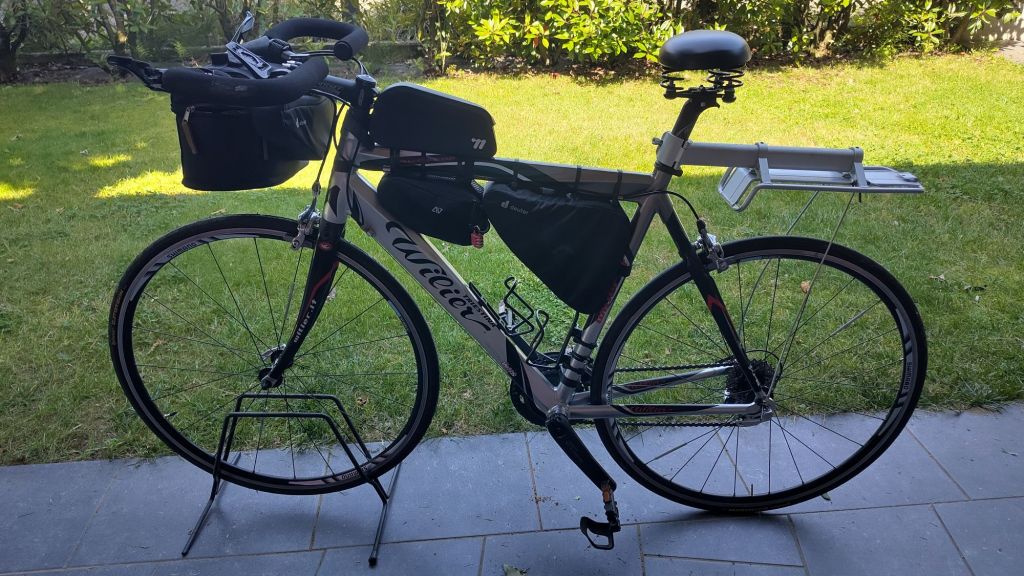
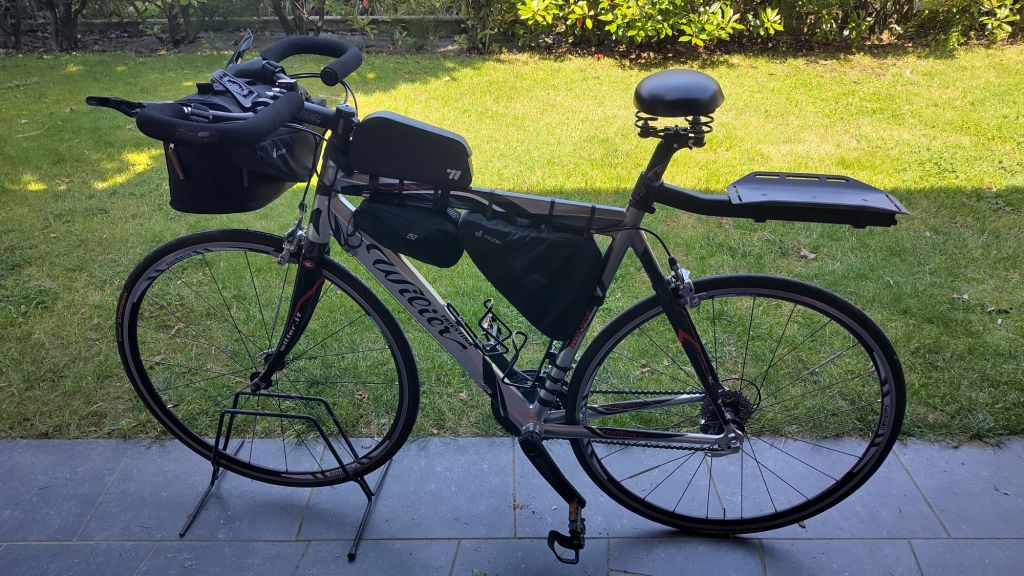
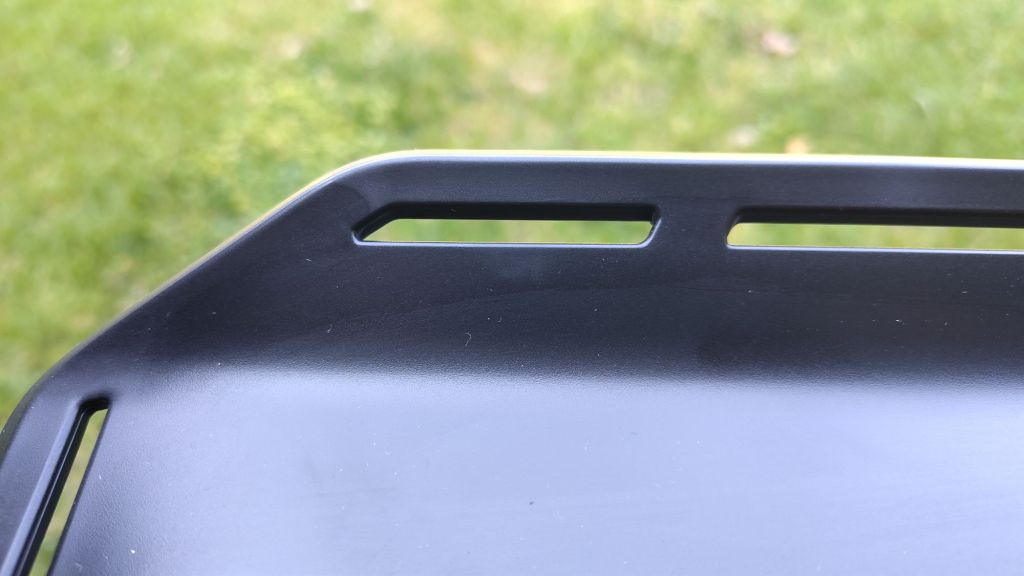
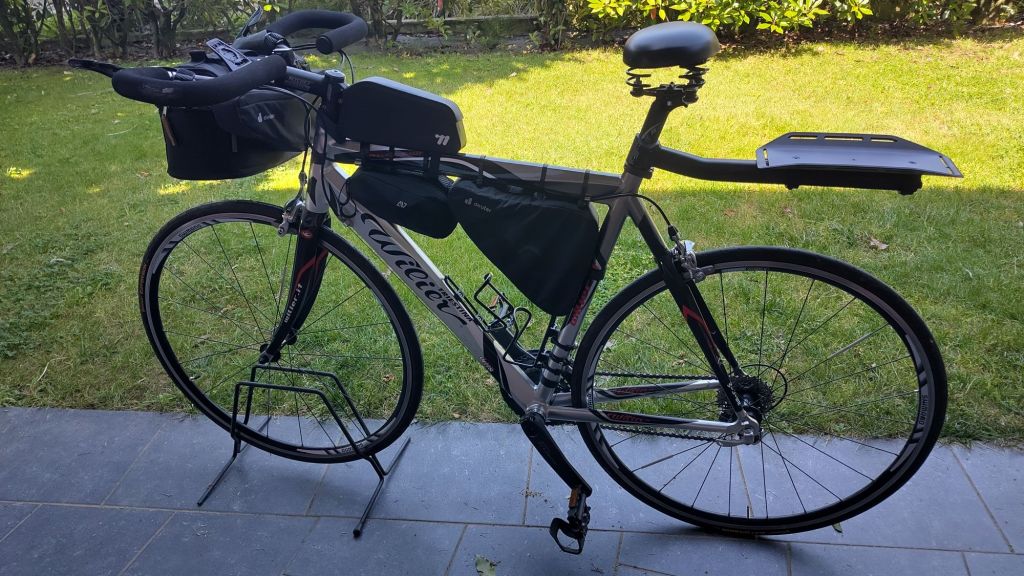
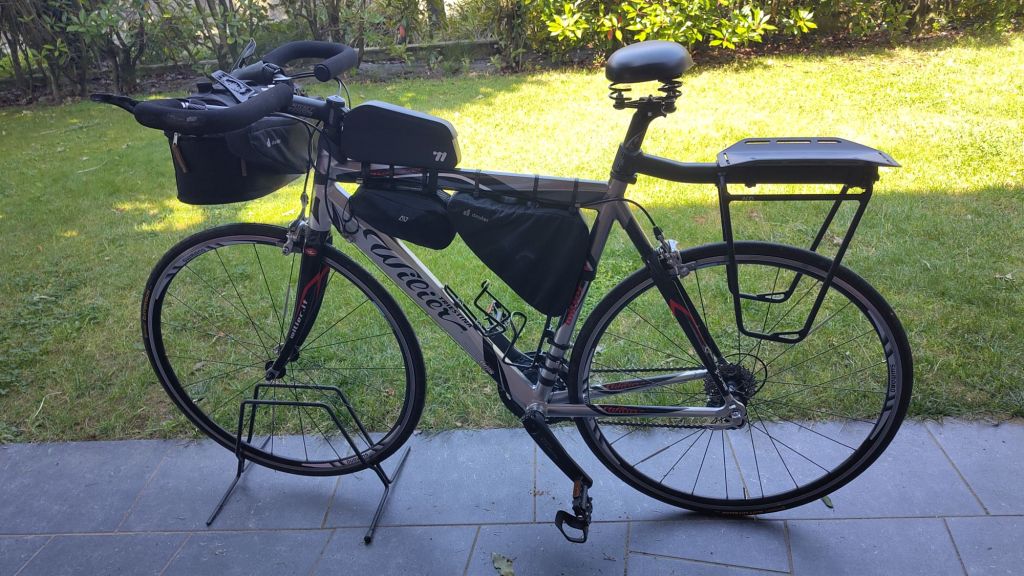
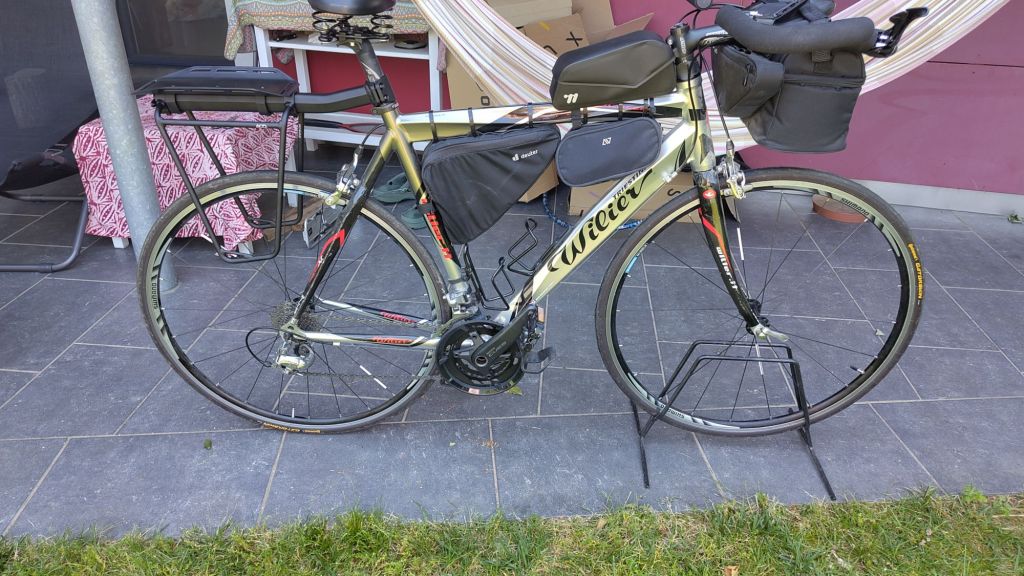
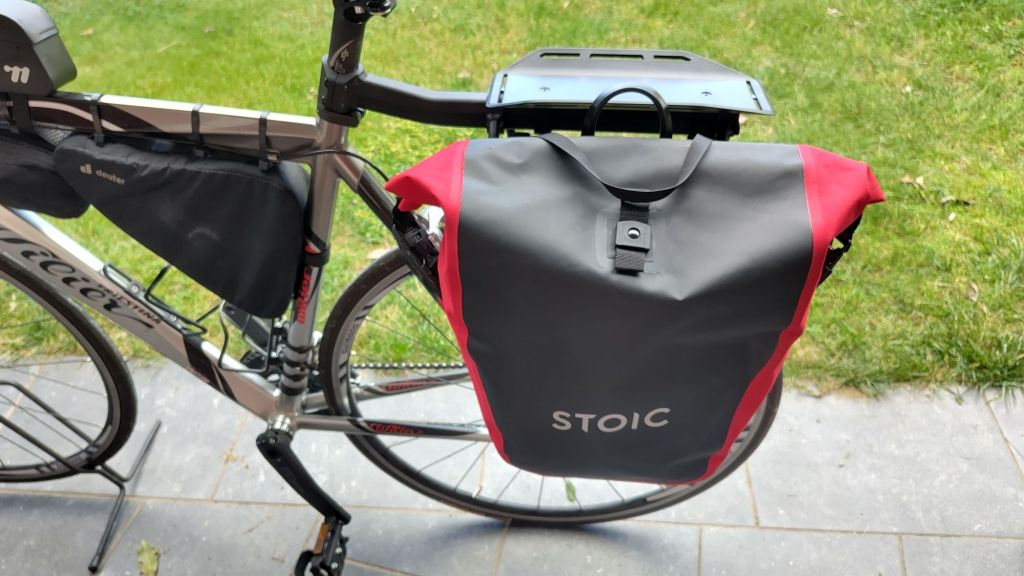
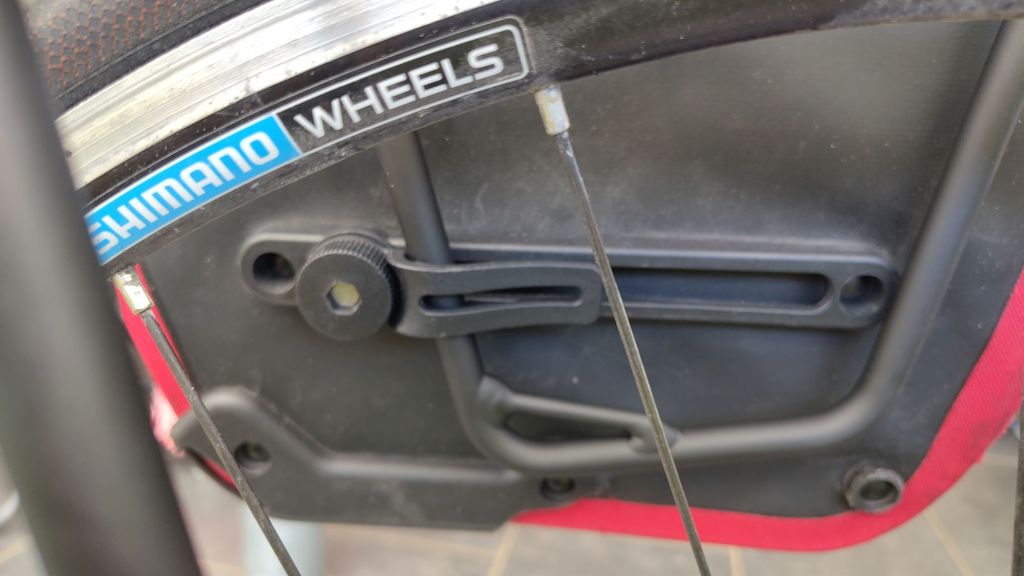
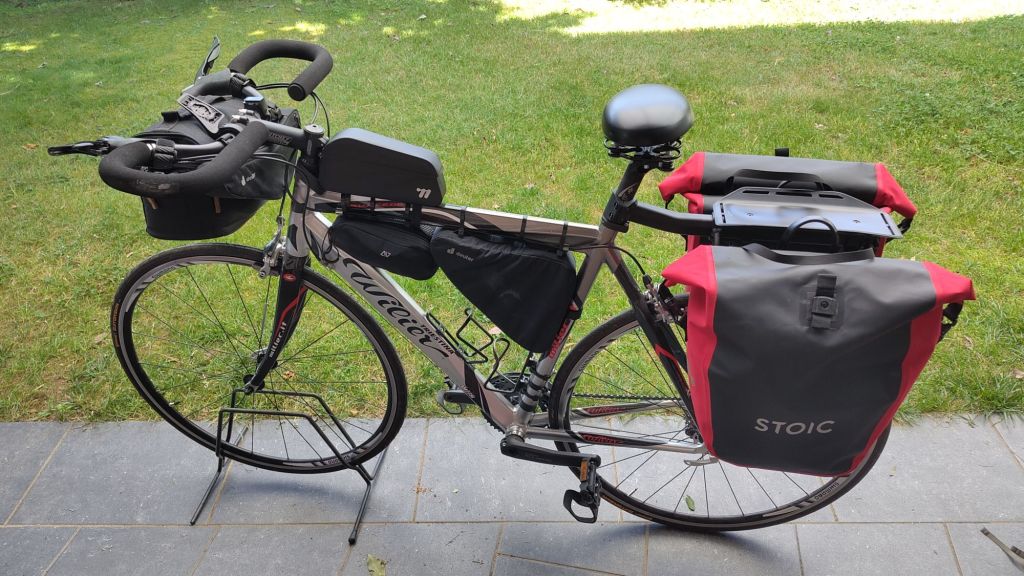
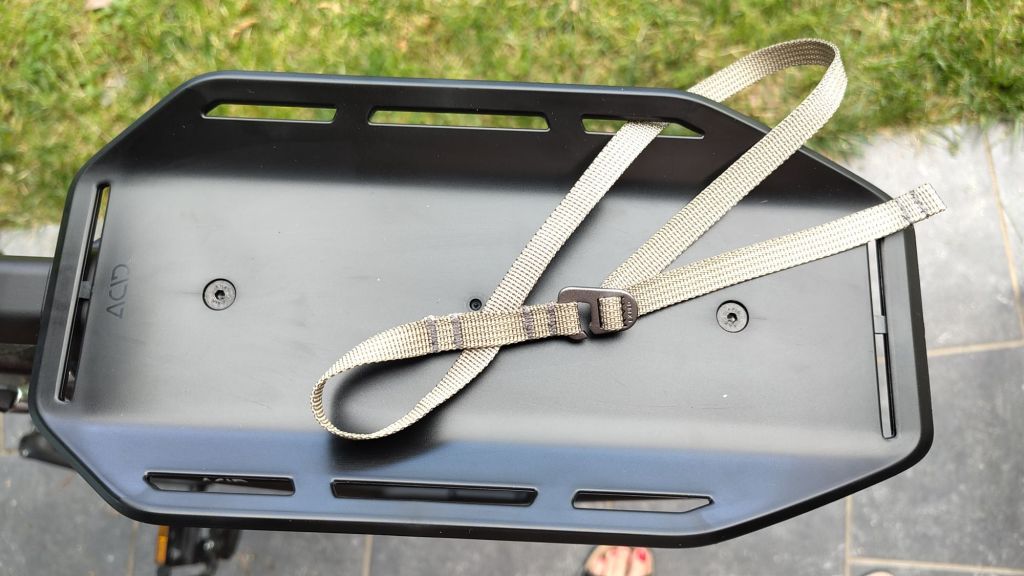
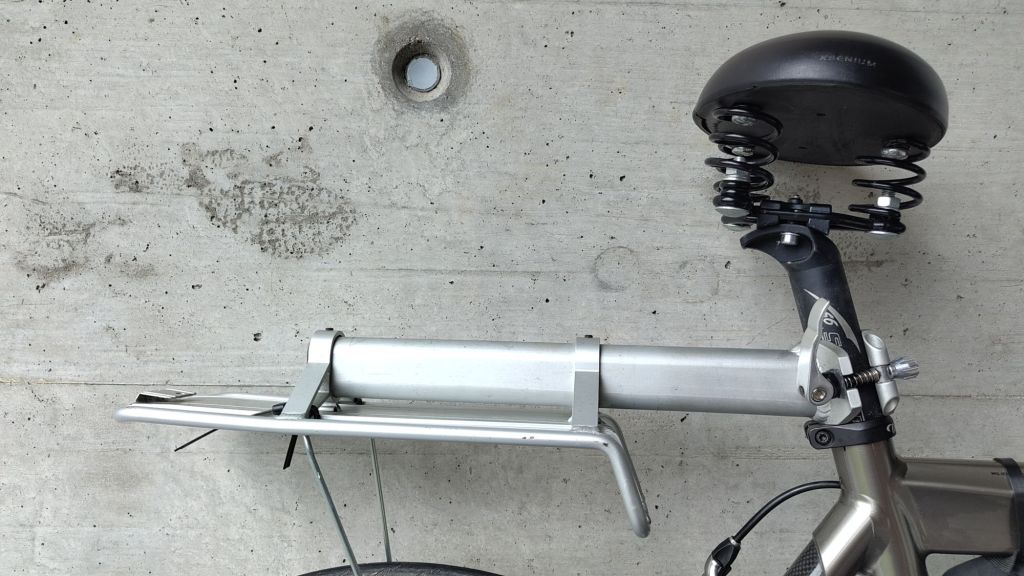
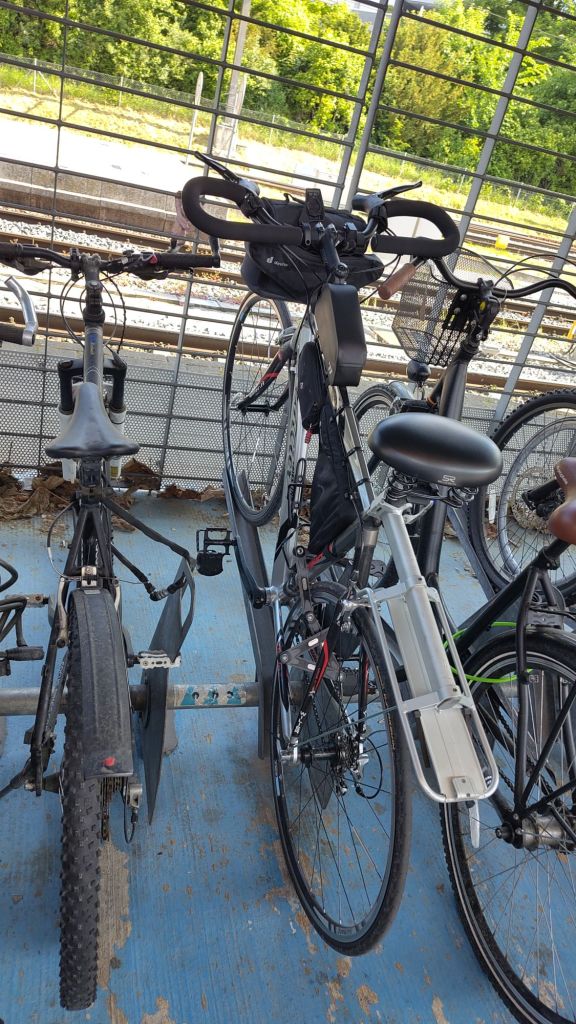
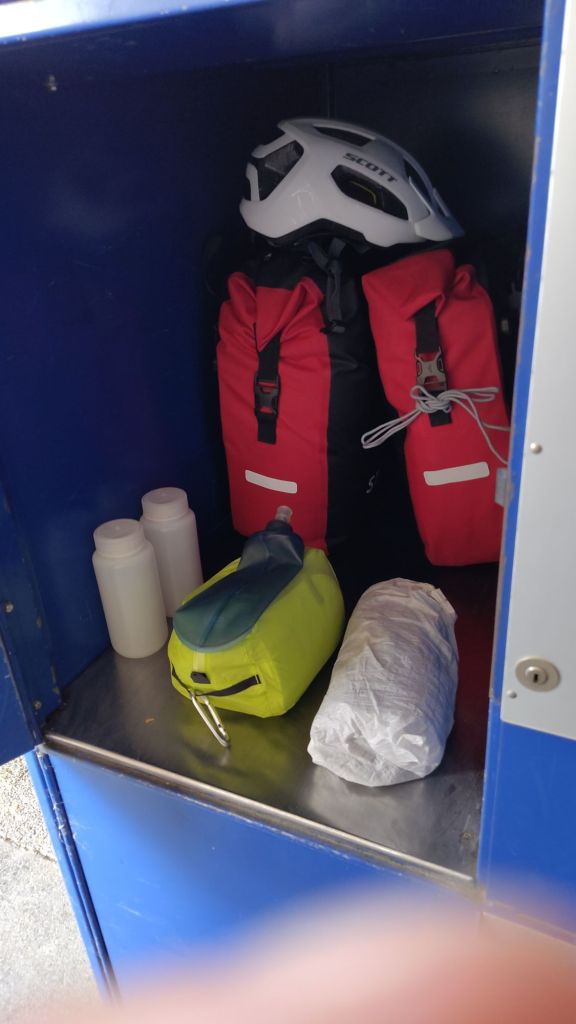
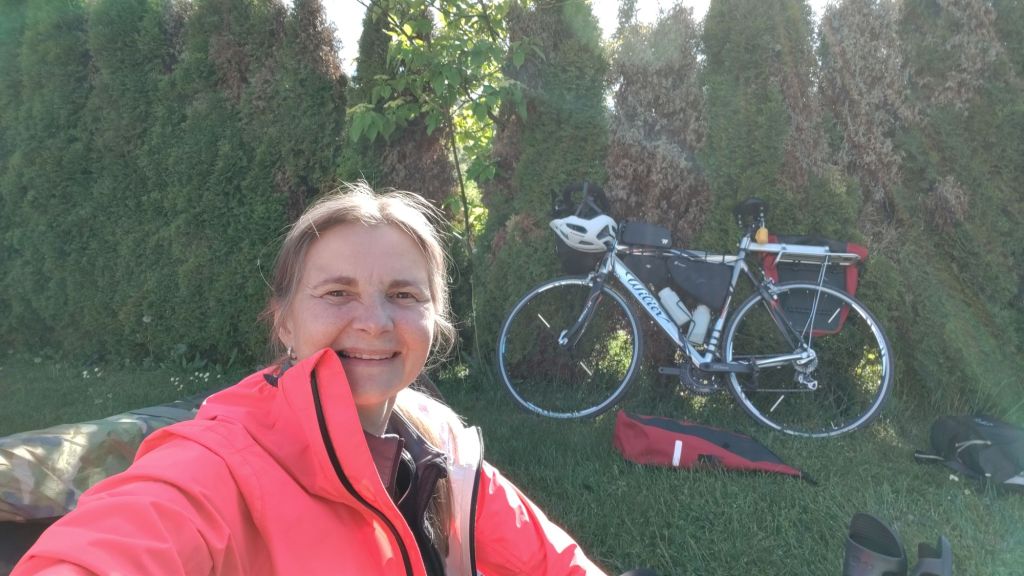
Acid seat post bike rack: I had fastened the screws holding it to the seatpost really tightly and the rack didn’t budge. Nice and solid.
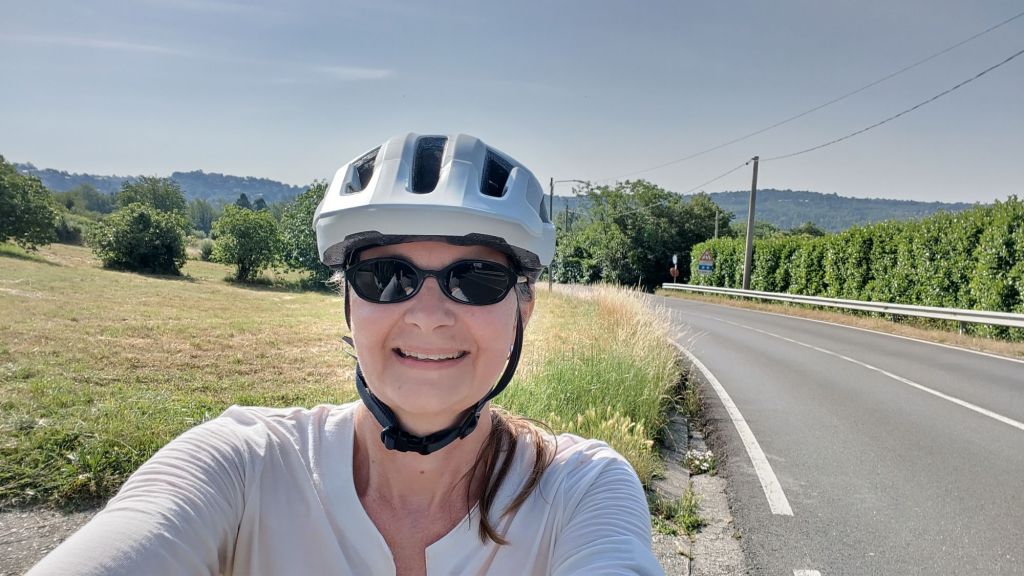
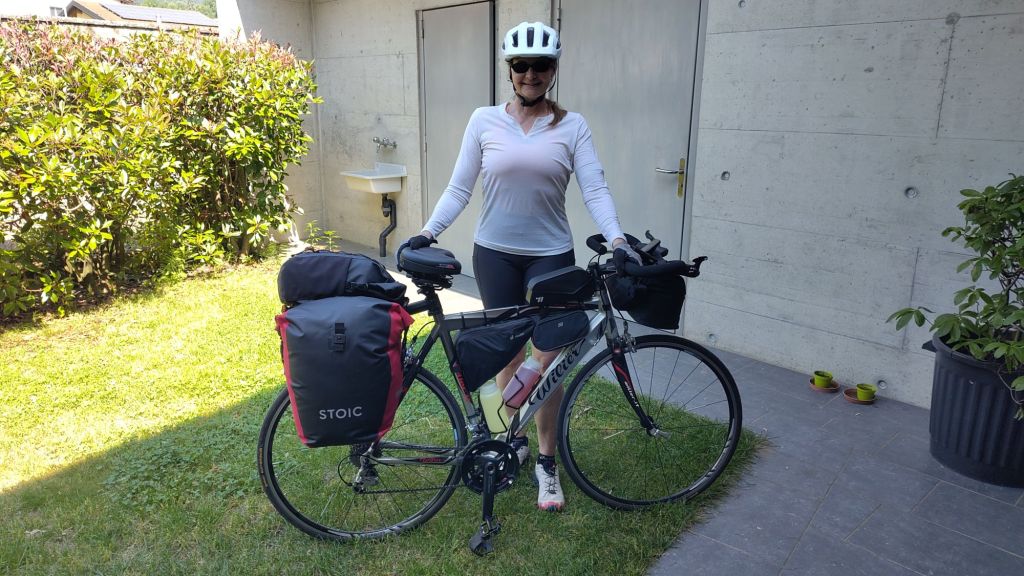
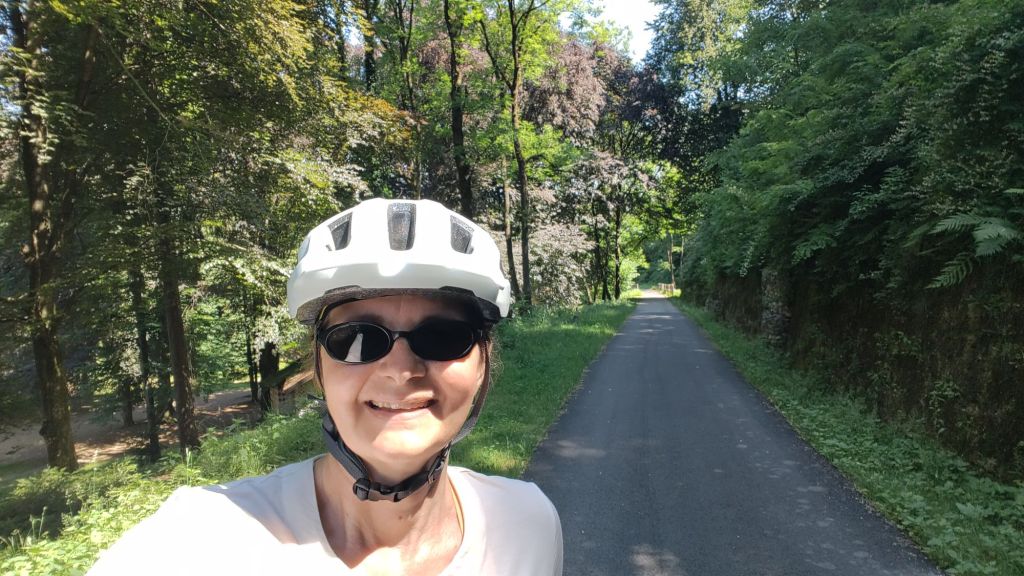
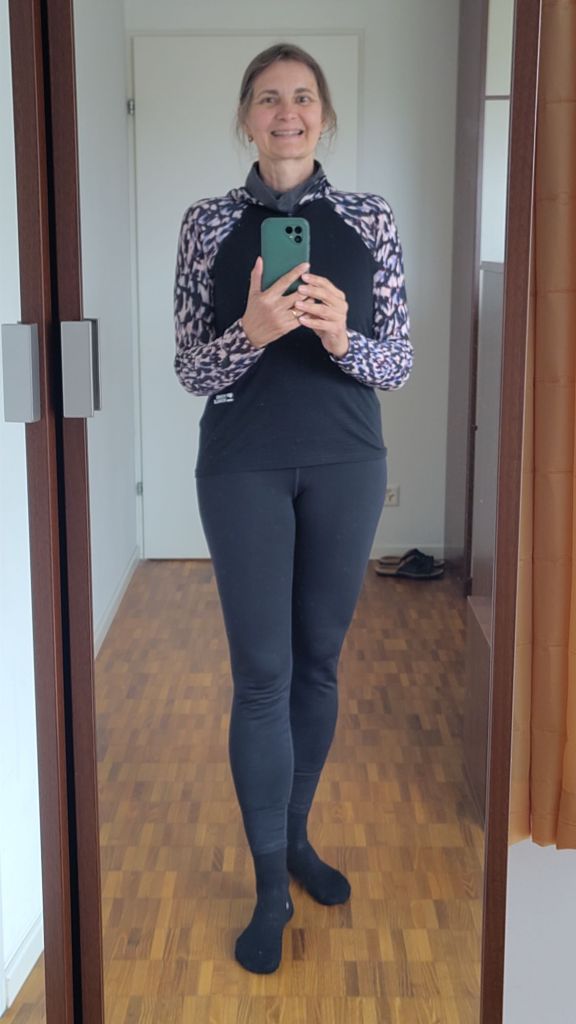
White longsleeved wool shirt: it let the breeze through while keeping the sun off my arms. And didn’t smell bad at the end of the day. It even looks nice, though a bit see-through. But many people in Italy were wearing see-through tops on this hot day.
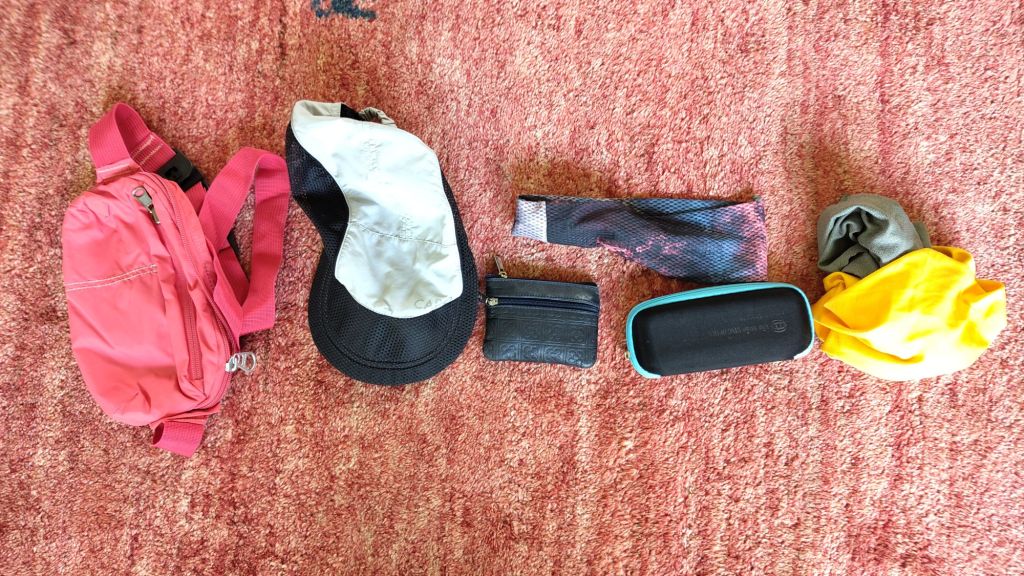
Flipflops: work for taking showers and wearing to the restaurant. The slides are not really elegant enough to wear with my LBD and the sandals are heavy and not great for the shower. Flipflops are fine as long as I don’t need to walk long distances. (But I’ve got my bike for that.)
LBD: my gorgeous little black dress from Arc’teryx works as a bikini cover-up, post-shower wear, and out for dinner. And it doesn’t weigh a thing!
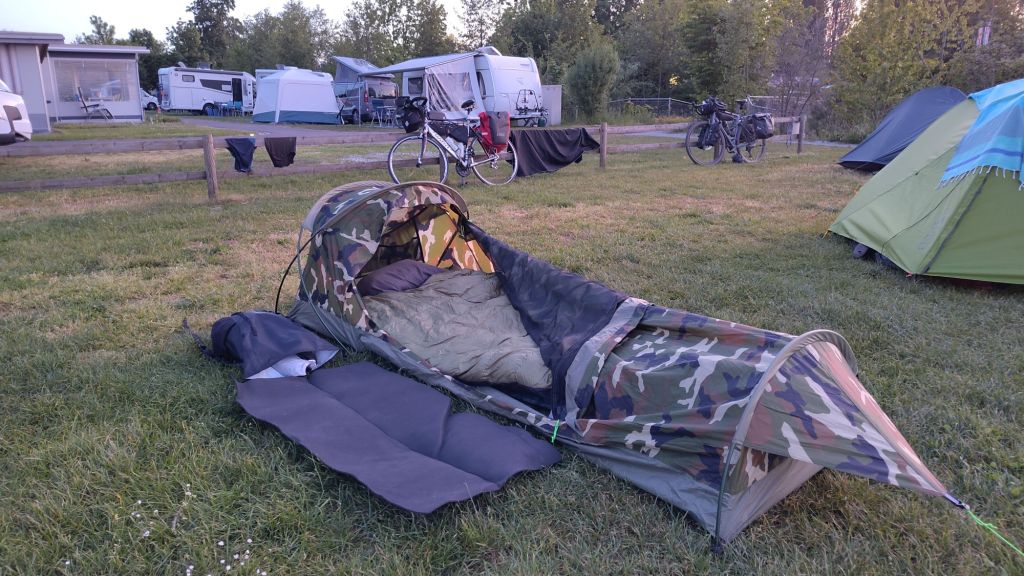
Medium-sized super thin towel: big enough to lie on, even luxurious when put on top of the evazote pad
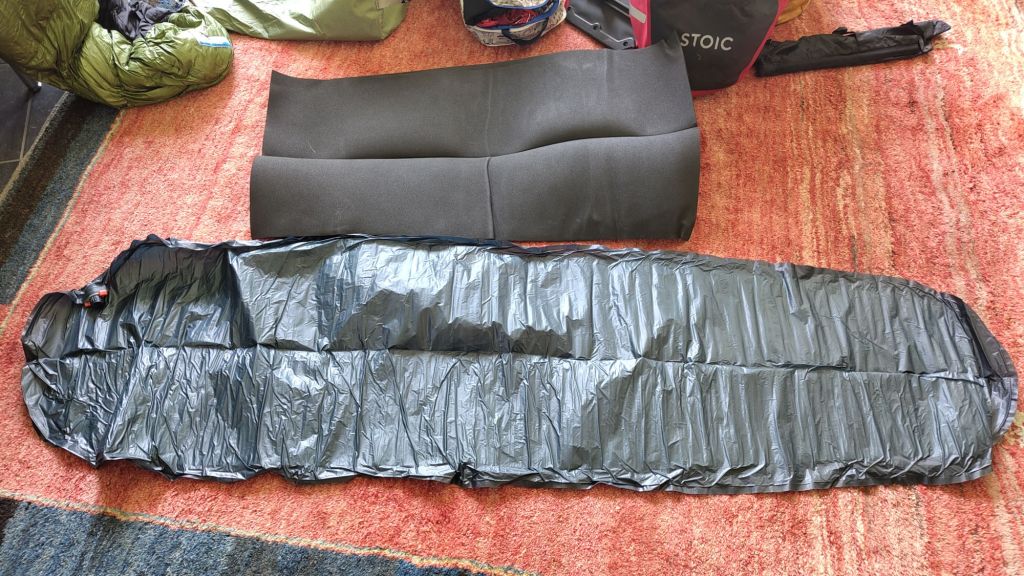
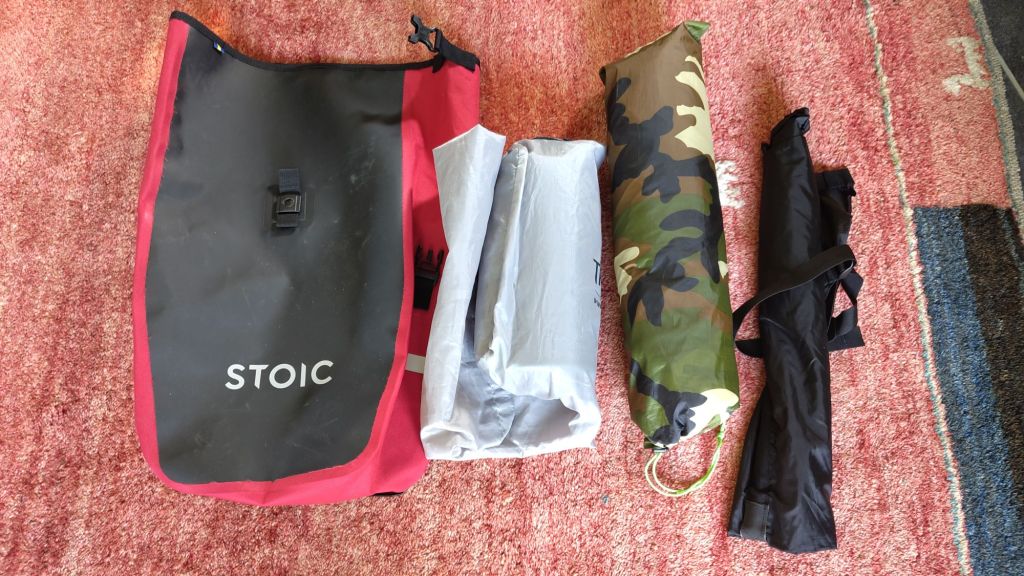
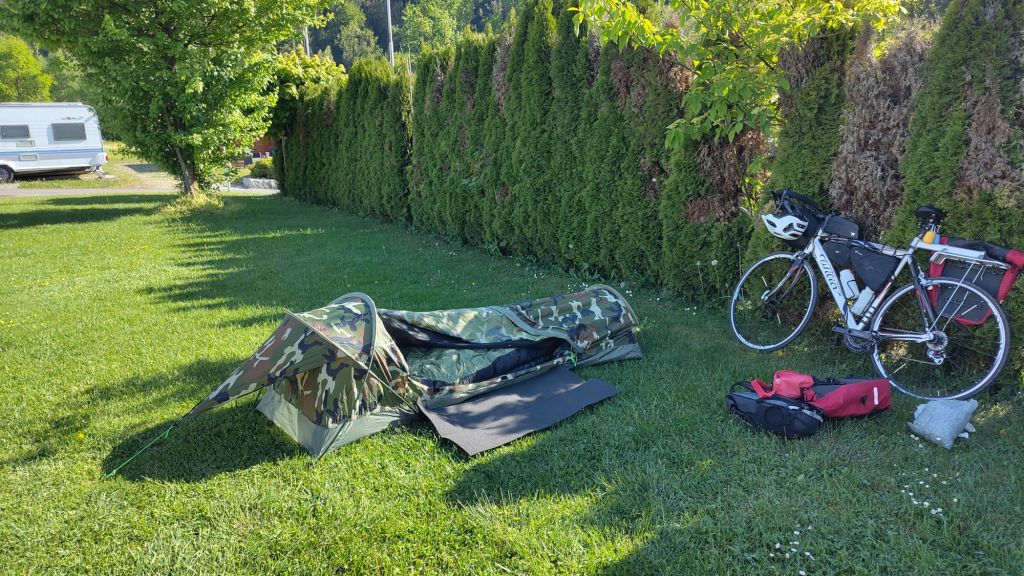
As my bike trips are generally at low altitude in warm weather, a super light sleeping mat is good enough. Just in case it pops, I also have an evazote pad. This pad is also great for relaxing in comfort on hard ground by the lake and keeping your wet towel from picking up dirt. Staying clean and presentable during a multi-day trip is not so easy. Since road cycling is by definition in populated areas this is a thing, especially if you take the train home at the end.
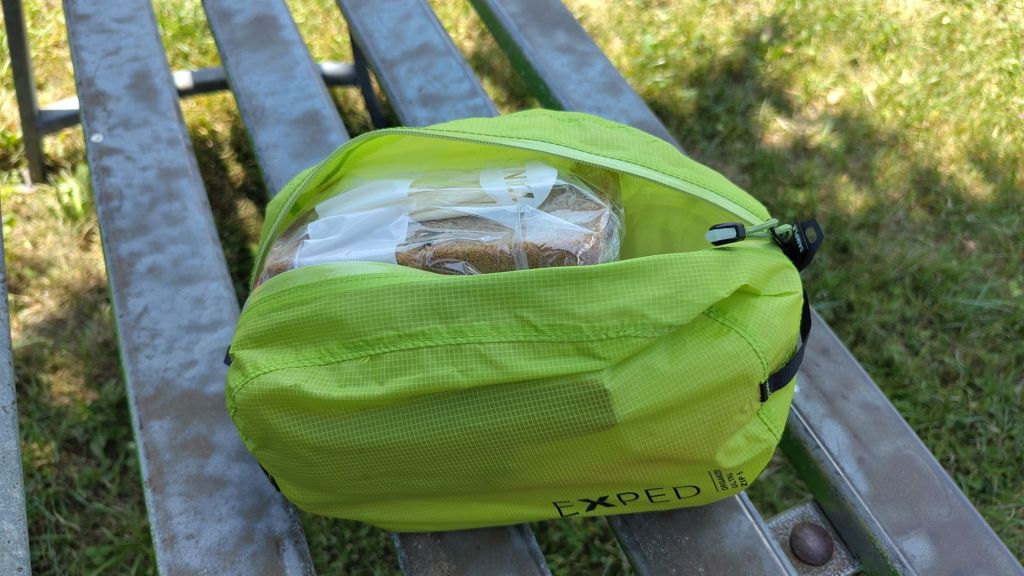
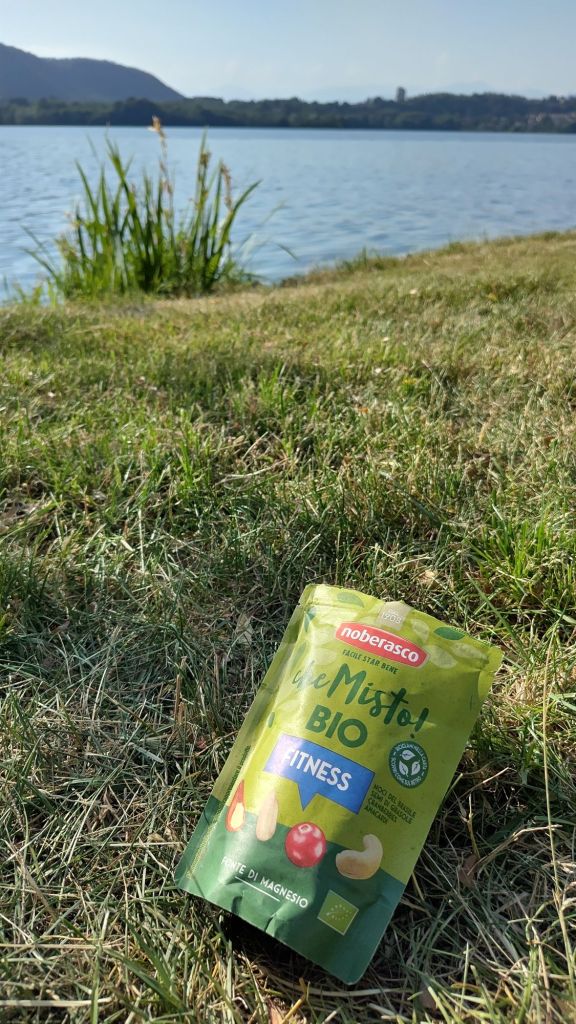
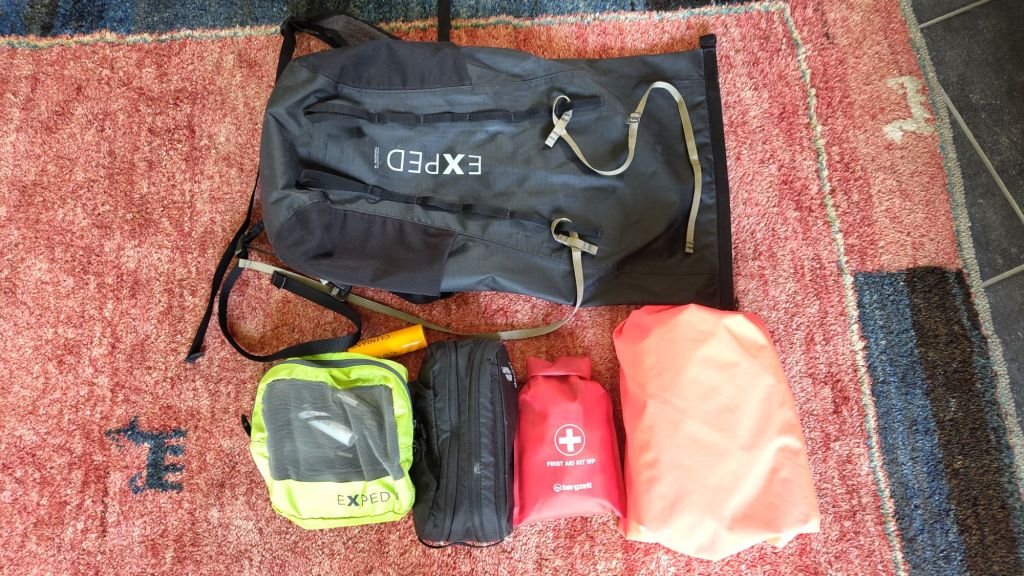
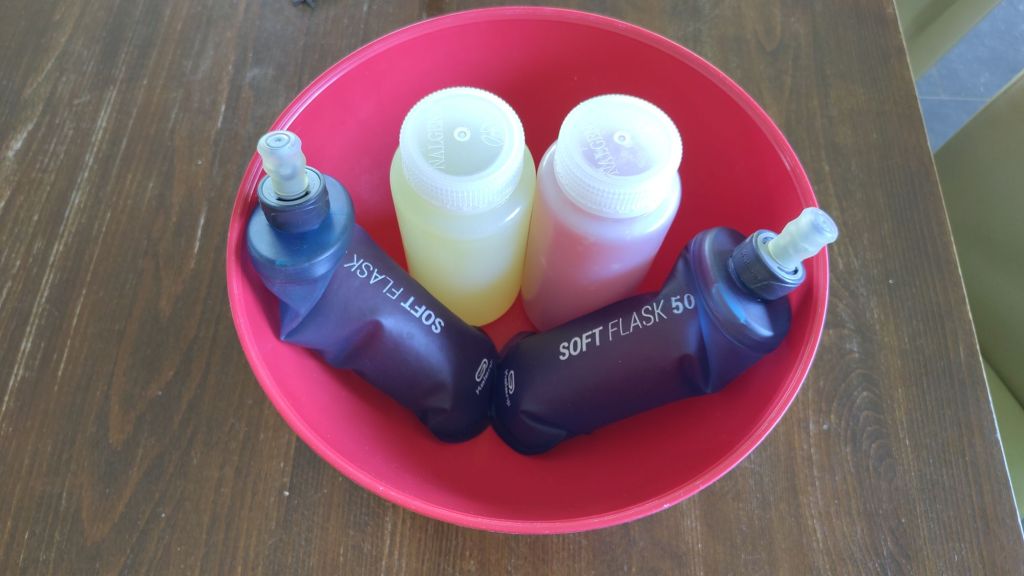
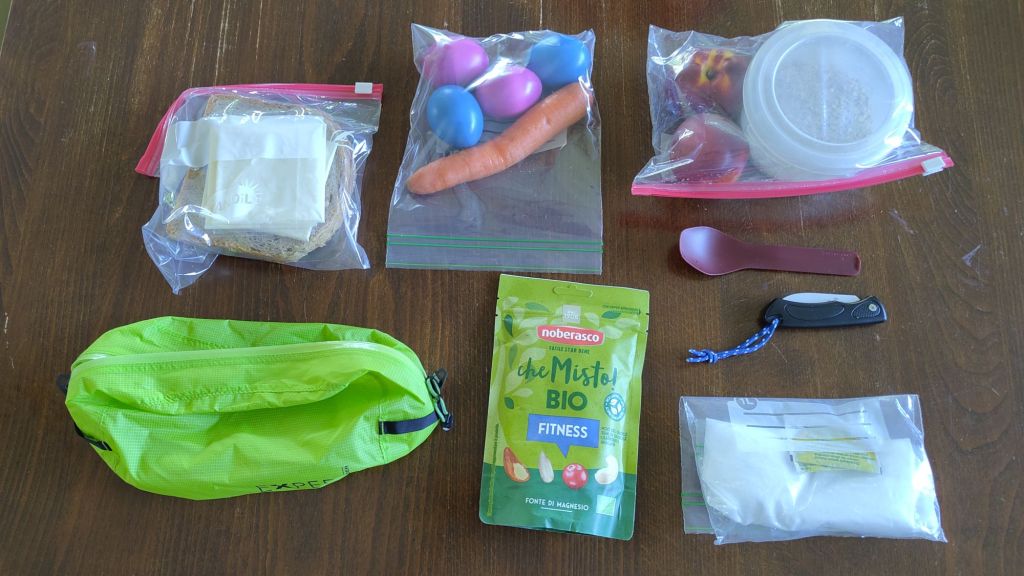
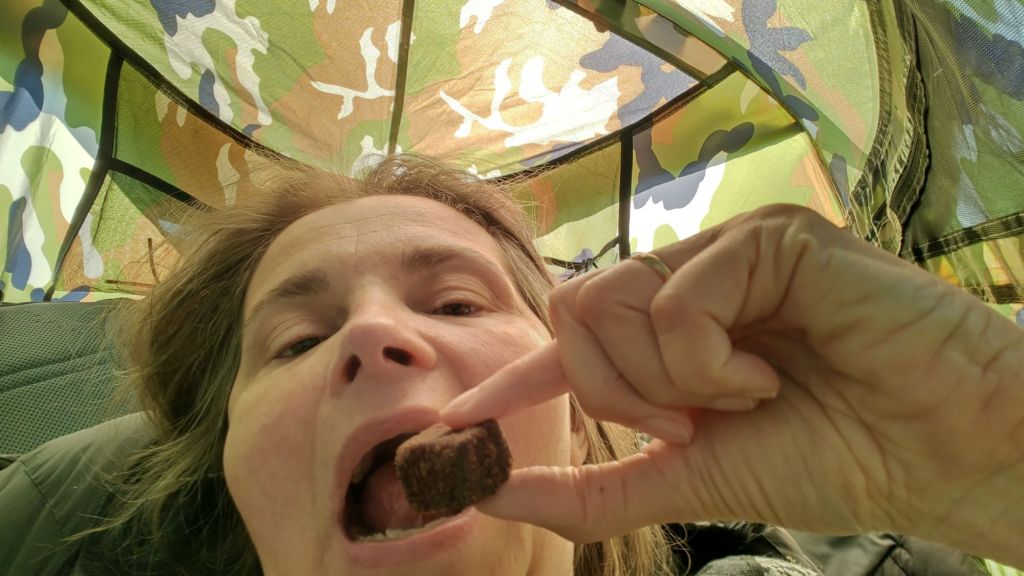
Food&drinks: good to have a range of things to eat and drink. Water, maltodextrine, magnesium. Oats with milk powder plus dried or cut fruit is perfect to eat in bed. Hardboiled eggs are great too. So is a carrot or some cherry tomatoes. But not in ziplocks – I should make my own dyneema baggies!
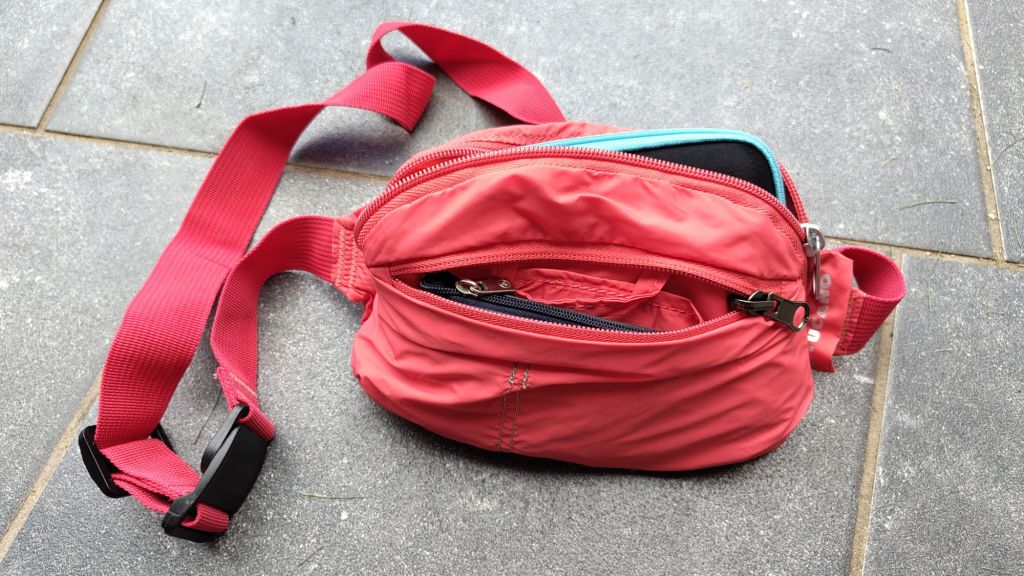
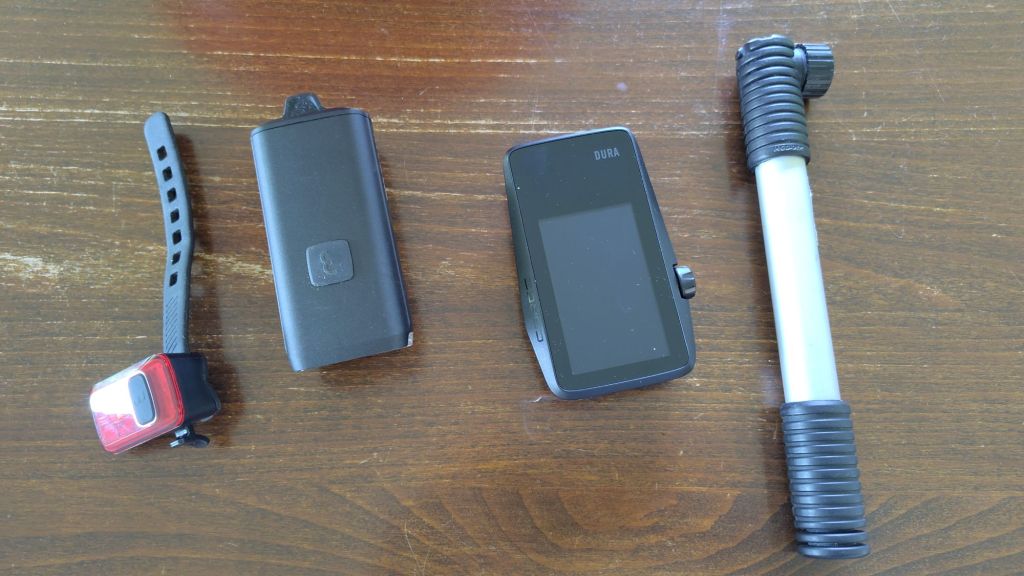
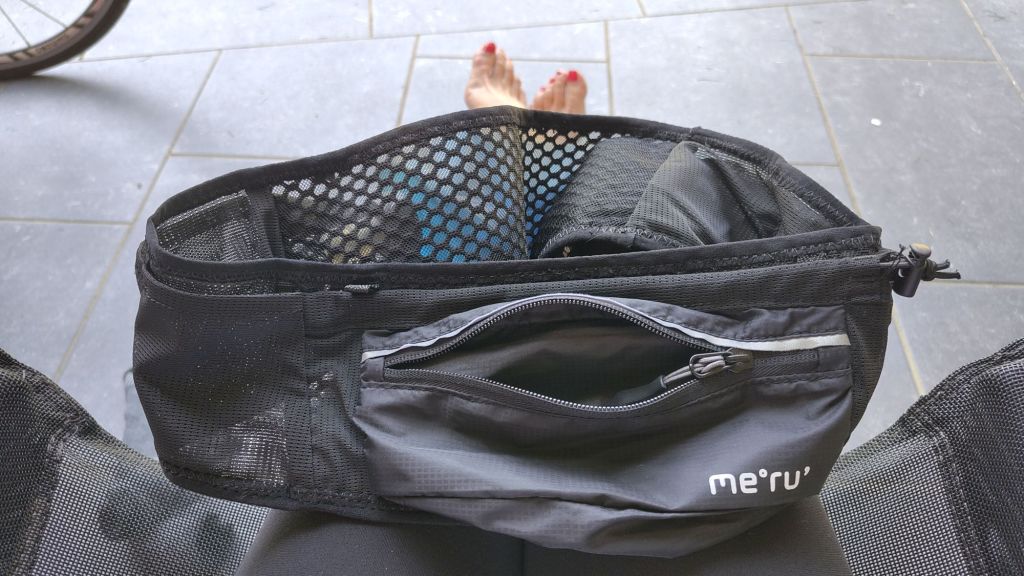
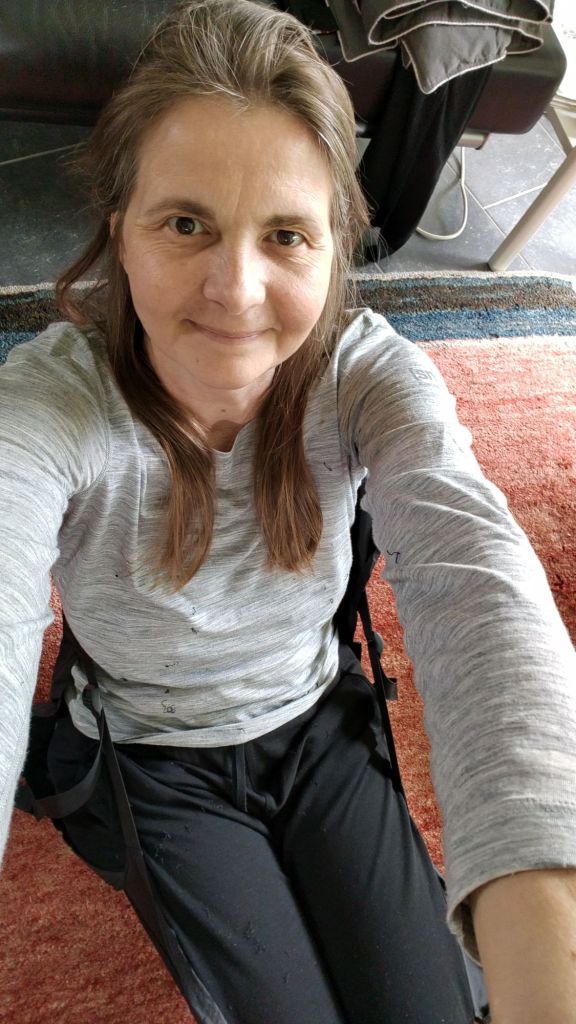
My Tucano hip belt looks stylish when worn as a cross-body bag. It’s just the right size for my wallet, alternate glasses, Coros Dura navigator, and phone. My Mandarina Duck bag got stolen on a bike trip last year, with all my valuables in it!, so my bag needs to be worn the moment I step off the bike. Needs more practice.
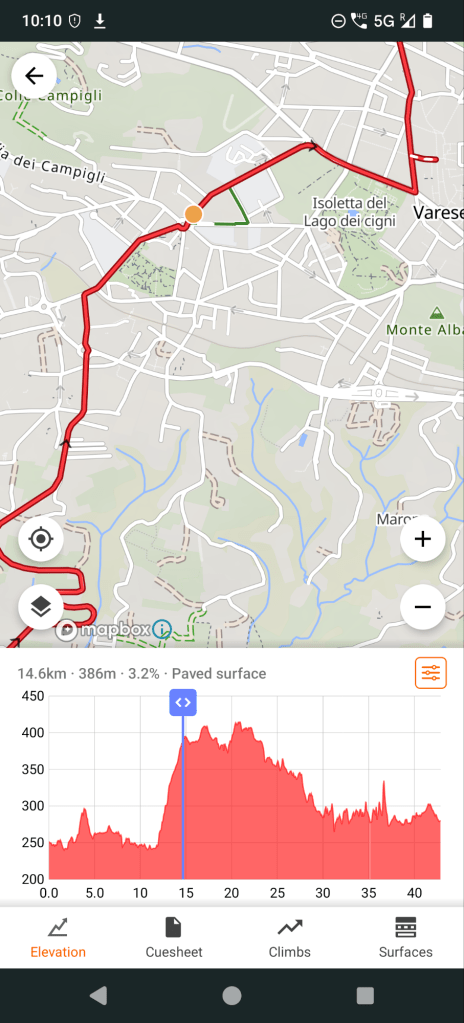
Speaking of which, the Coros Dura navigator kept me on track the whole way. The couple of times where I accidentally didn’t follow it were disorienting. Especially when I took the wrong turn on the roundabout and ended up on a fast road in an unlit tunnel! Or when I got momentarily lost in a maze of small streets.
The first aid kit was useful for stopping the blood from getting on my stuff after badly engaging in the dangerous activity of cutting a nectarine into small pieces with a very sharp ceramic knife. (Lightweight too! But will it pass security?)
What should I keep on doing?
Riding
Reducing weight to a minimum.
What could be improved?
The new bike seat was uncomfortable. The old one felt so good when I mounted it again. I need to raise the seat back up. Would the old saddle be good enough for a week-long trip?
My gears didn’t change smoithly. Need to adjust them.
I had just started out on my ride the day before yesterday when a Swiss-German guy remarked, headshakingly, “Uf en ne Rennvelo?” This didn’t really make me feel good. The guy I bought the bike from certainly weighed more than me plus my 12 kg of baggage. Maybe wider tires would be more comfortable on the gravel parts but there wasn’t much of it and I have anti-puncture tires now. Yes, wider tires might be a smoother ride if I ride more on gravel in the woods … but is that worth buying a whole new bike? The ultimate questions: how much does it weigh and how efficiently does it get you there?
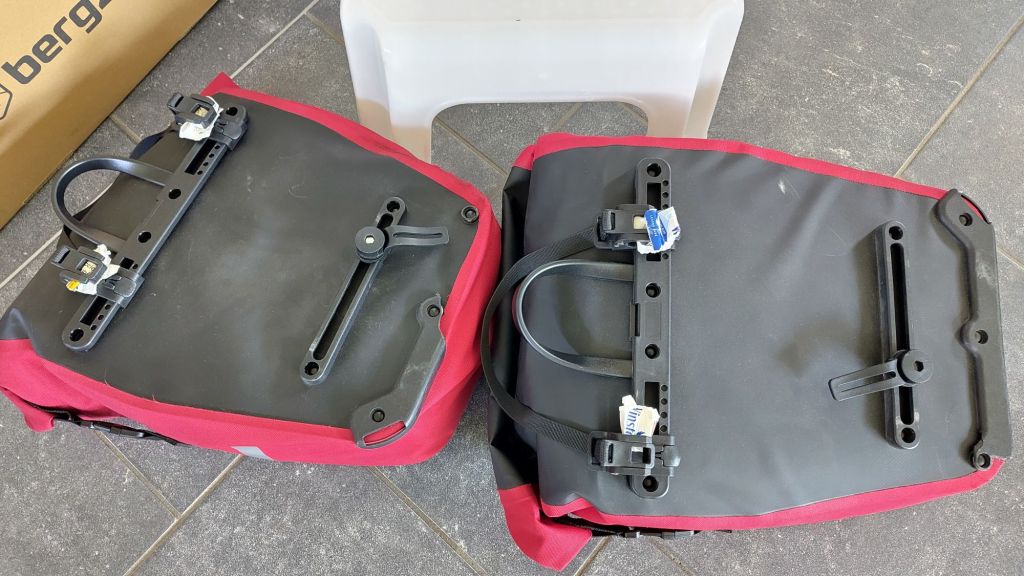
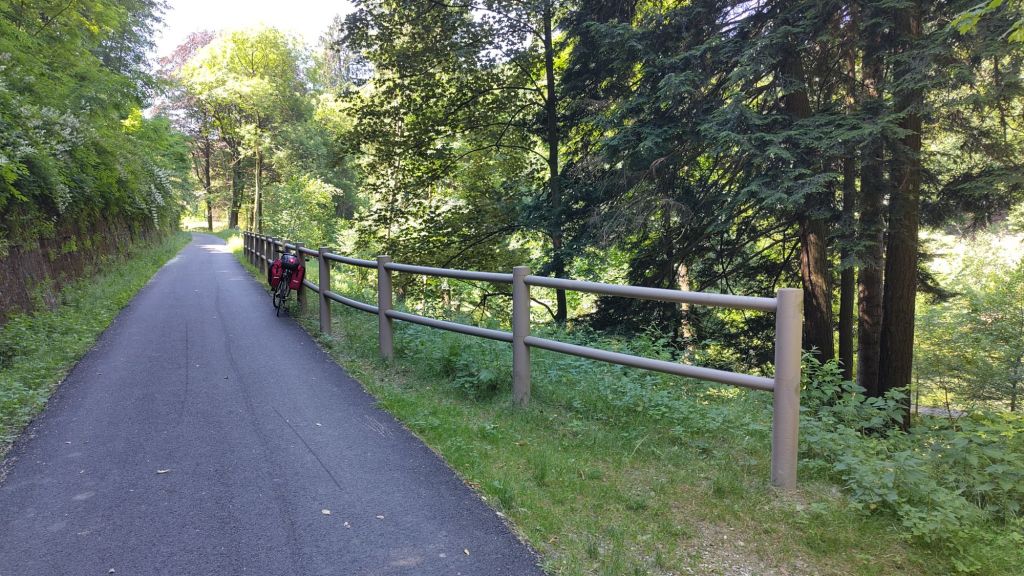
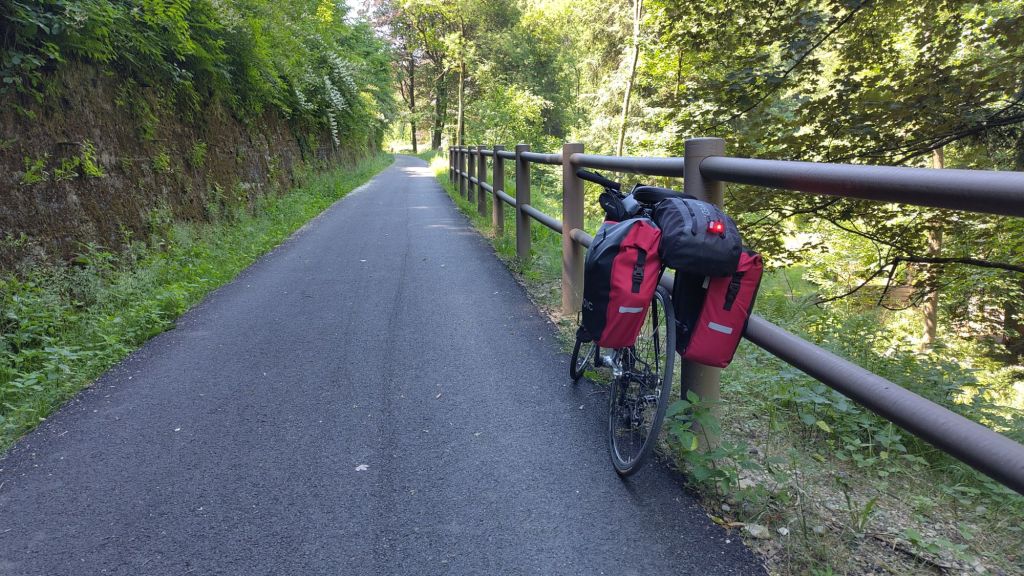
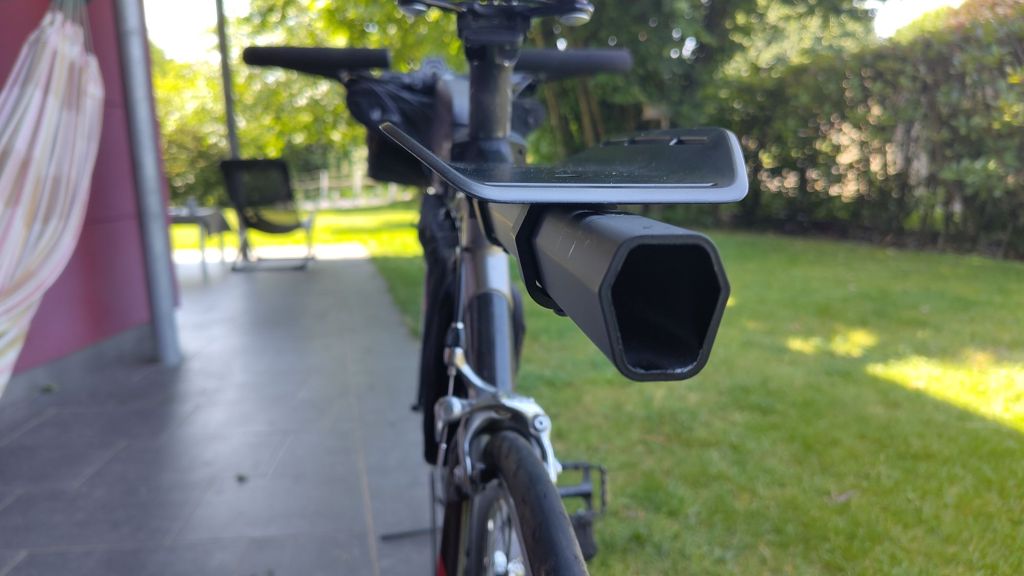
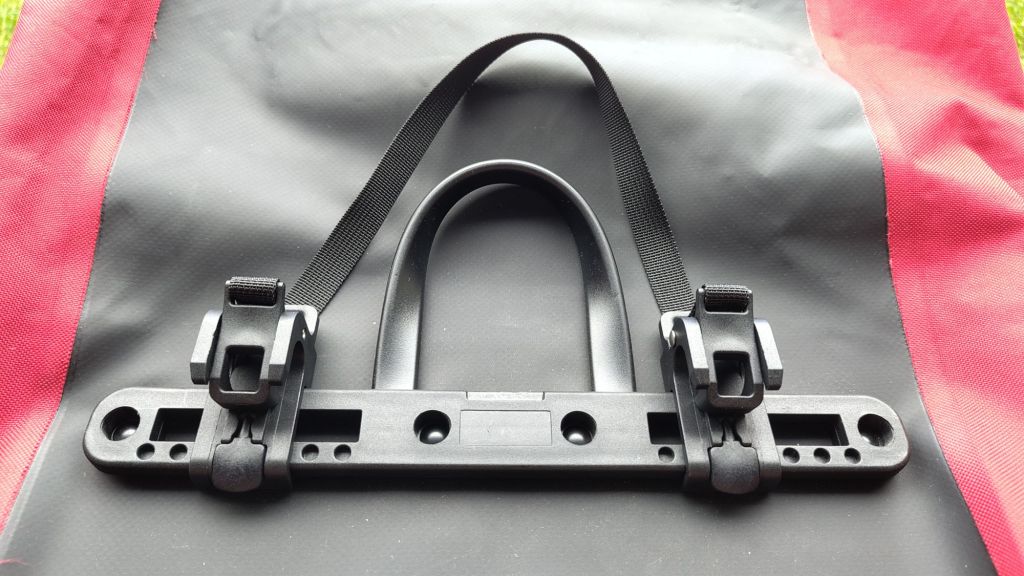
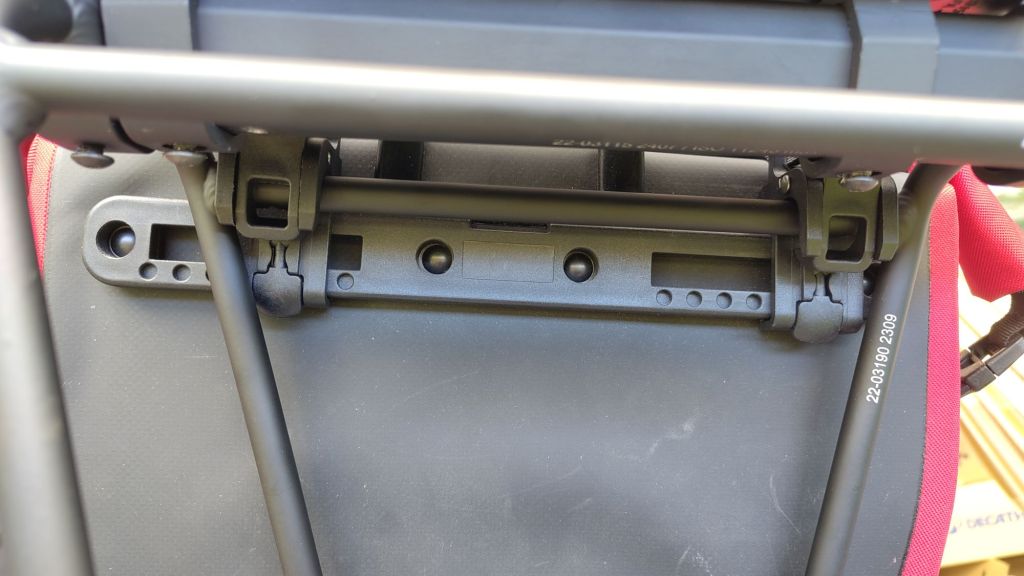
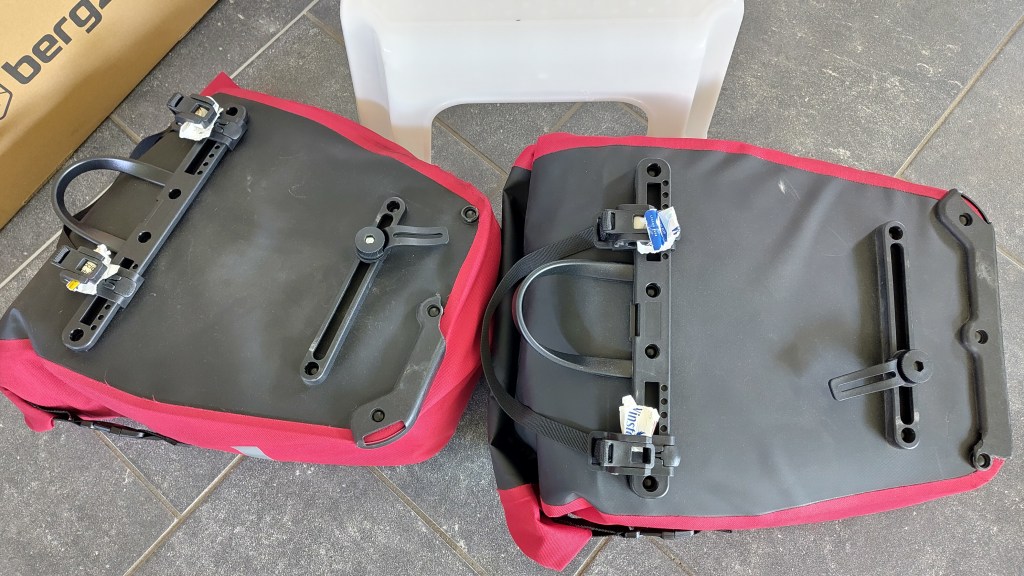
The clasps of the panniers rattled and I feared that one of them would come loose and break, just like on the last trip so I padded it out with a discarded cigarette box. I should have looked for that padding material at home. (I still can’t find it so maybe I’ll just order some.) This was actually quite a source of stress during the whole ride, fearing to hit a pothole at speed with the pannier flying off and/or bringing the bike to an uncontrolled stop, while on a fast narrow road with no shoulder.
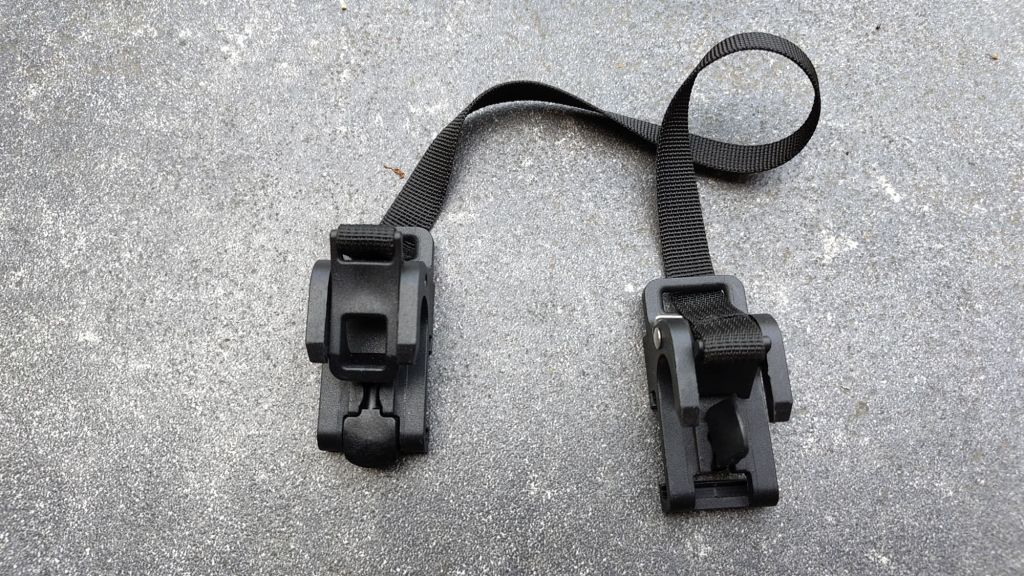
It’s not so easy to ensure that the pannier with a broken clasp stays in place using a piece of string, and the consequences of a pannier in the spokes are annoying, if not downright dangerous. So bringing a replacement clasp is worth the space in the bike first aid kit.
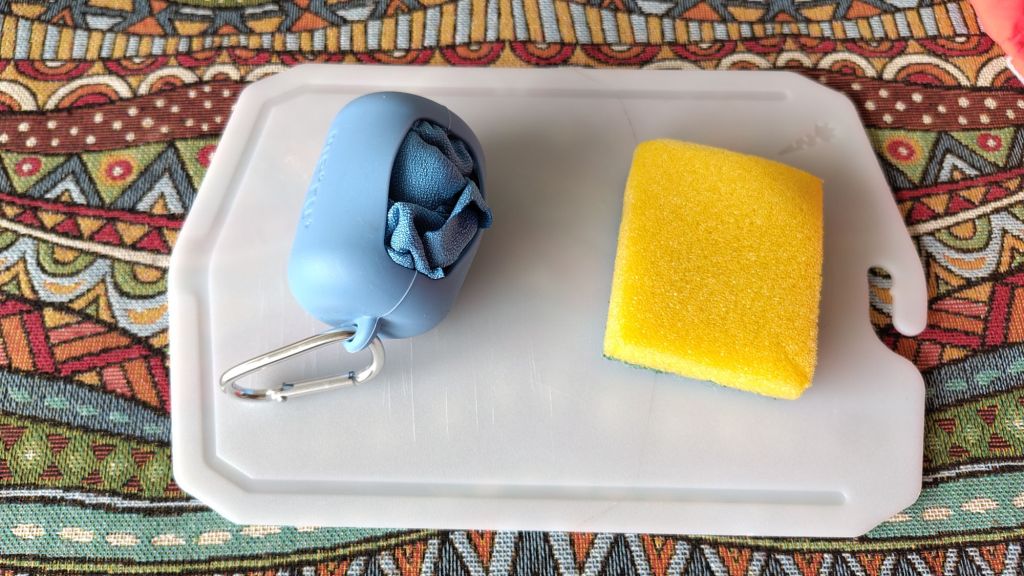
The ceramic knife is extremely sharp. I cut myself while slicing the nectarine for breakfast. Do bring a cutting board next time instead of winging it in the air. Also useful for safely cutting salami, which I craved at the end of the day. A sponge and drying towel are also a good idea. Then why not an esbit stove, pot and a rehydrated meal … I wouldn’t have to sleep in a campsite at all! No beer and no shower though …
I stemmed the blood flow with a very old bandaid, which disintegrated very quickly. So review the first aid kits!
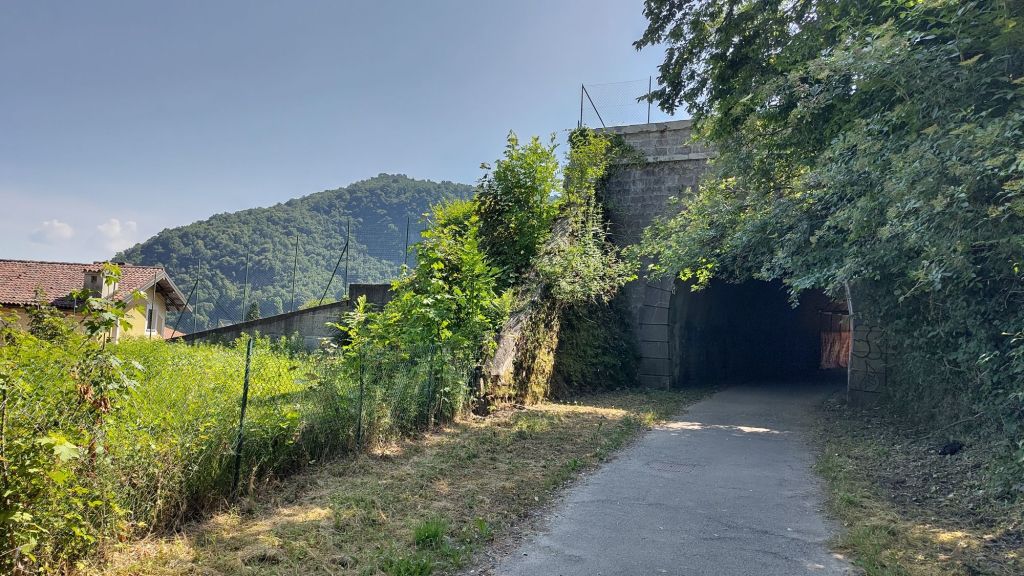
Another dangerous activity is riding on a fast narrow road through a dark tunnel. Fortunately I was quickly able to increase the power of my front light so I could see where I was going in the dark. My back light was probably underdimensioned so I should get a stronger back light. SeeMe300 or the SeeMe400 with a built-in motion sensor, which automatically switches to maximum output when you hit the brake.
Maybe, maybe not to change
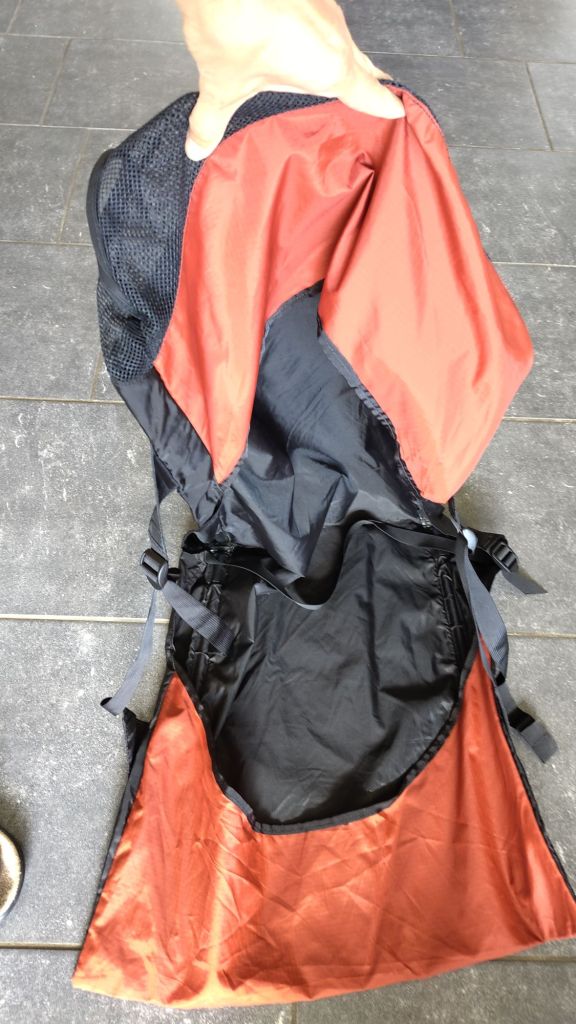
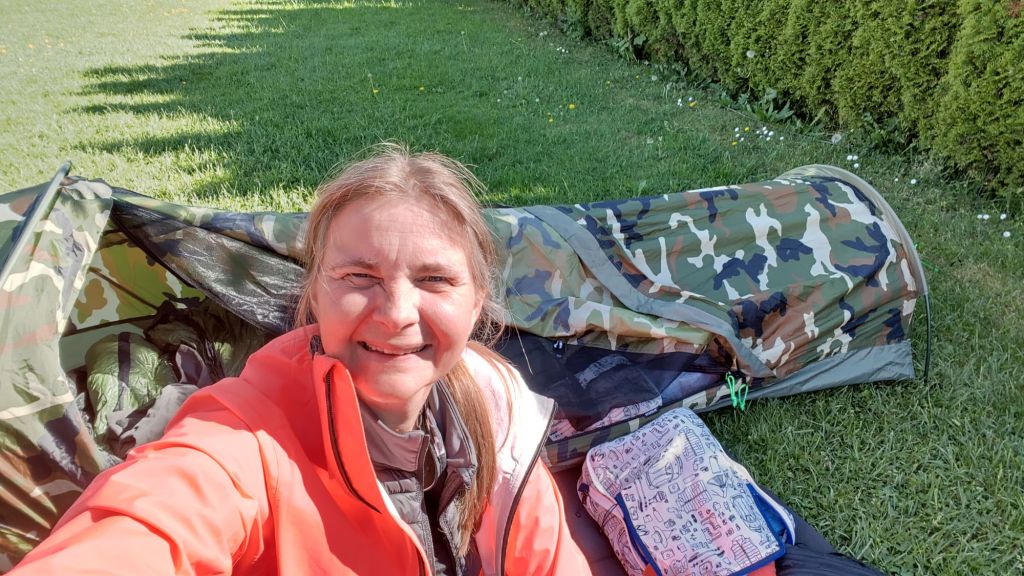
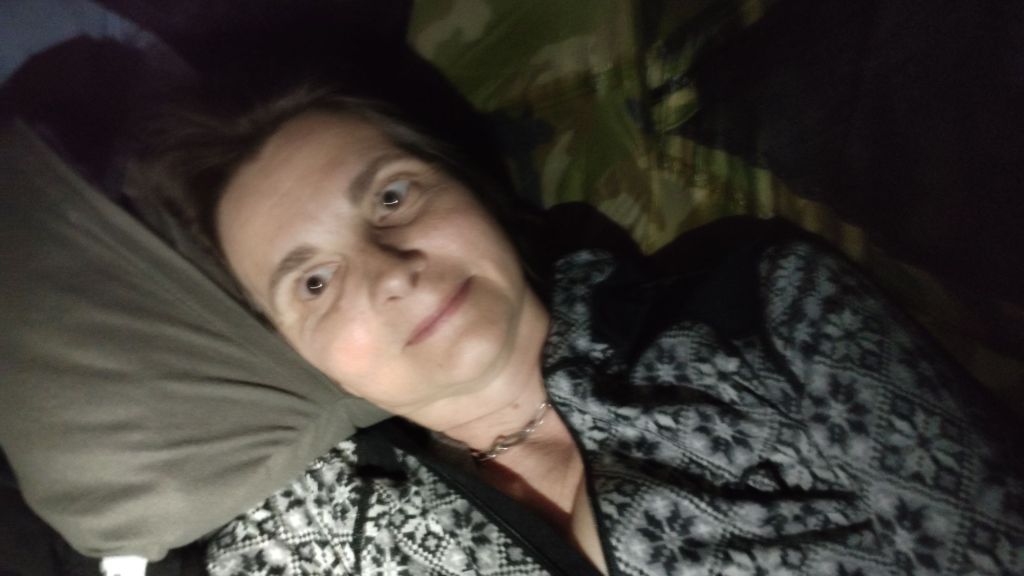
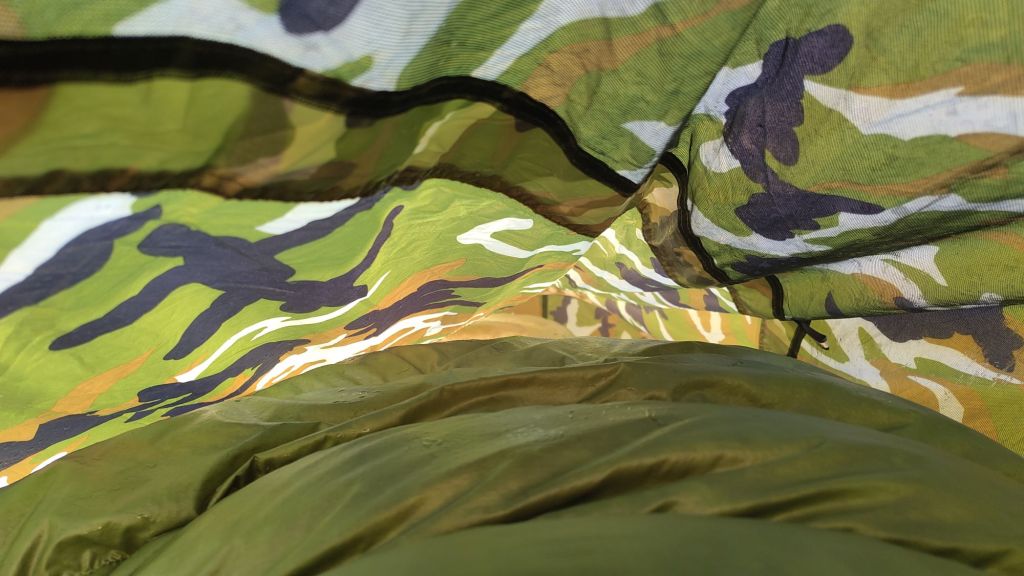
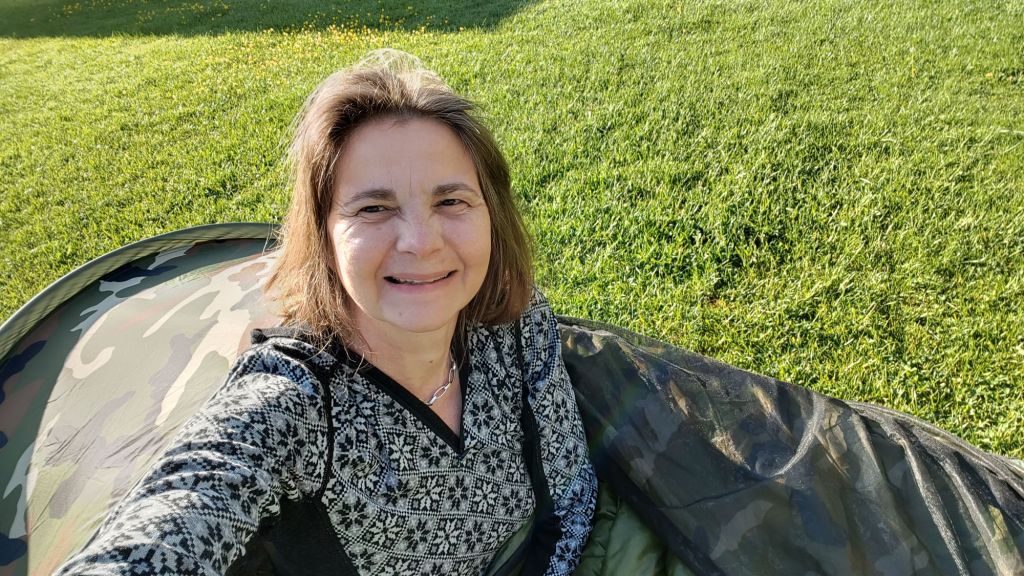
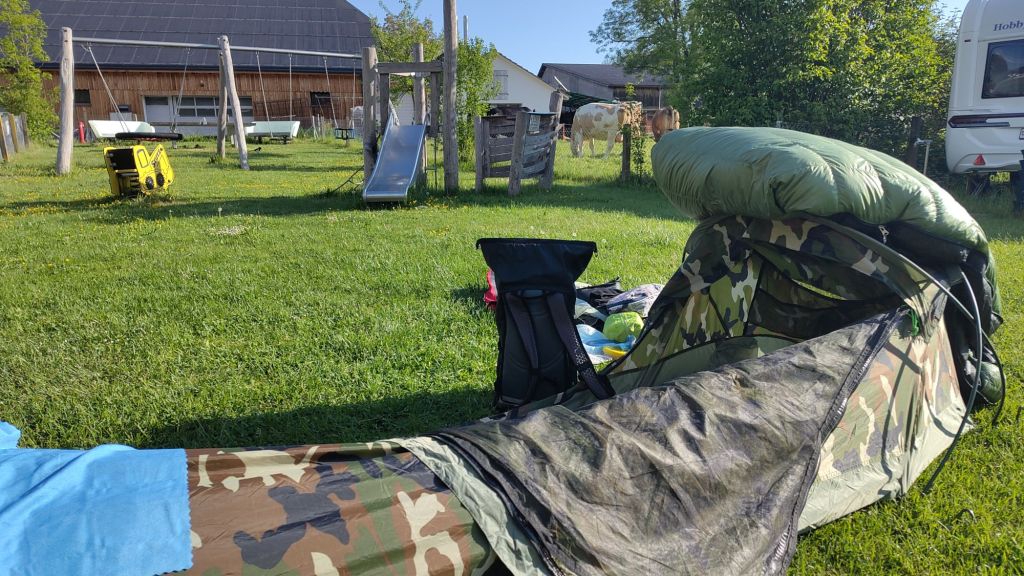
The camo bivvy bag was a kind of suffocating ziplock at some point during the night. So I opened the outer shell completely and even opened the mosquito netting to let some fresh air in. There was no condensation in the morning, and I do like to eat breakfast in bed with a view. It really only needs two pegs to set up. I could permanently attach them to the bivvy so I have one less set of items to keep track of. When it got darker I could set it up at the lakeside and no one noticed it. So I’m ambivalent. Great for low-profile stealth camping but not super comfortable, especially not in the rain.
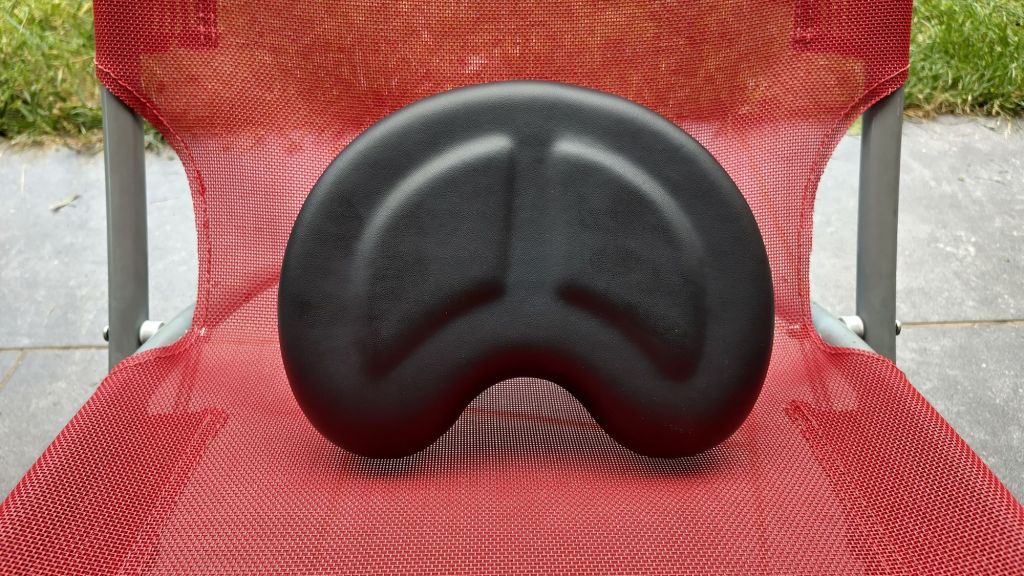
Comfy seat: it was nice to lean back in it, as an alternative to just sitting on the evazote pad. A bit of luxury after a long day gives pleasure.

I didn’t miss any of it. Except that I would bring the waterproof bag for my spare clothes so they’re double-bagged and certain to stay dry in case of a downpour. It takes more time to pack than you’d think. So I ended up not doing everything that I should have in order to leave early enough to ride up the hill when it was still coolish. So foolish.
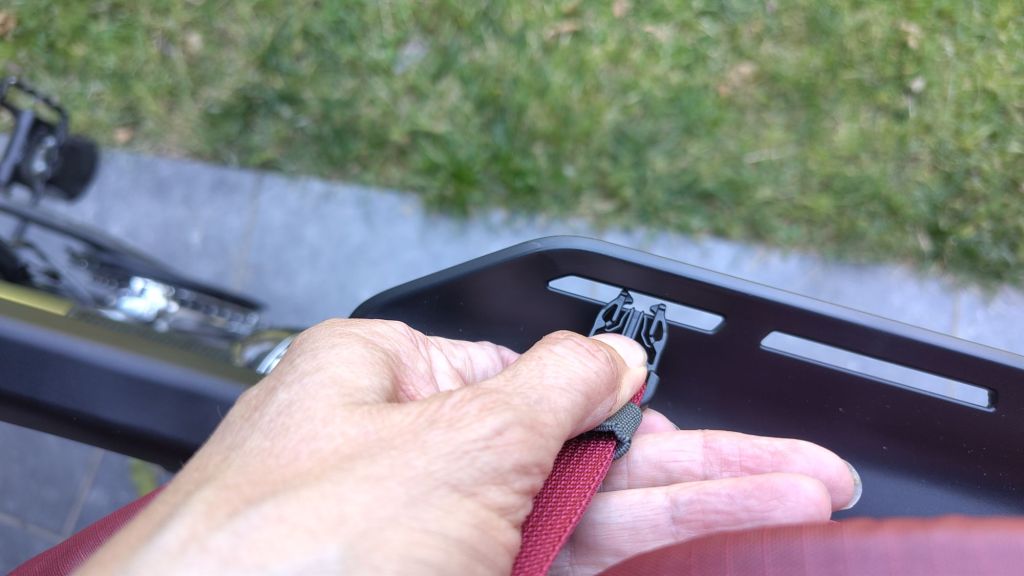
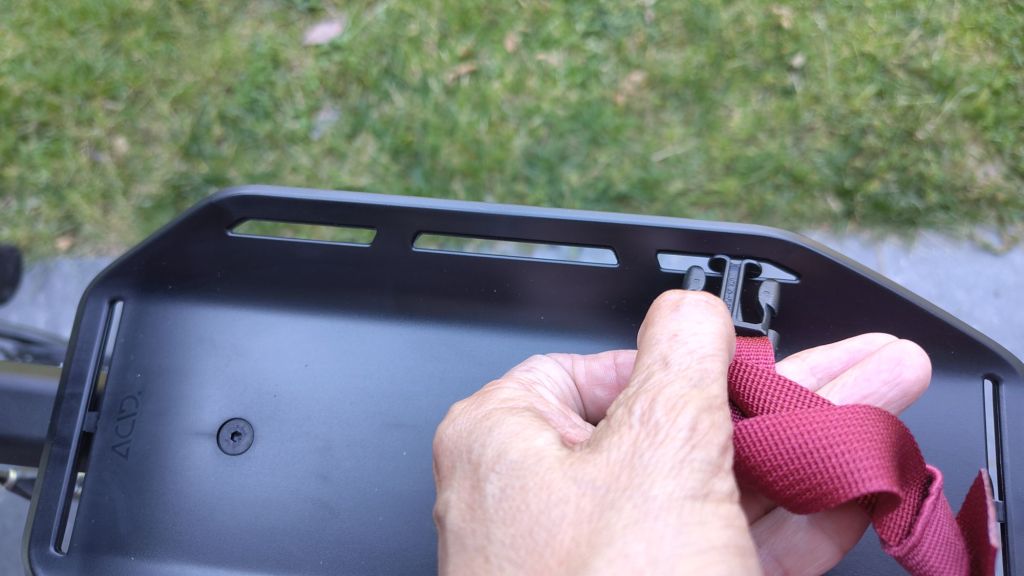
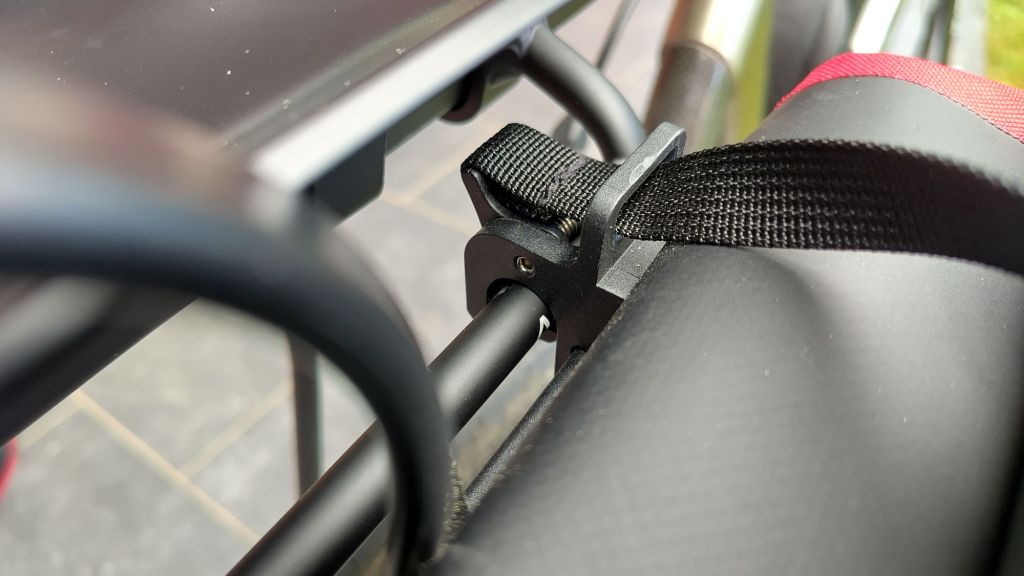
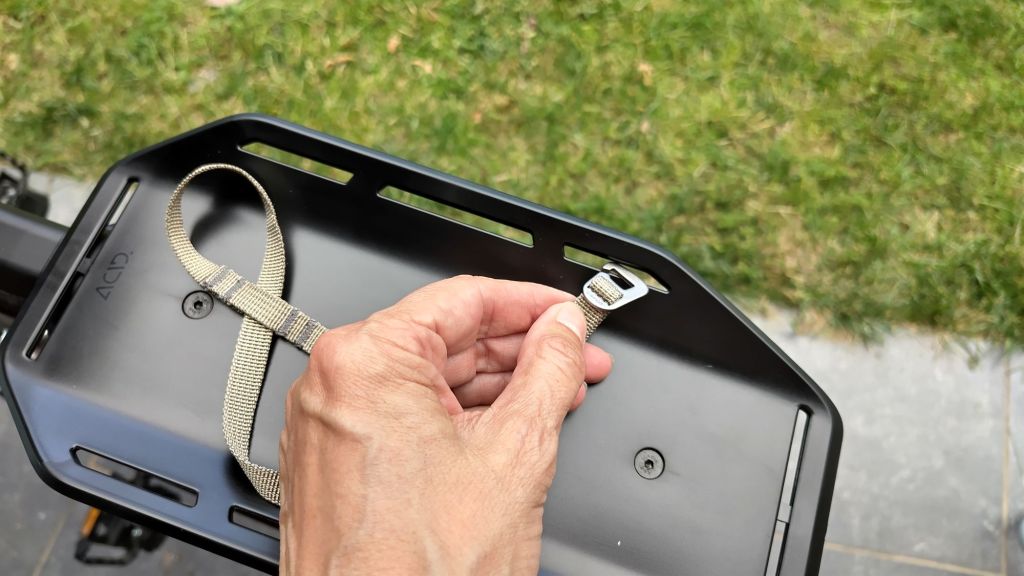
Attaching the small backpack to the rack was fiddlier and more annoying than expected. The trailing straps frustratingly ended up in the spokes several times, causing me to once again to step off my bike to tuck them away. So I decided to use the closing clasp to attach it to the seat post. But this becomes a single point of failure with the risk of having your stuff scattered along the road. So this needs to be rethought. Maybe the straps need to be shortened, maybe the holes in the rack need to be enlarged, maybe just take a dry bag with no straps and use elastics? (Ugh, don’t like elastics.)
Things can go wrong quickly on a bike. A tire deflates, a bag falls off, a sudden thunderstorm comes up. What could I do better to reduce risk and increase fun, even in adverse weather conditions?
What if something like this shows up?
An inner tube is used instead!
Is it worth it? Save 500g and be able to sit up? Na, for that price I’ll wait out a thunderstorm in a horizontal position or in a restaurant or hotel.
Interesting point: if the air temperature goes down overnight, the AirBeam tube deflates, observed in an excellent review by Outdoor Guide.
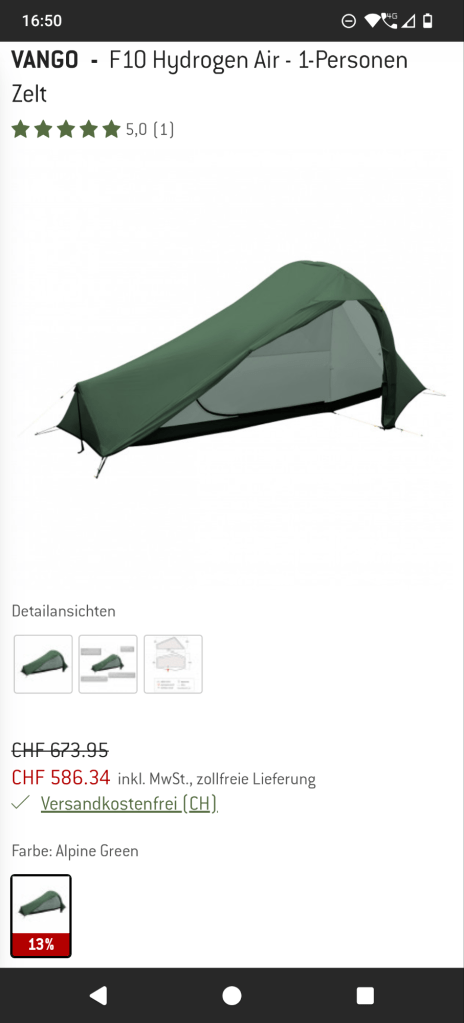
What about a proper 1-person tent with poles?
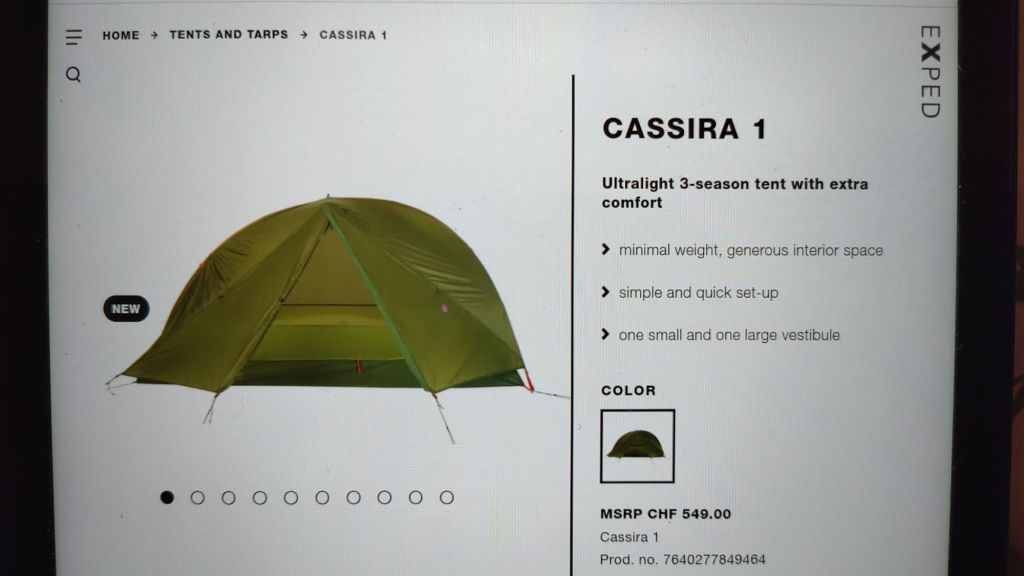
Like the Cassira 1 from Exped? 900 grams, bombproof, lots of space.
Or…